Photo Gallery of a Target Cell Fill
First Day of a Cell Fill
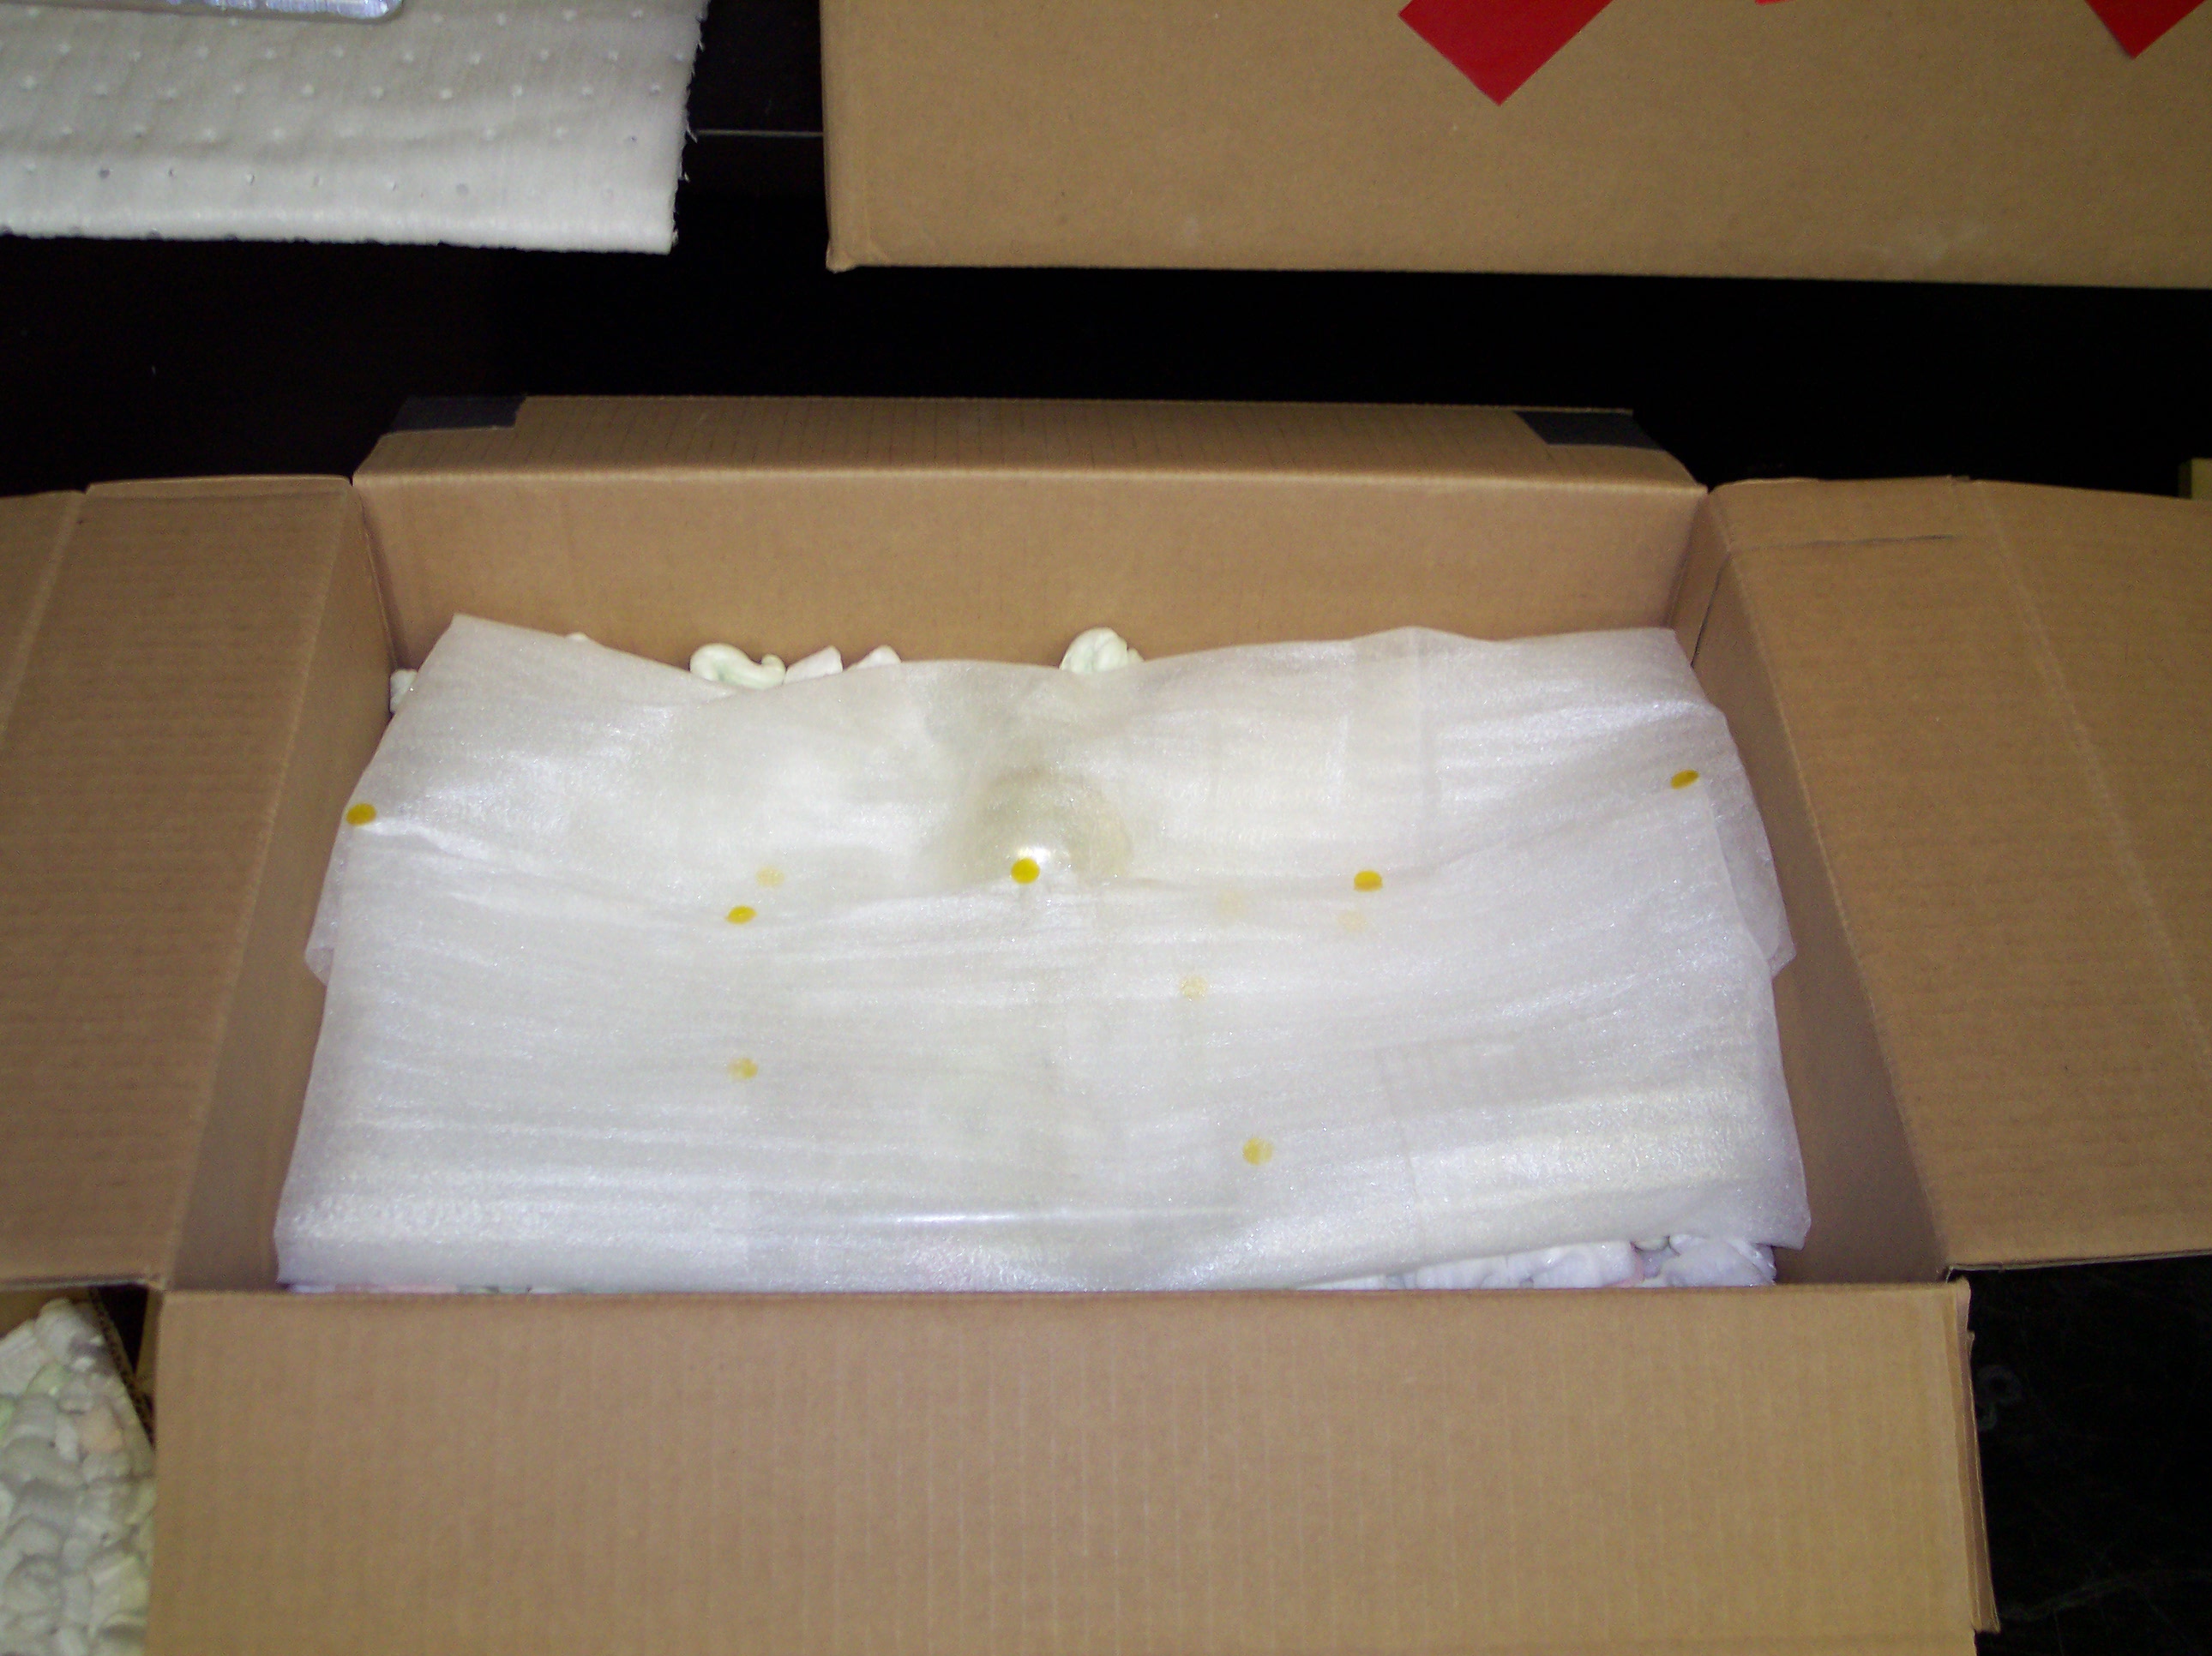
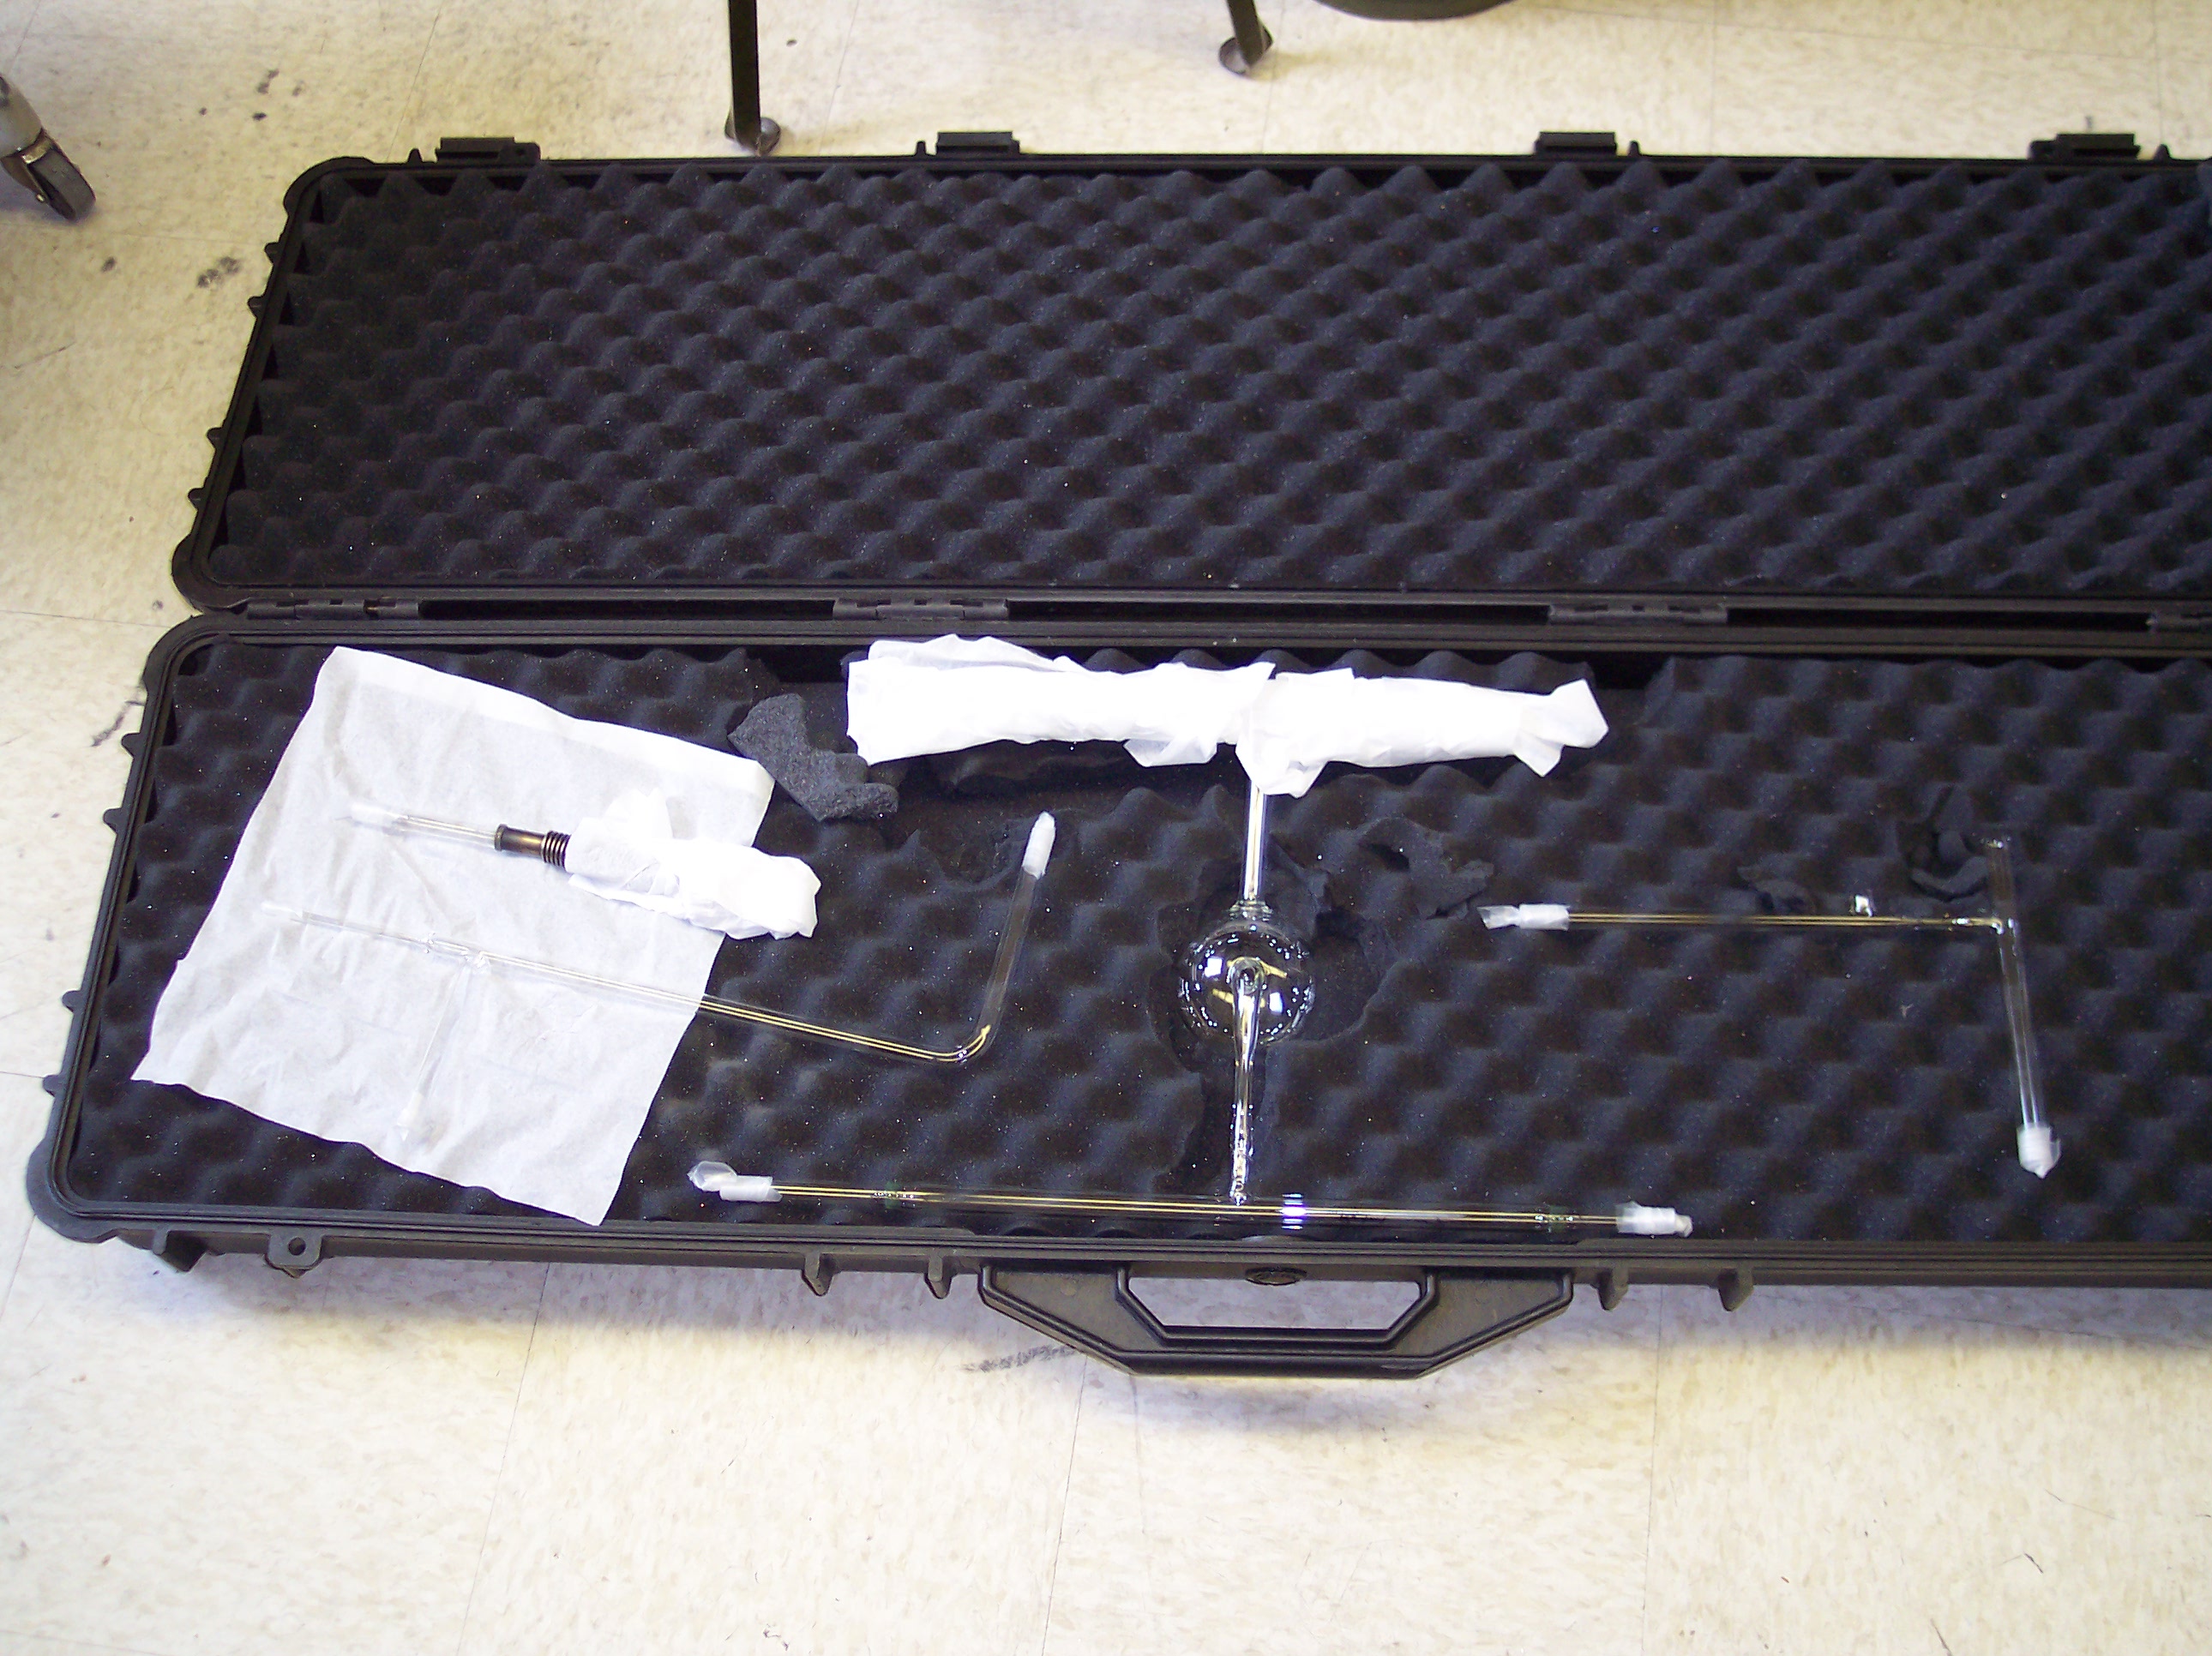 Our glassblower, Michael Souza from Princeton University, sends us a target cell that has been handblown and finished the day before we receive it. According to glassblowers it is important to put the cell as soon as possible on the vacuum system and begin the bake-out process to avoid the attraction of water molecules to the glass surface. The target cell itself and the manifold that connects it to the vacuum system are shipped together in a cushioned hard-top case. Despite the fragility of glass, only rarely an item breaks during the transport.
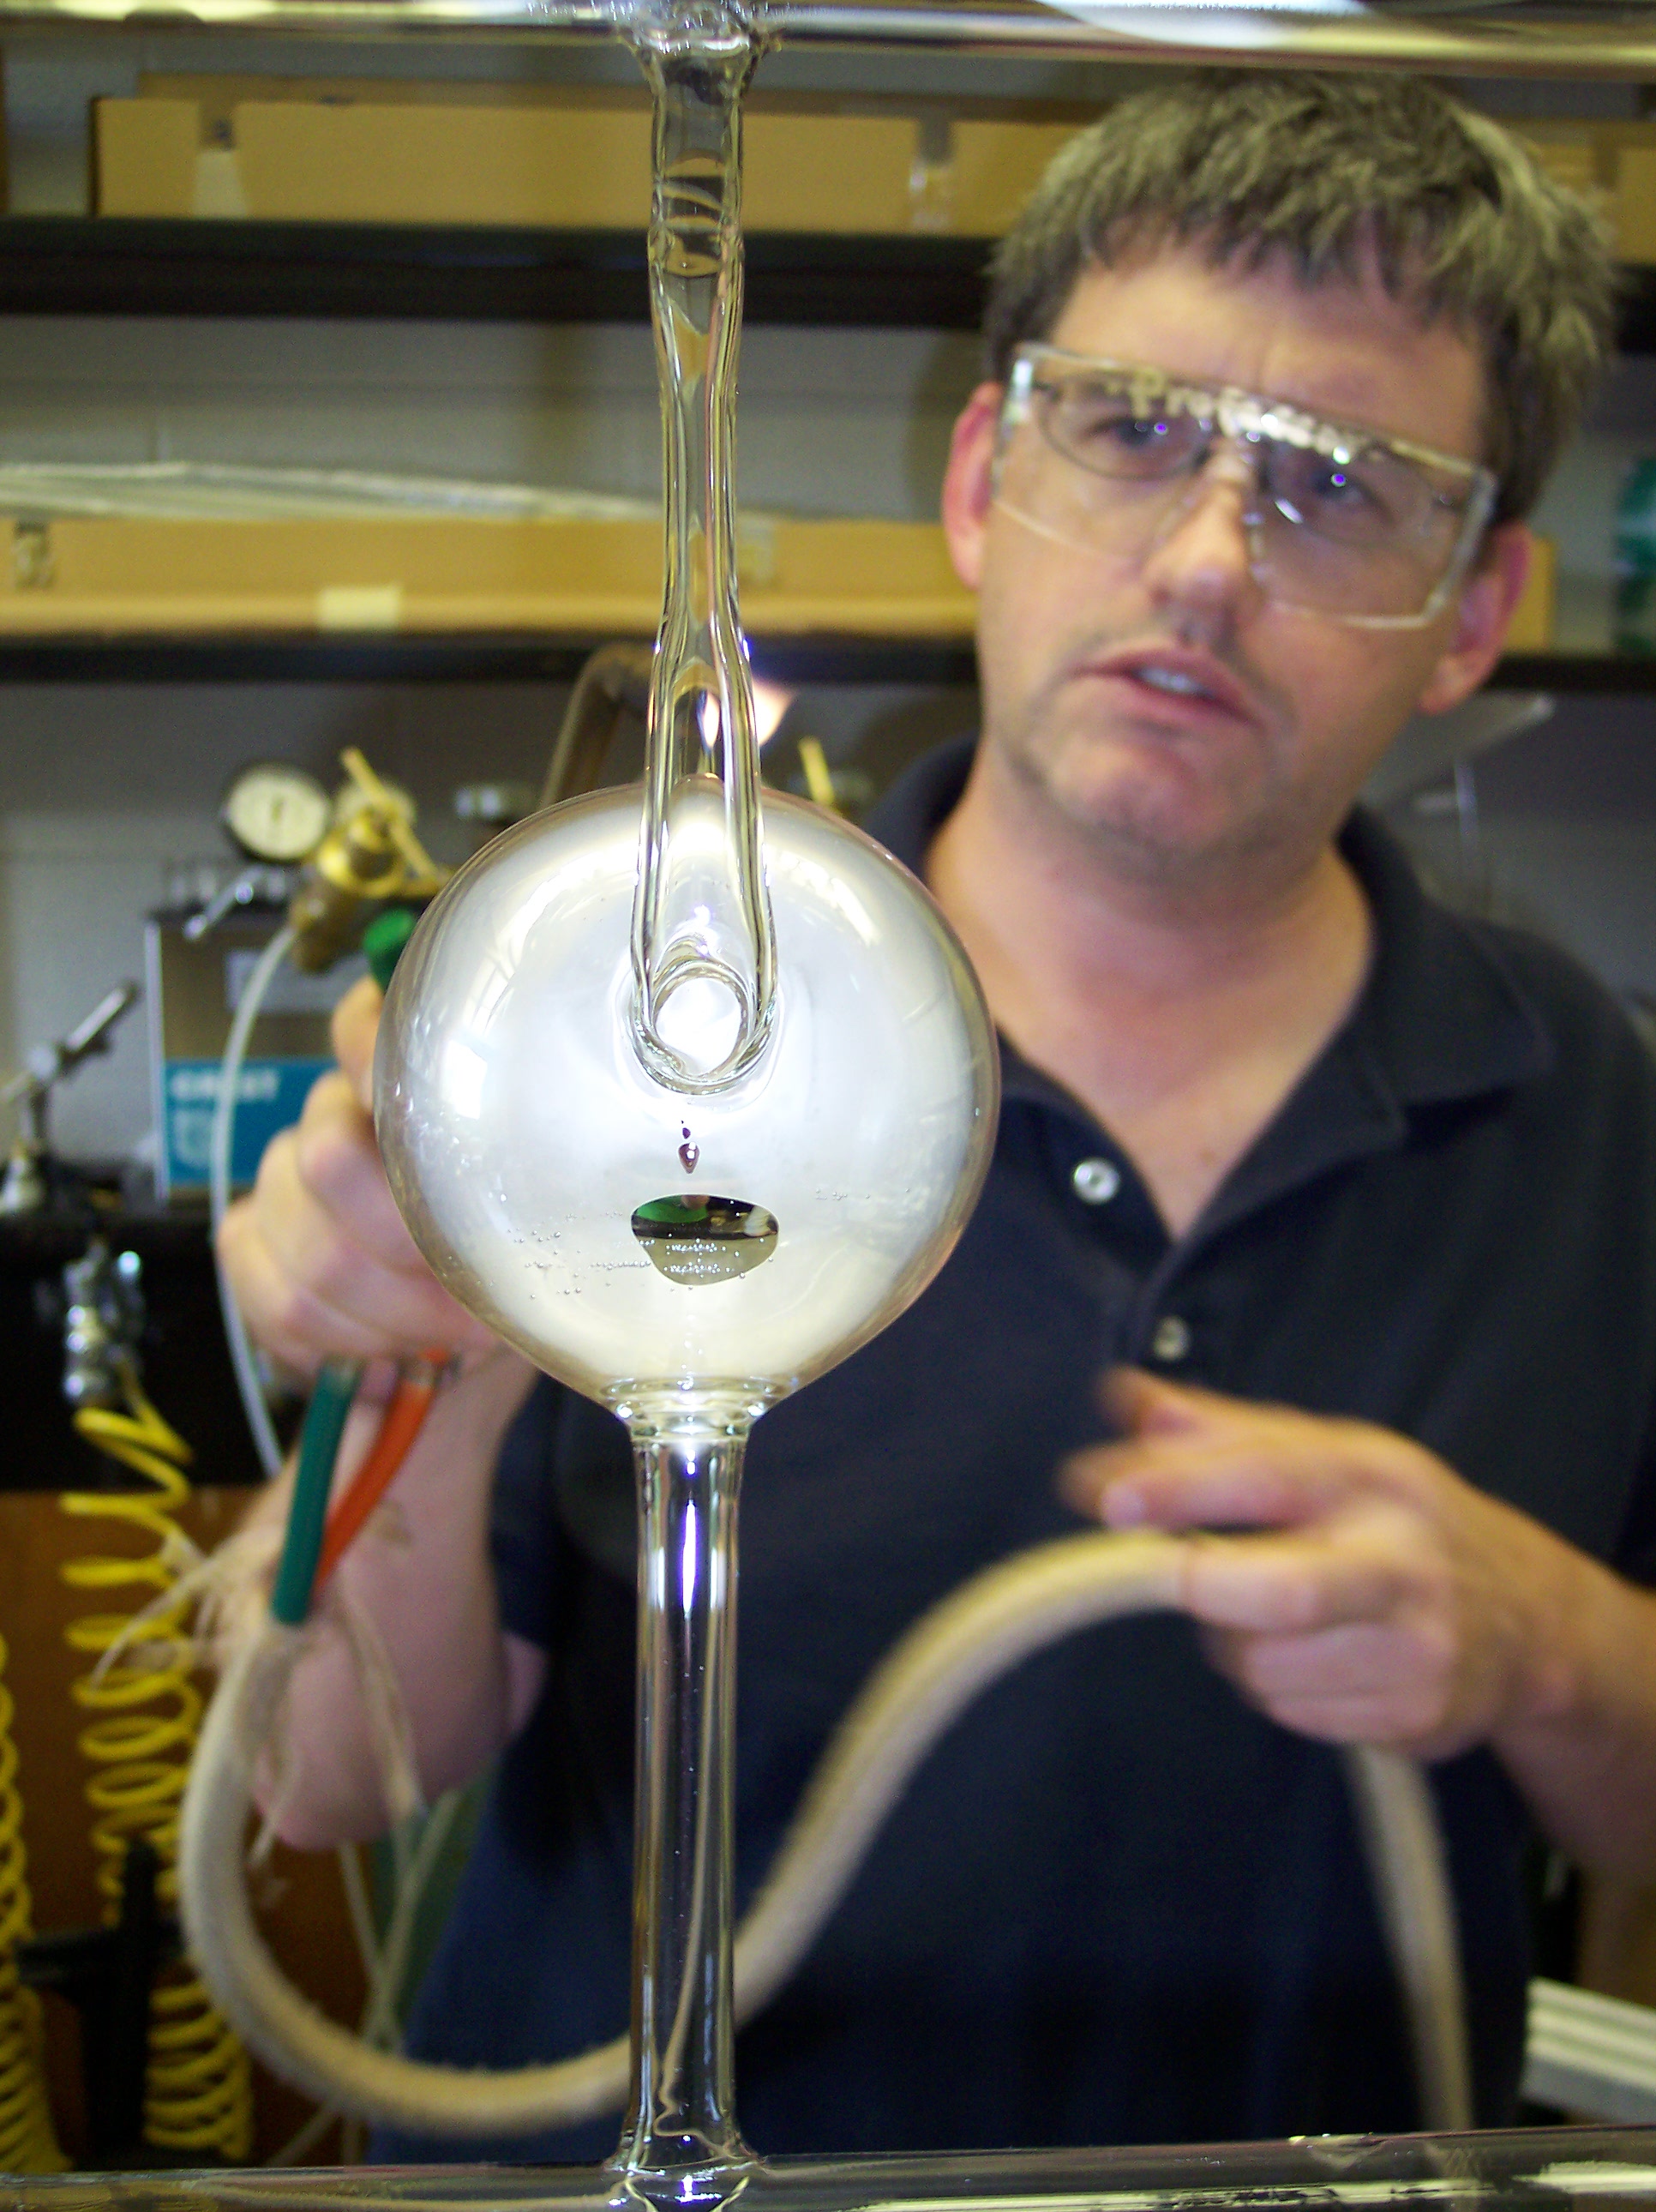
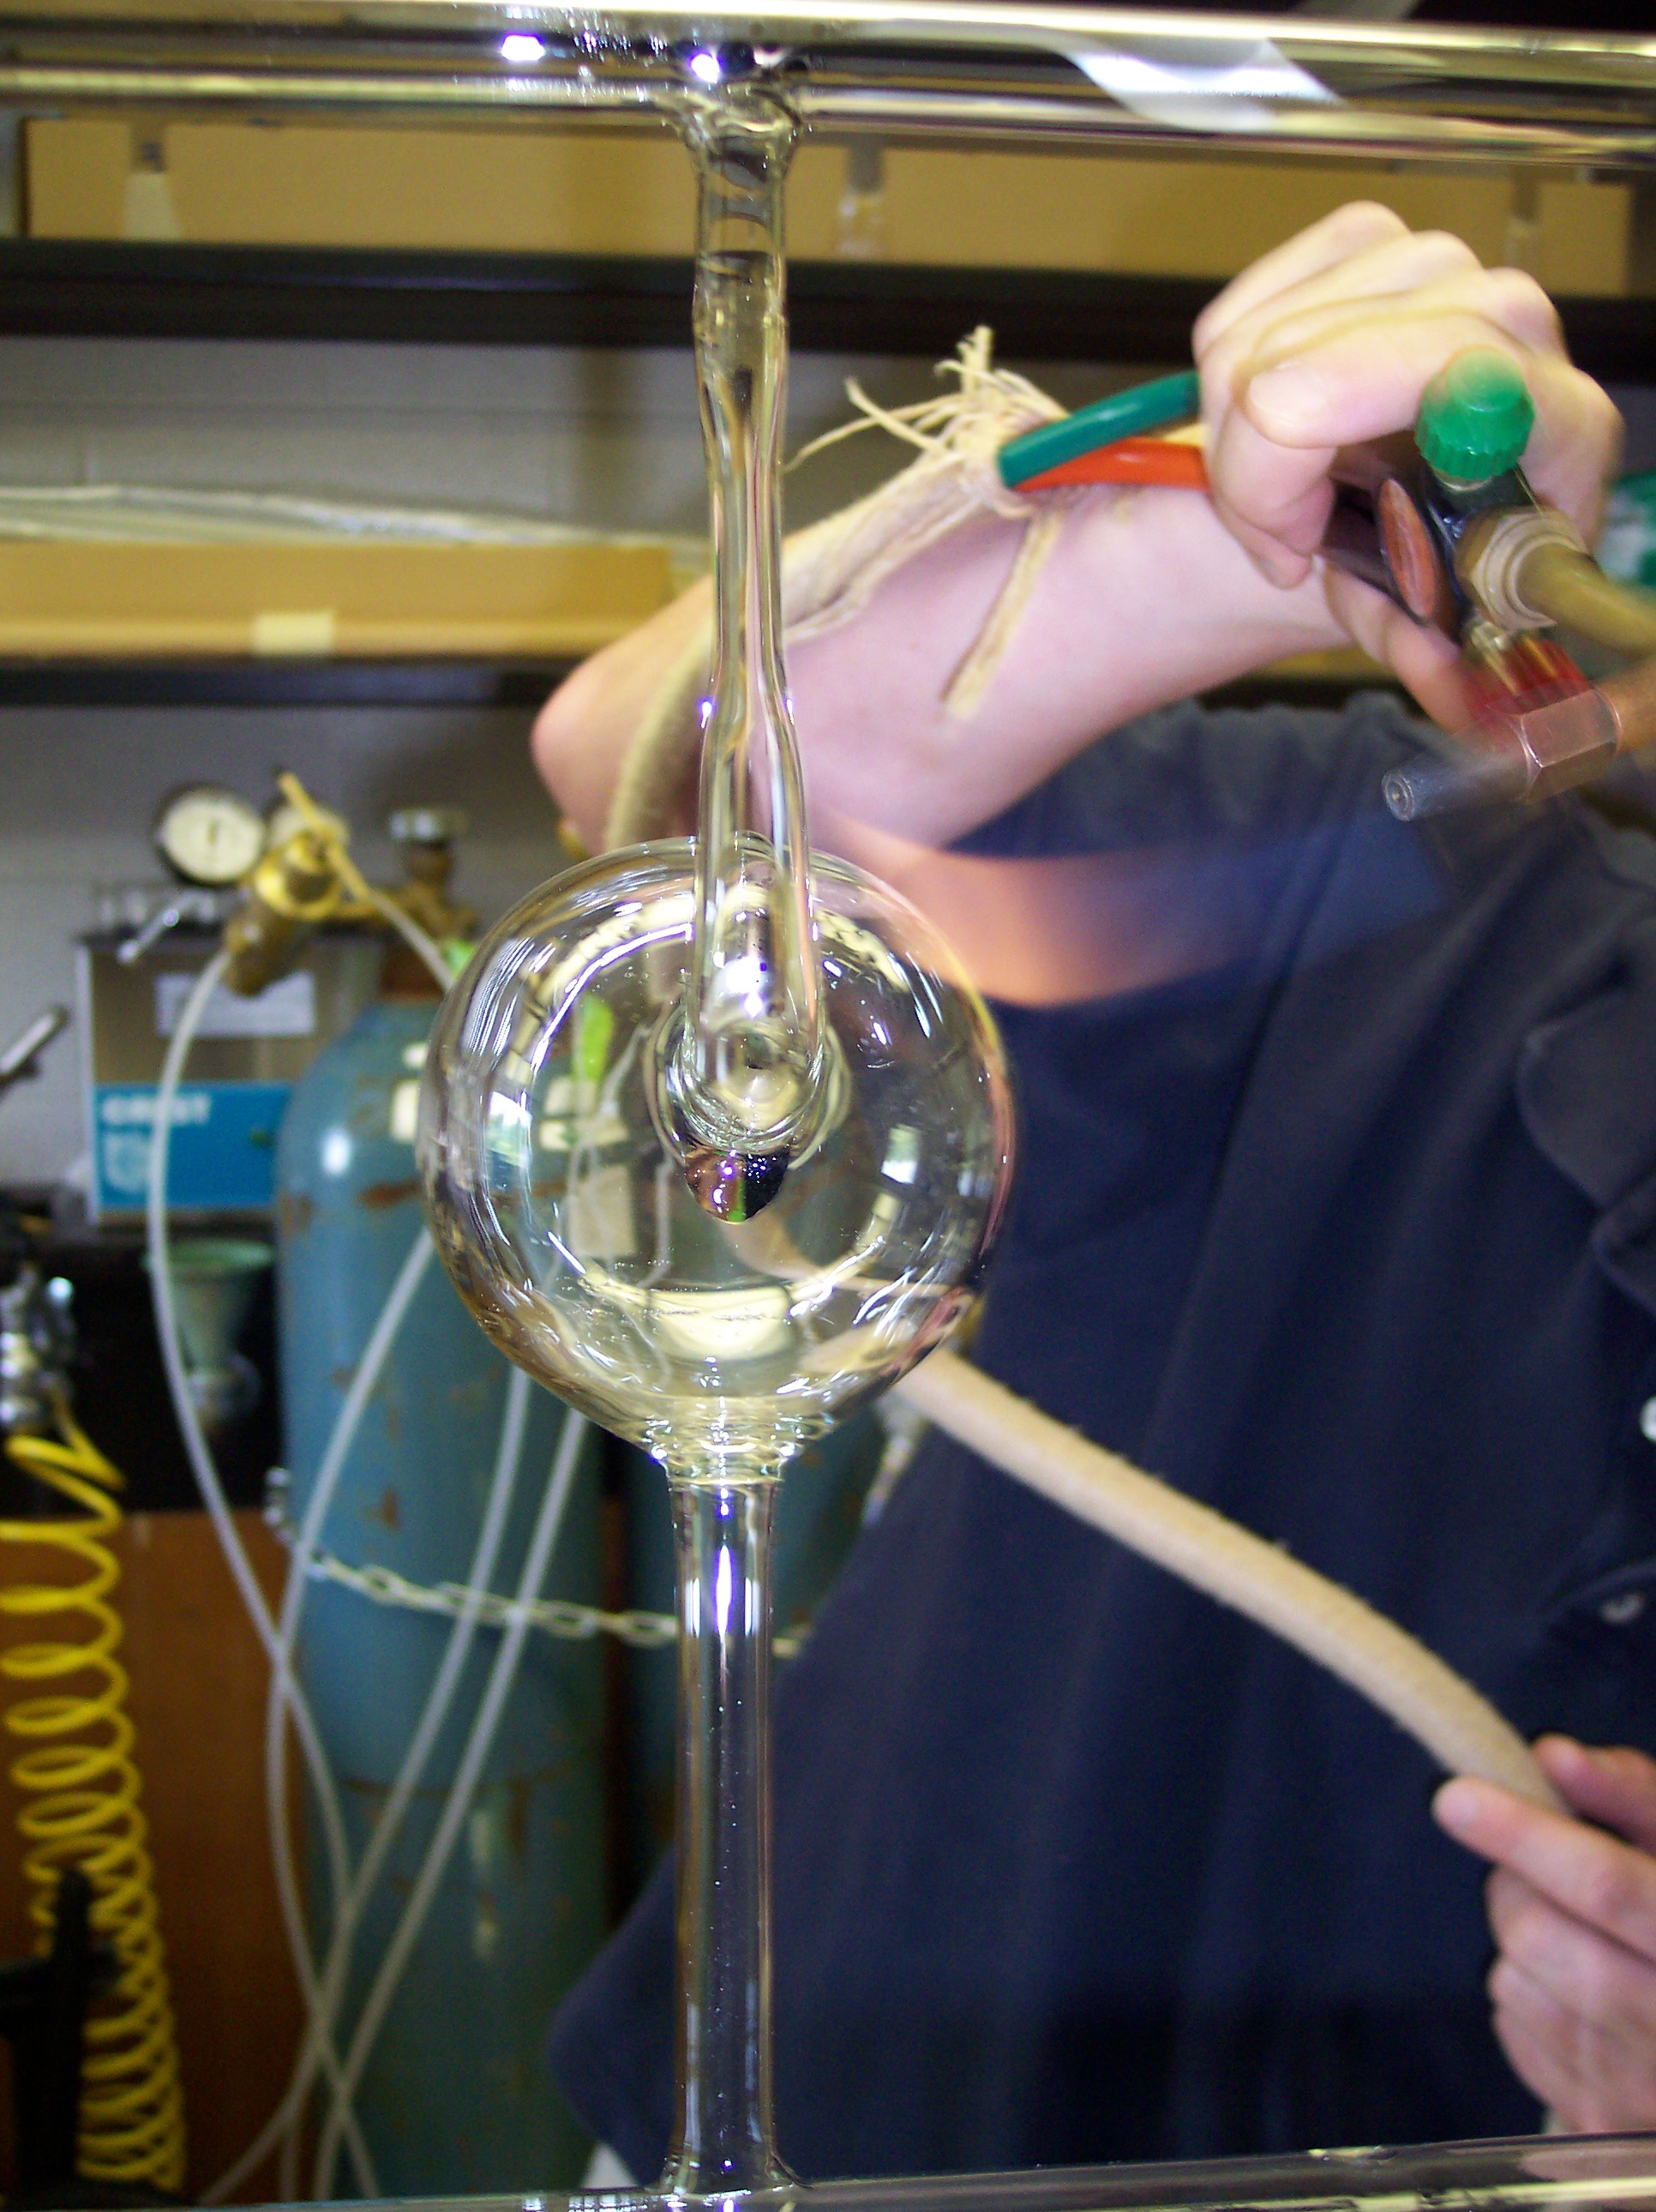
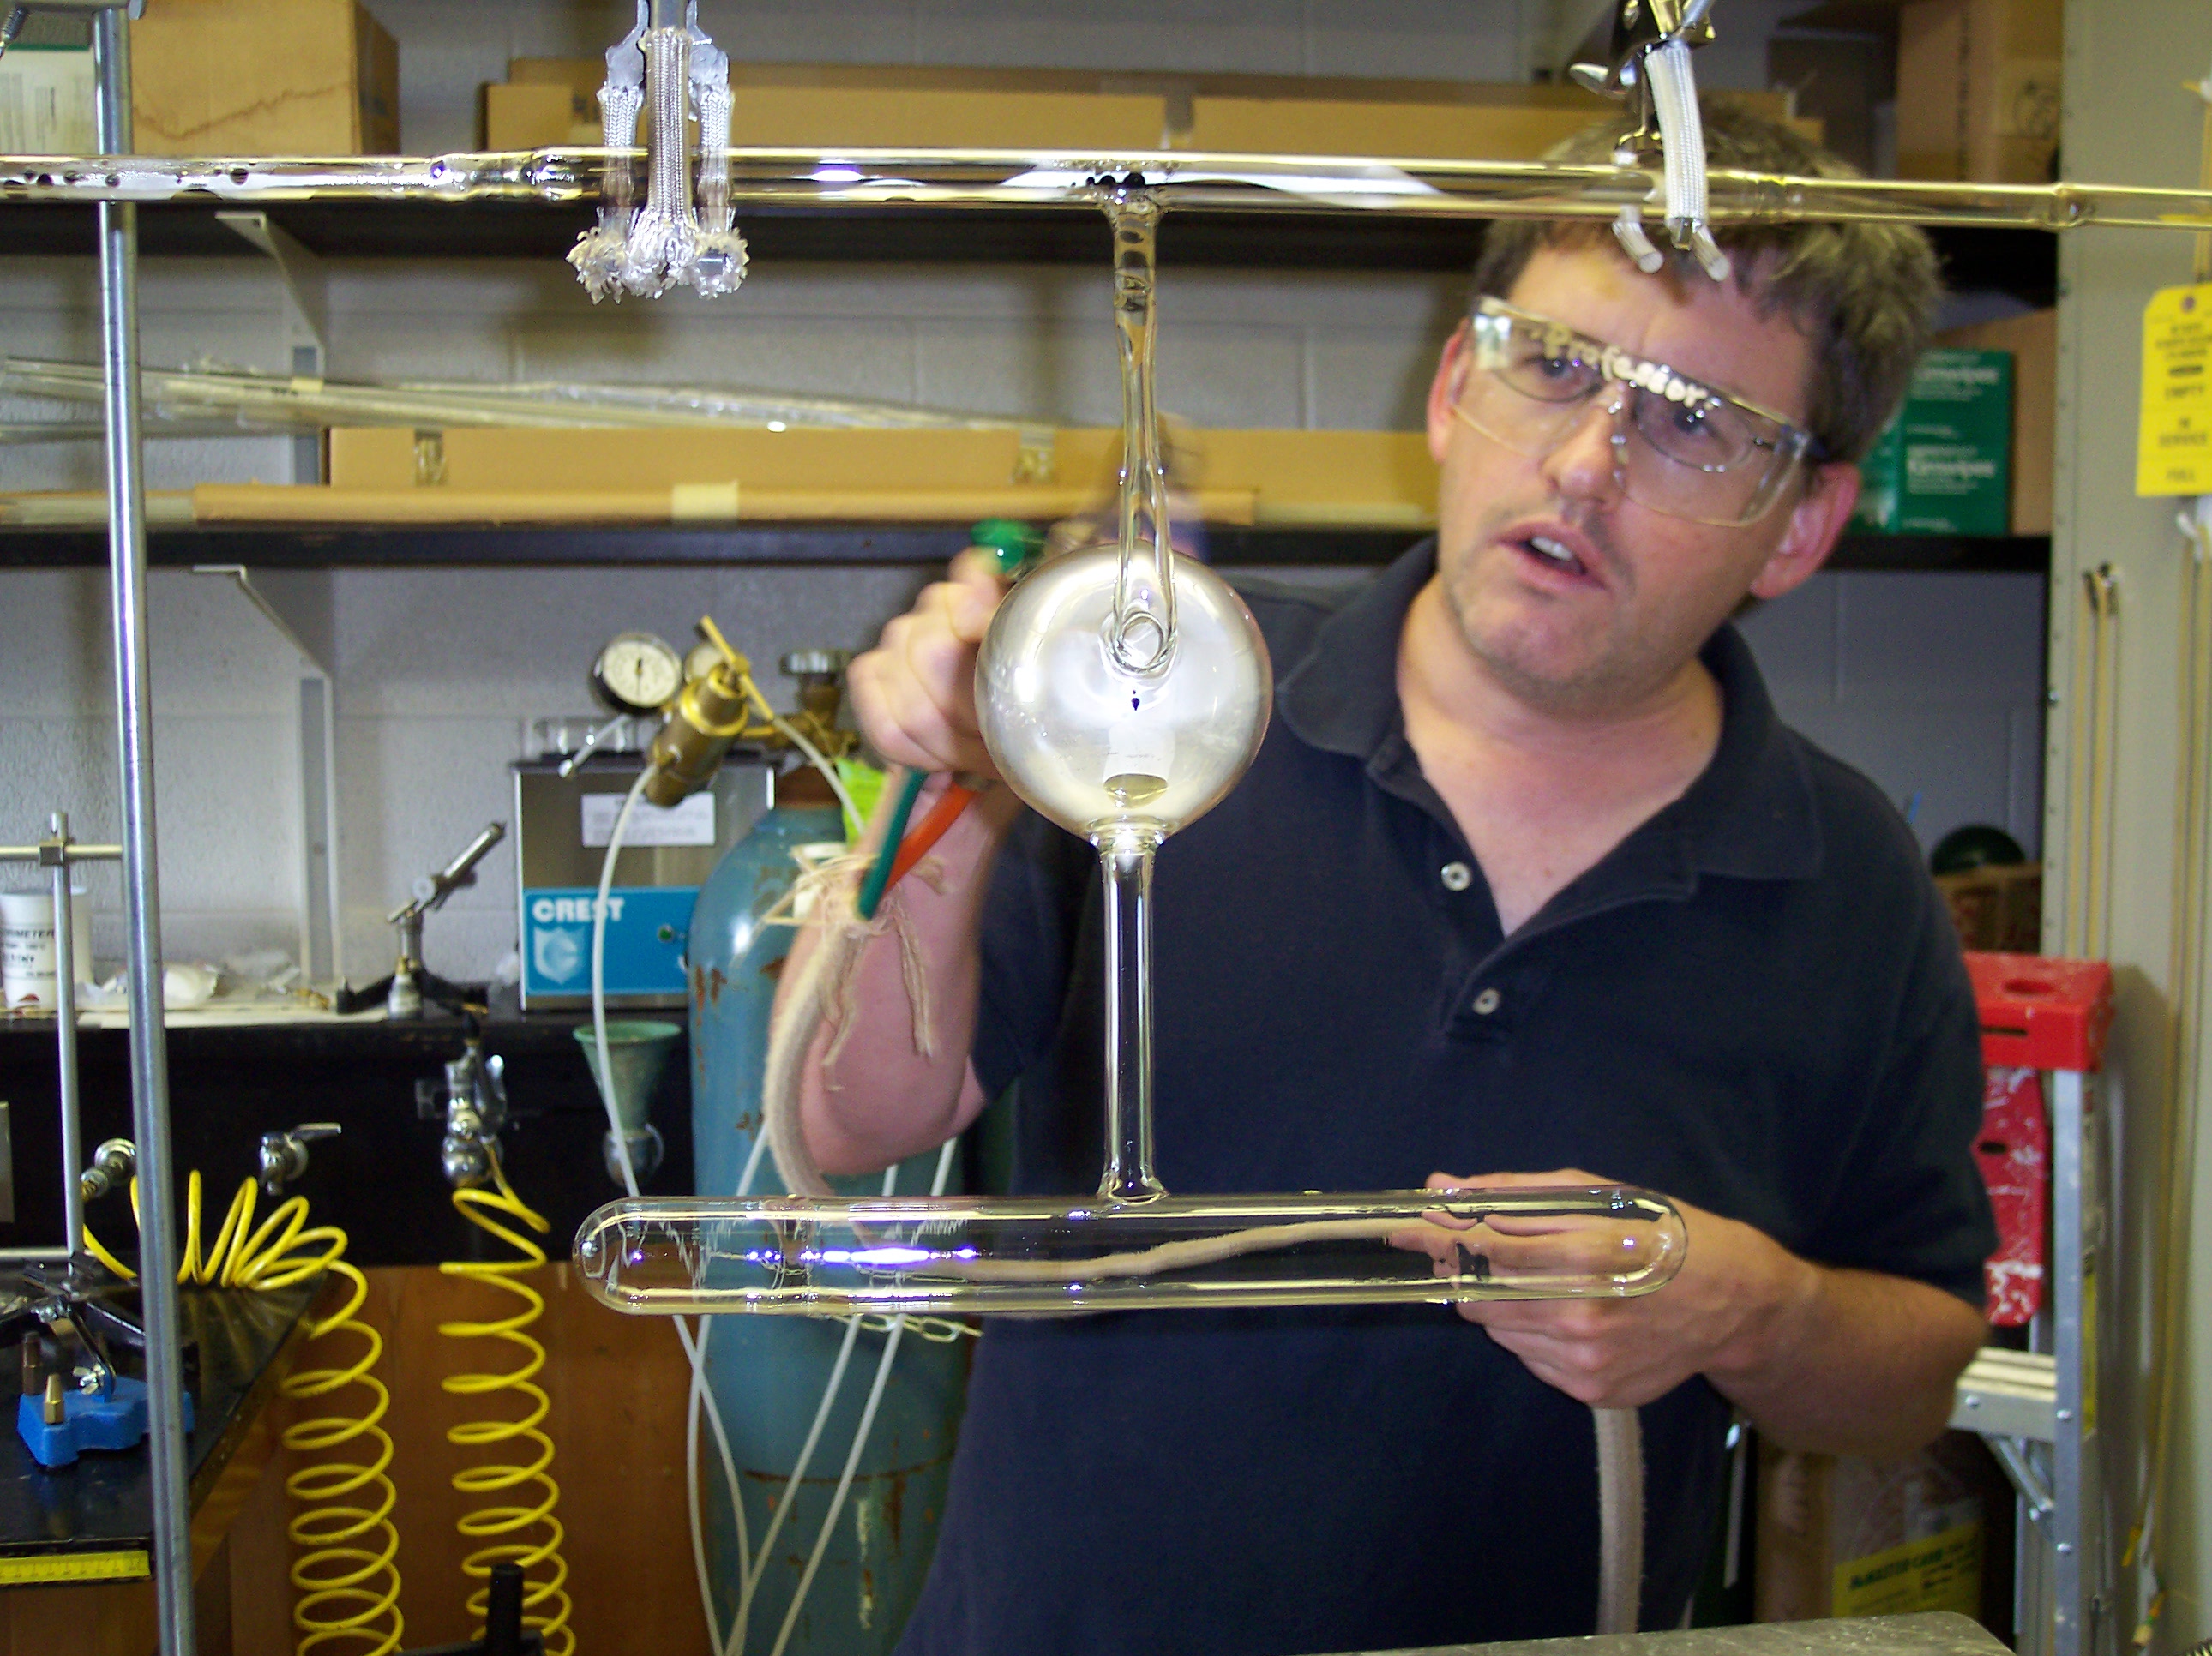
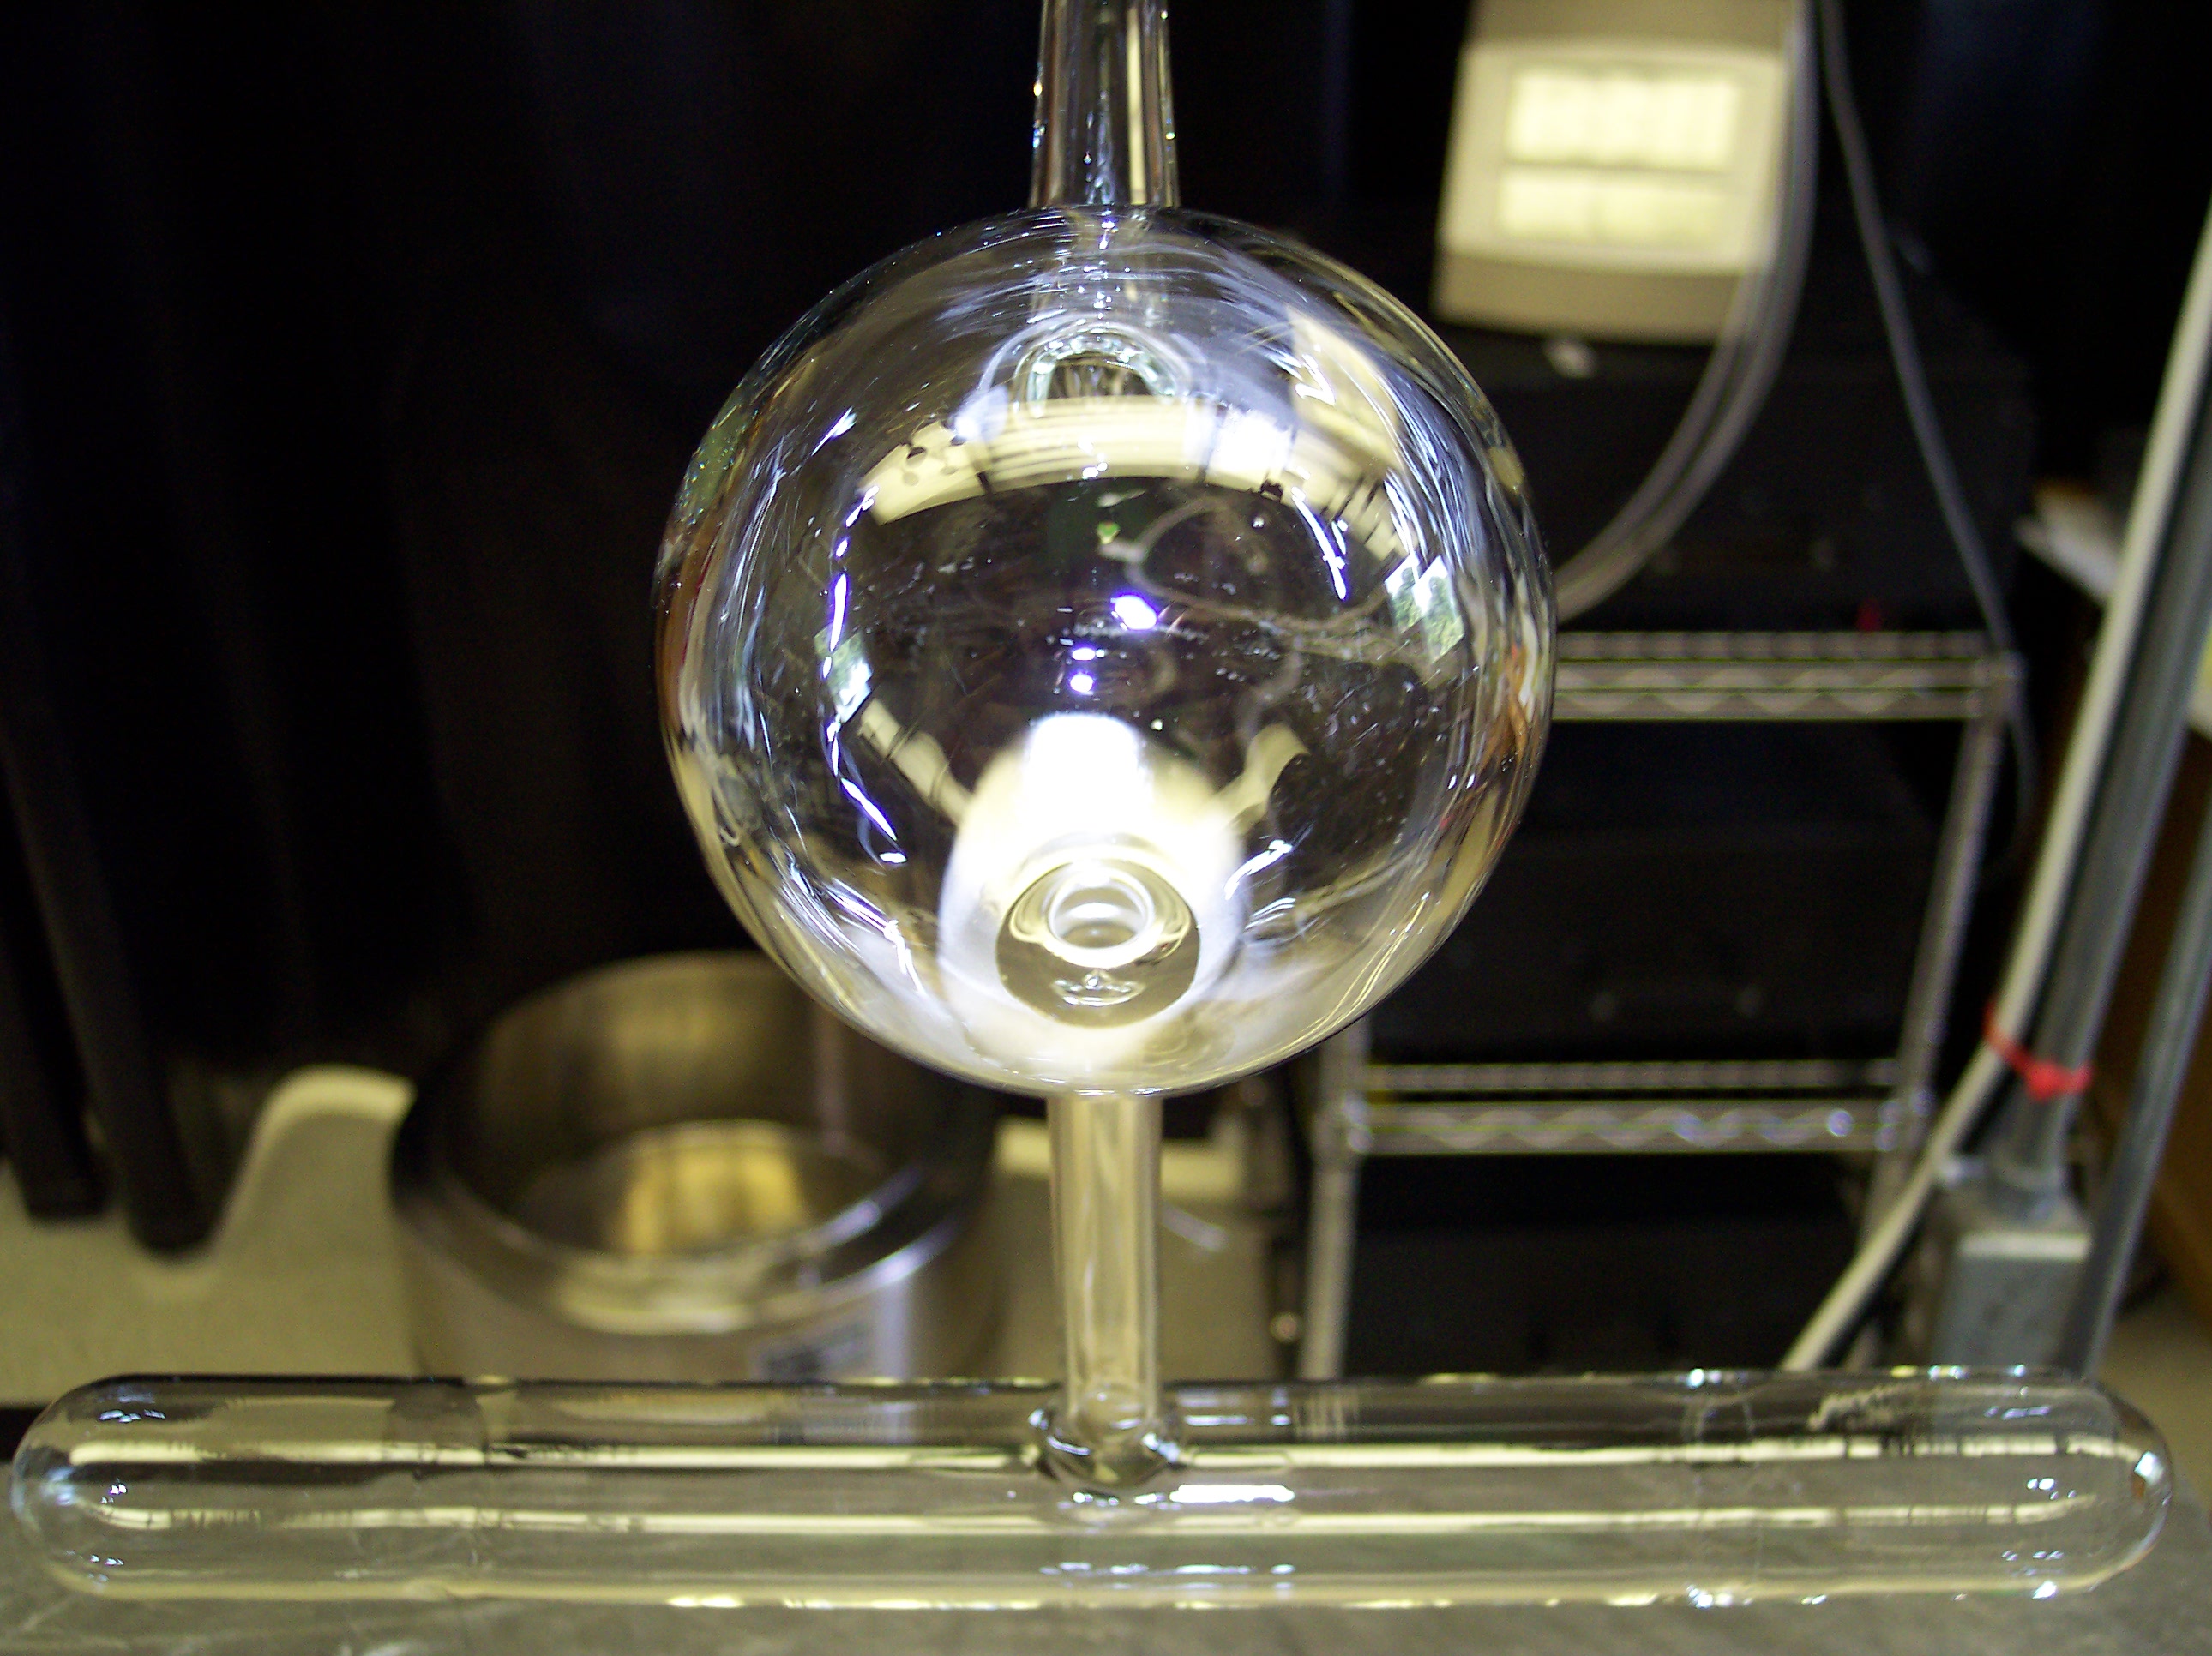
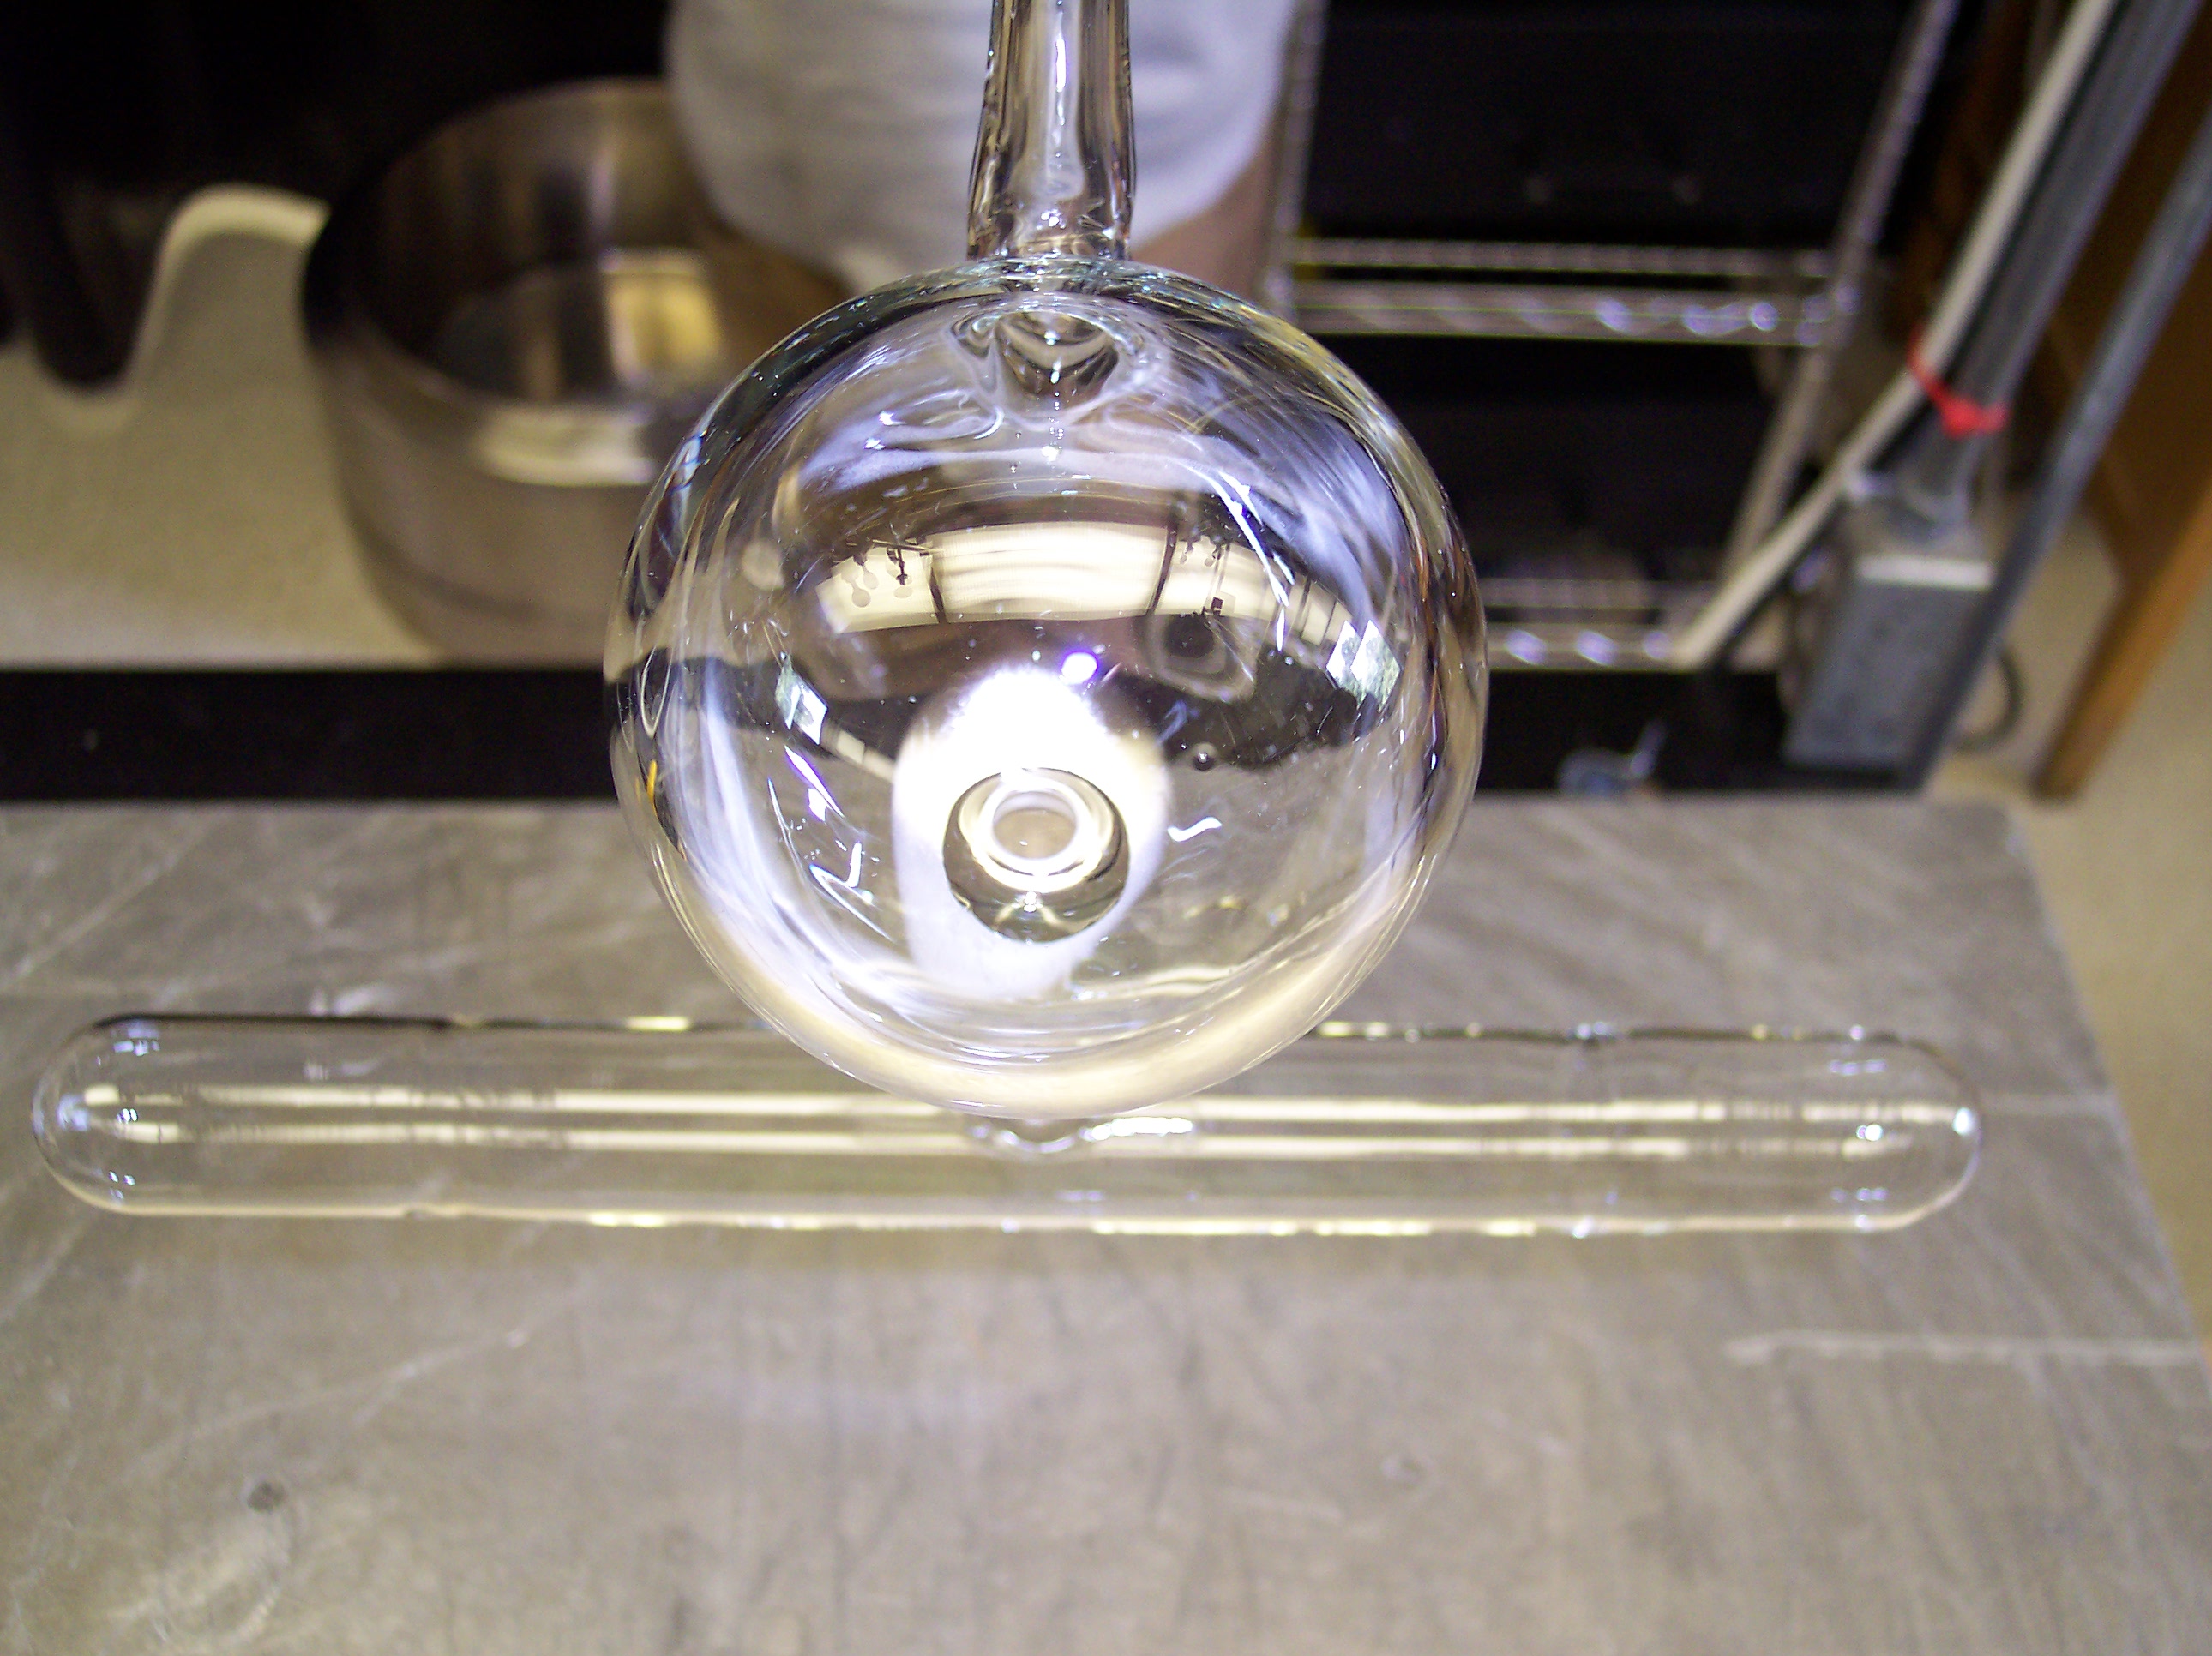
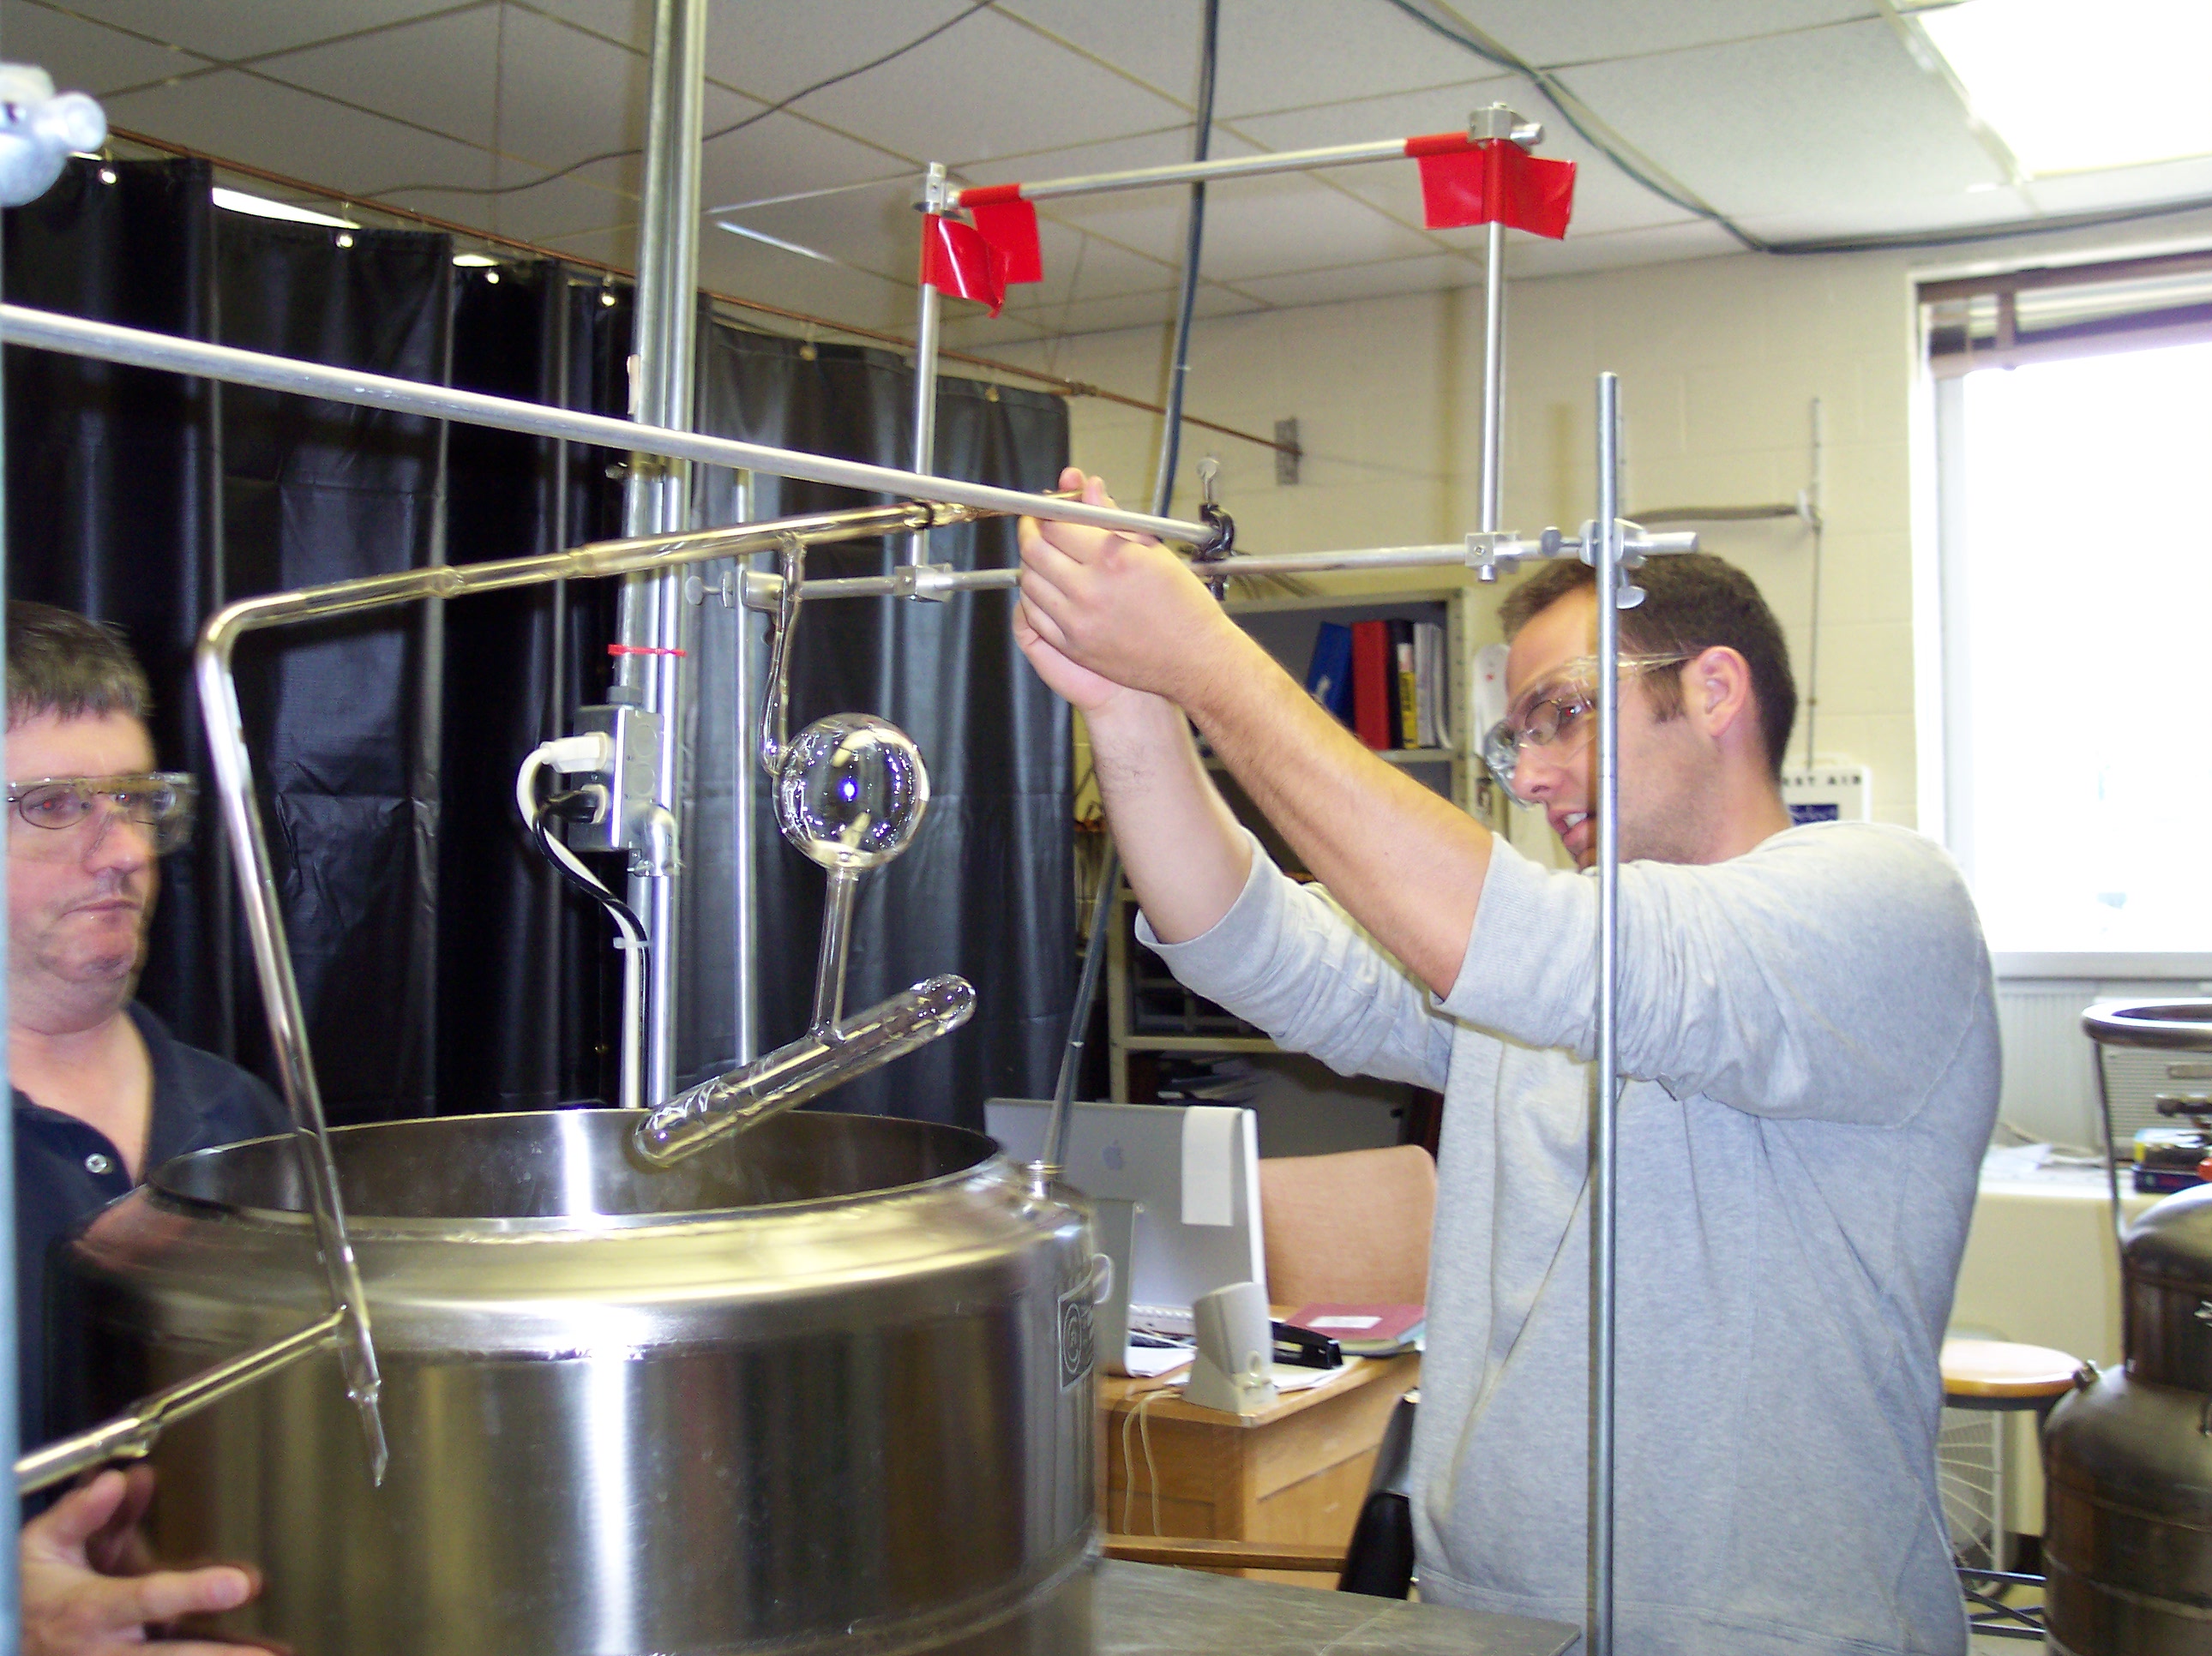
The string from which the target cell is hanging off is installed with clamps so that measurements of the cell can be taken. A target cell consists of the target chamber (covered horizontal part), the transfer tube (vertical), the pumping chamber (sphere) and the pull-off that connects the cell to the string. After the dimensions have been measured the different parts of the manifold are put together.
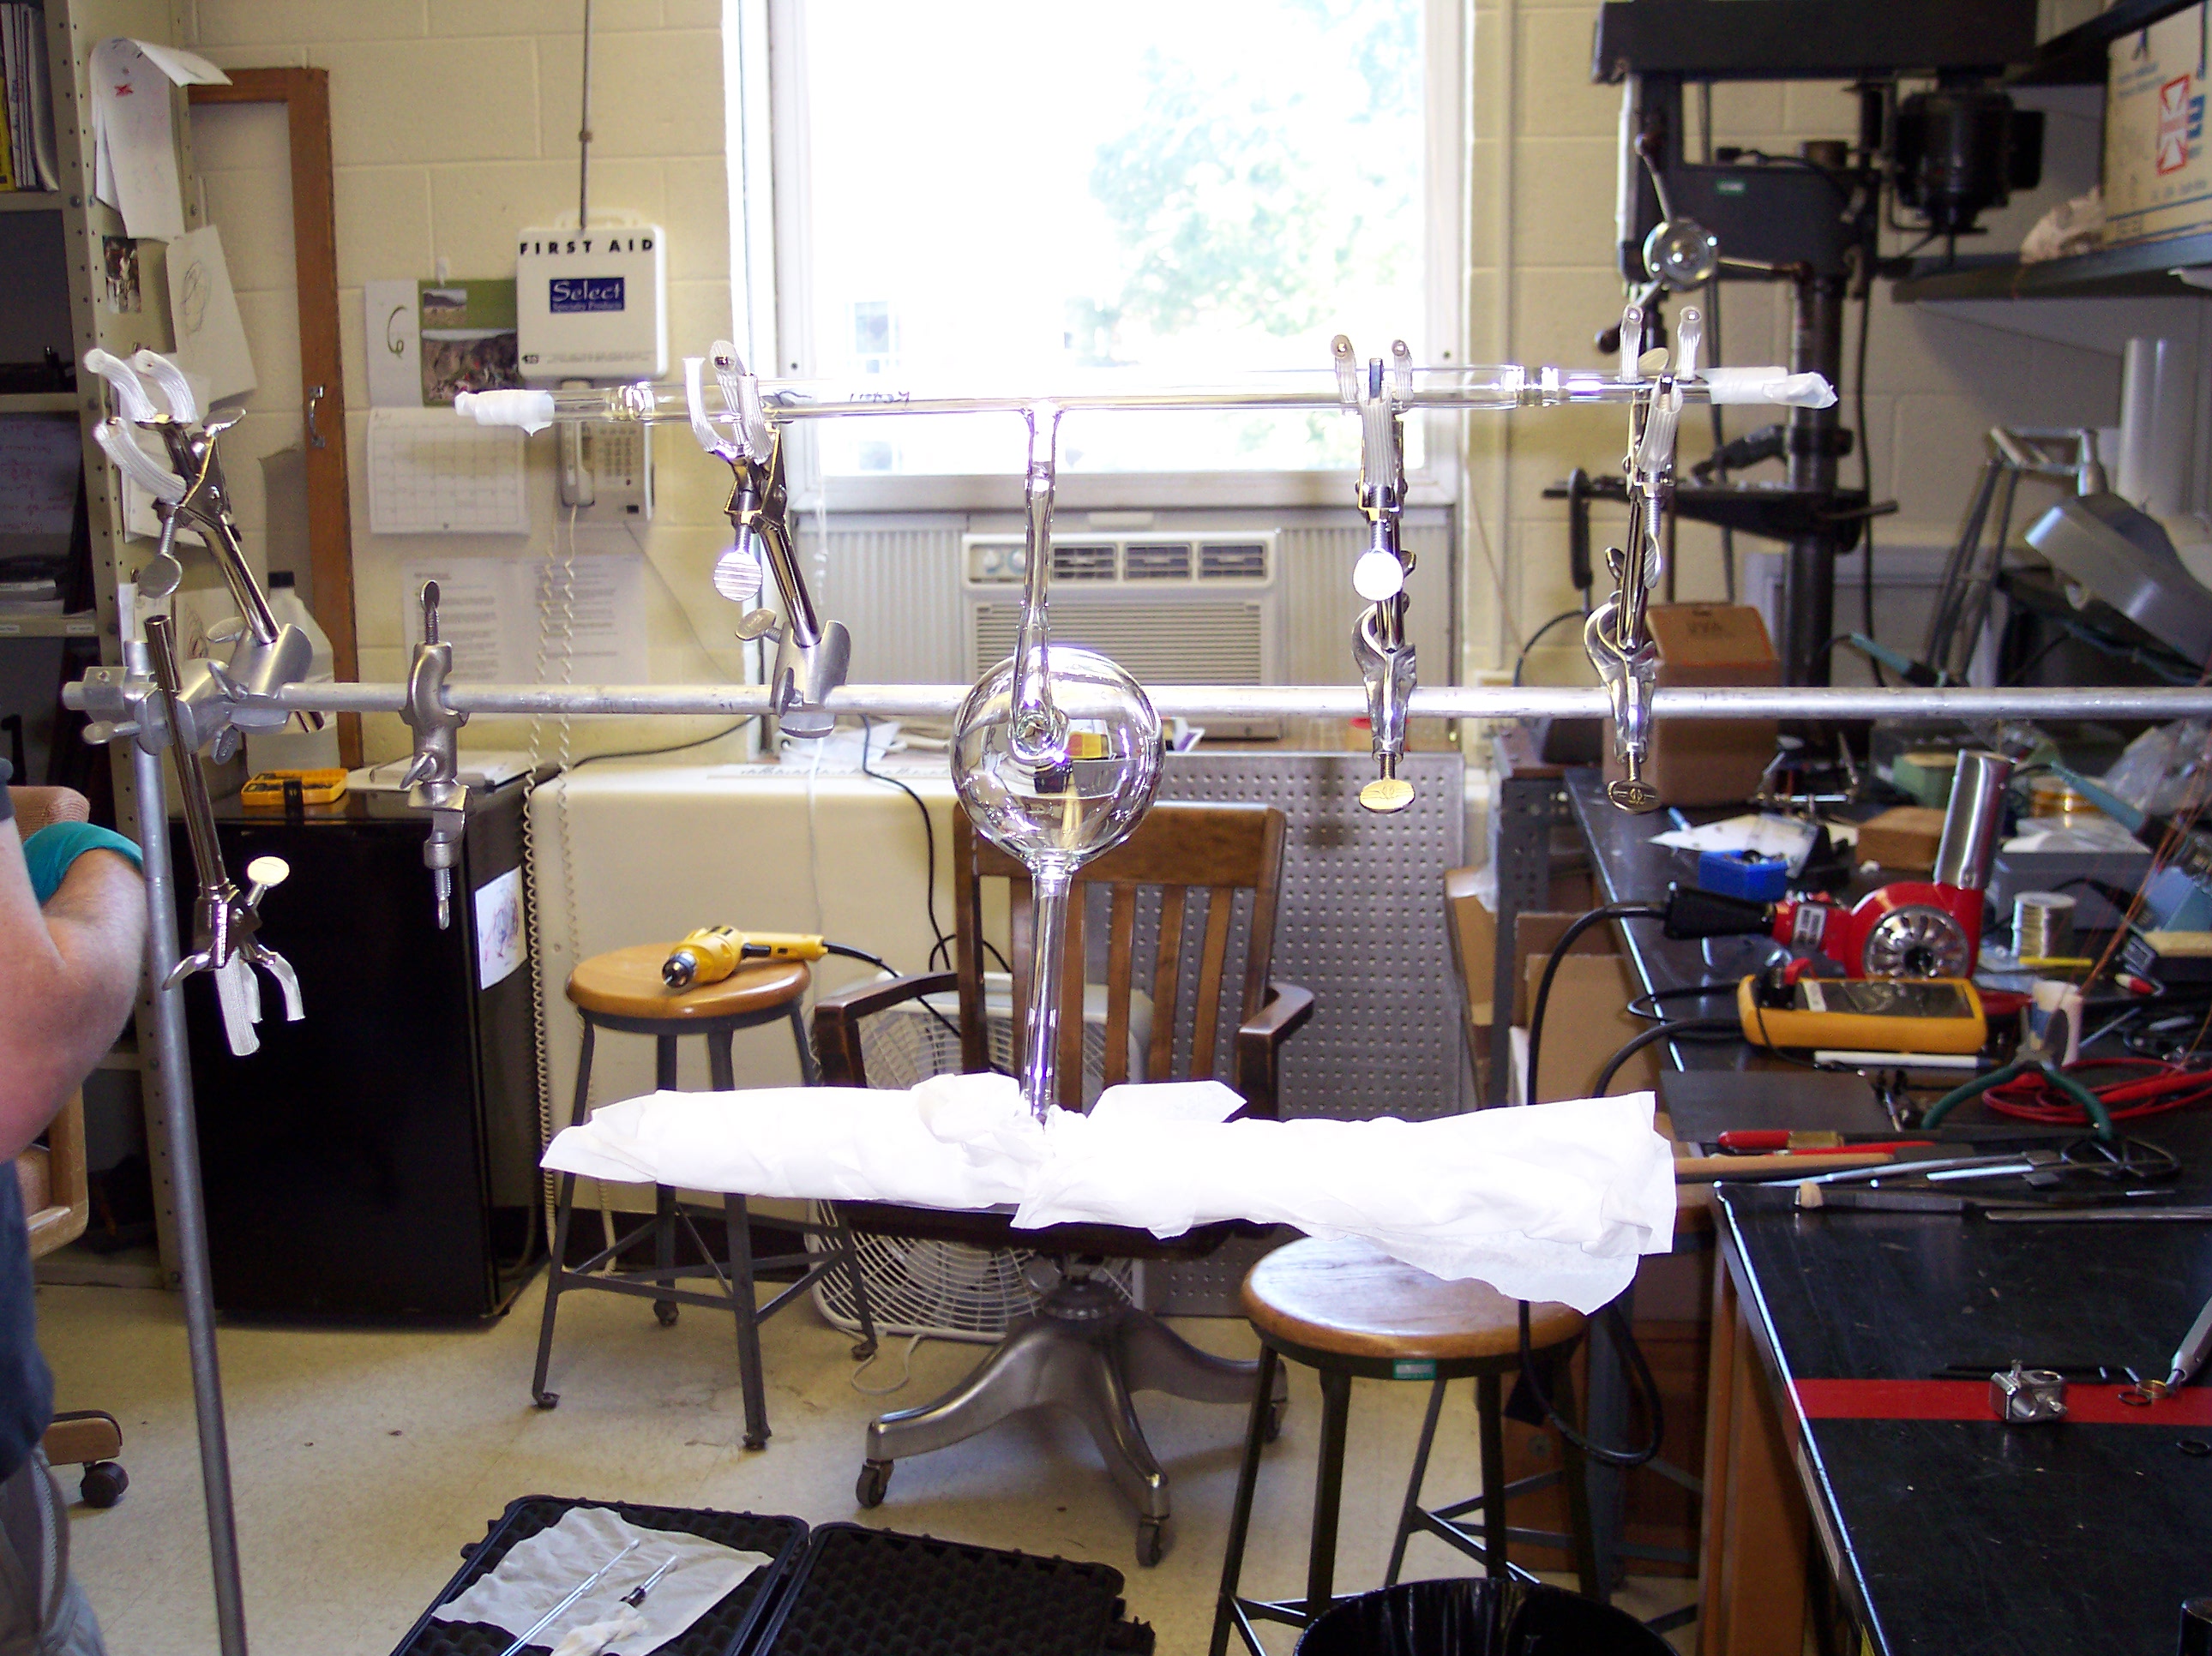
Todd Averett prepares to put the retort onto the string.
Using glassblowing techniques the manifold that came in parts has been put together.

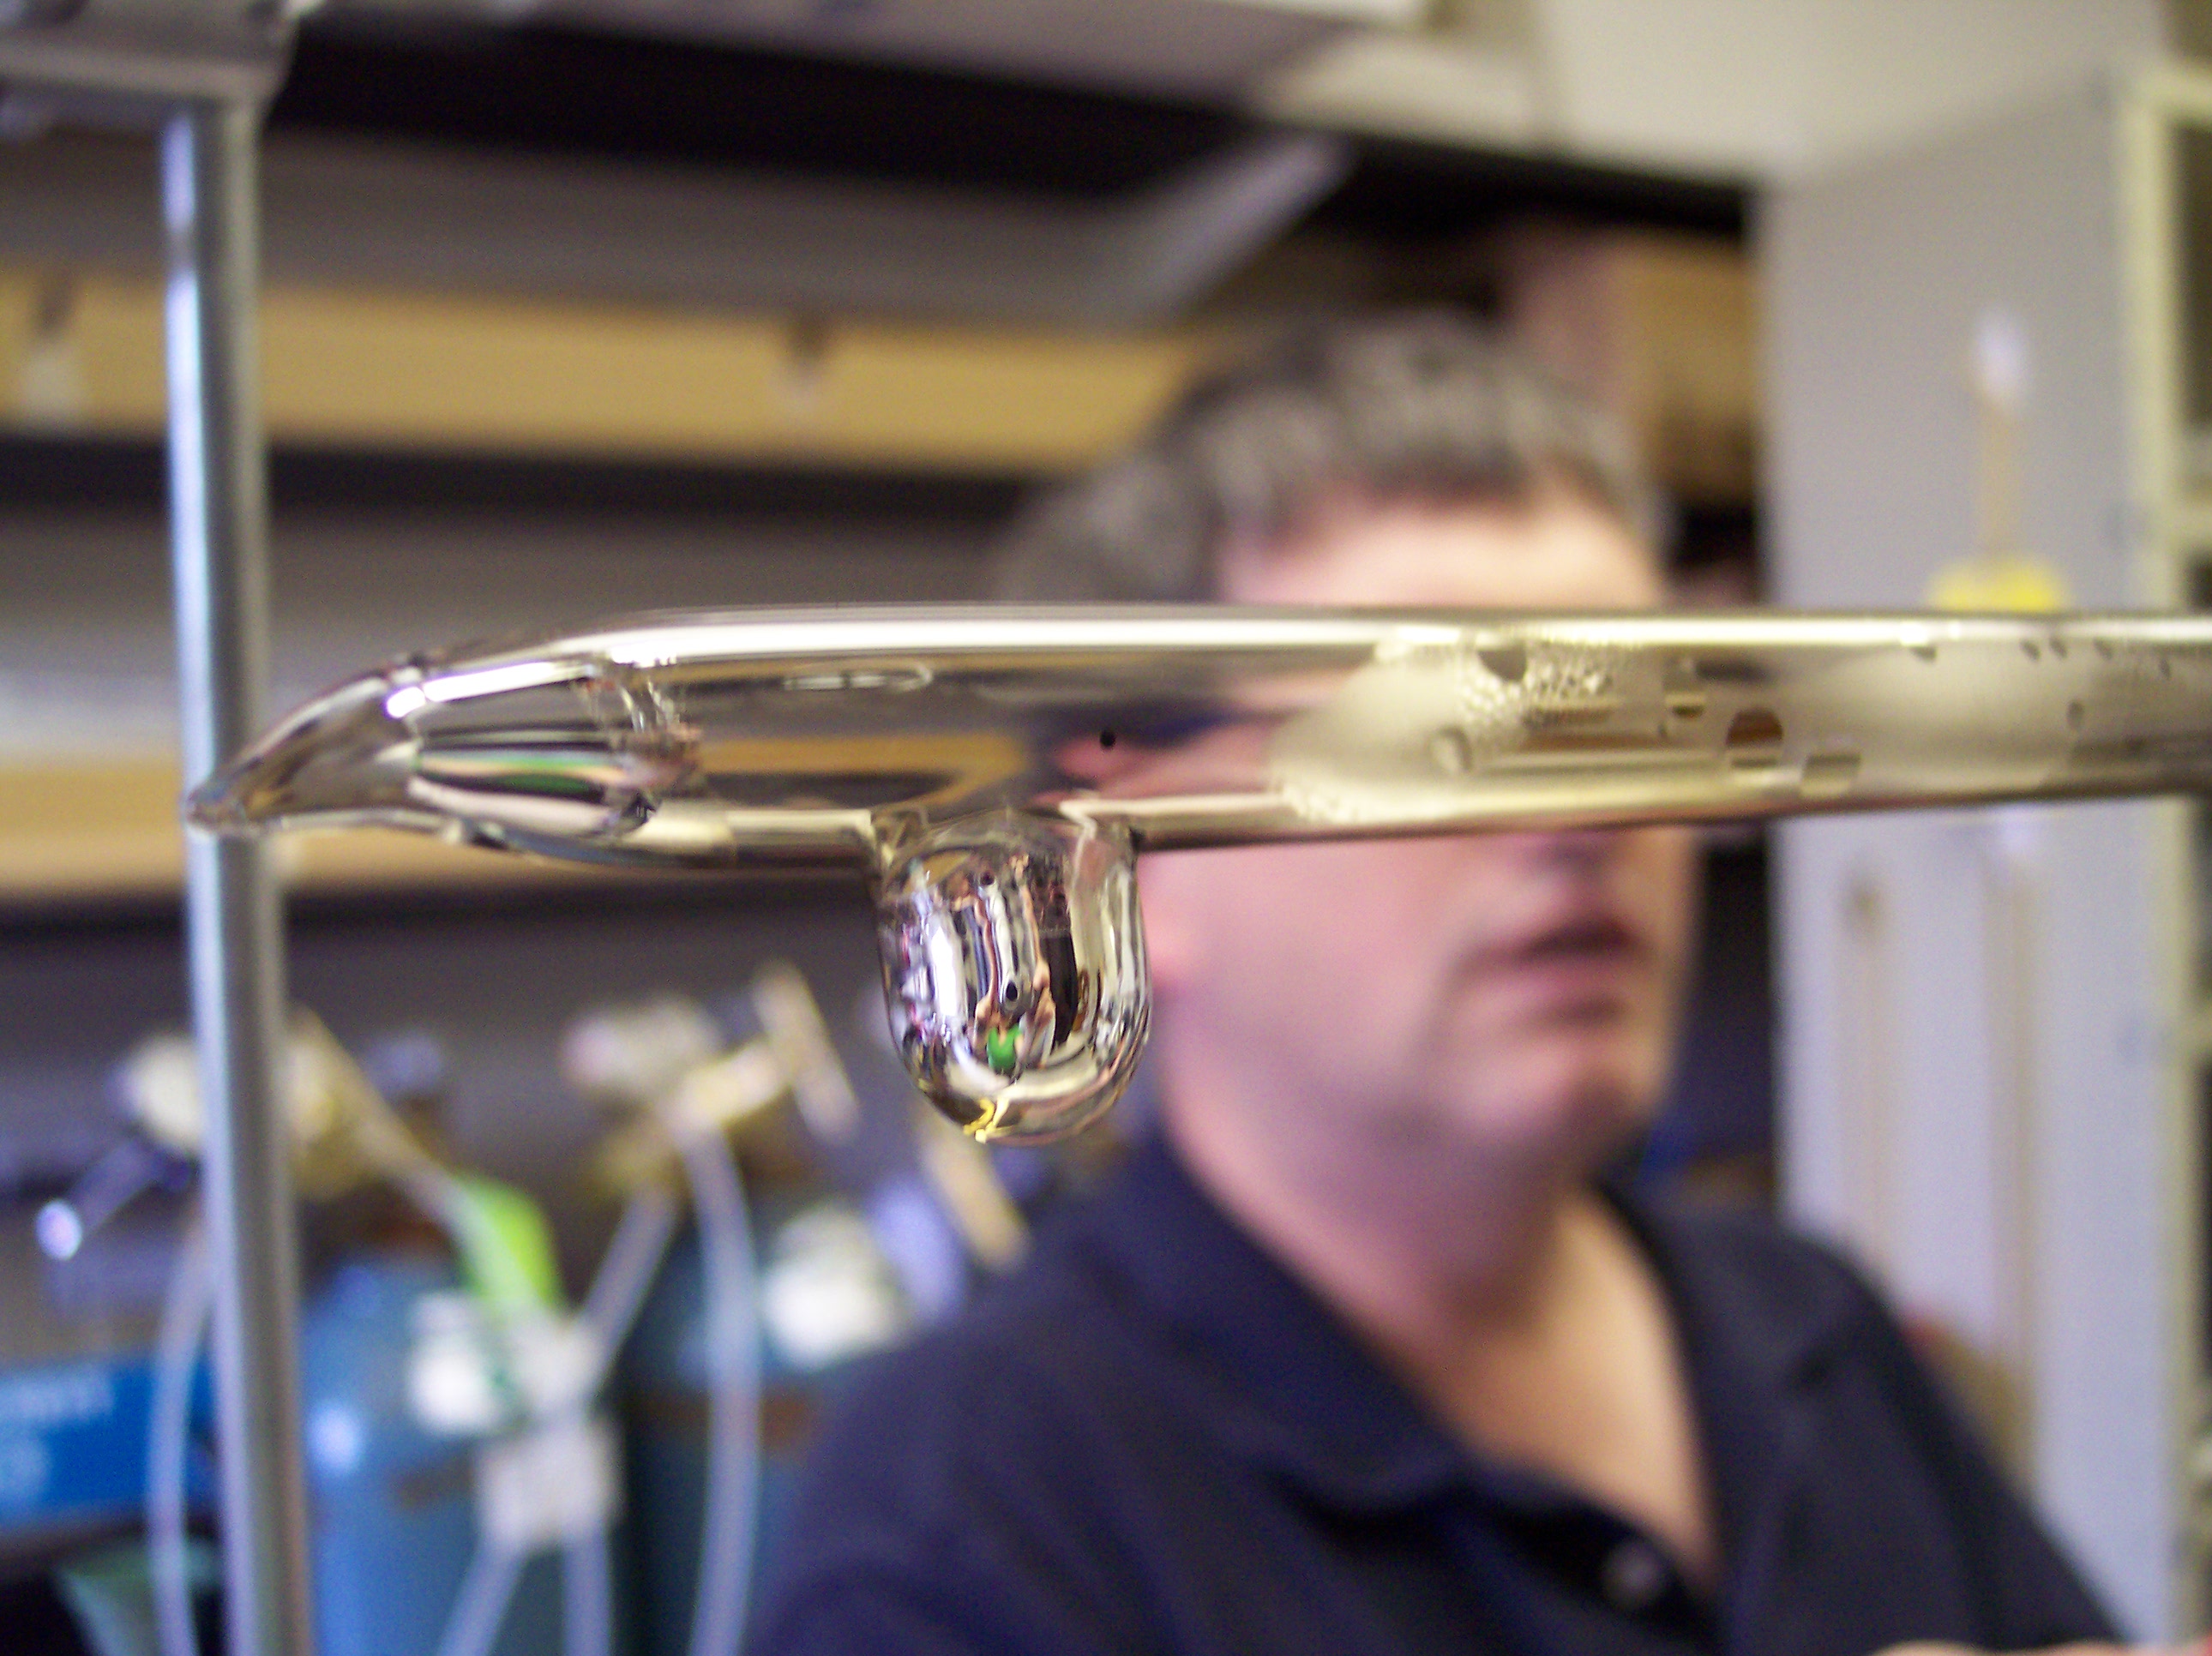
On the left of the manifold is the so-called “retort”, a vertical tube that is at this point open on the upper end. A little further to the center of the picture a small bump pointing downwards can be seen; this is the dip.
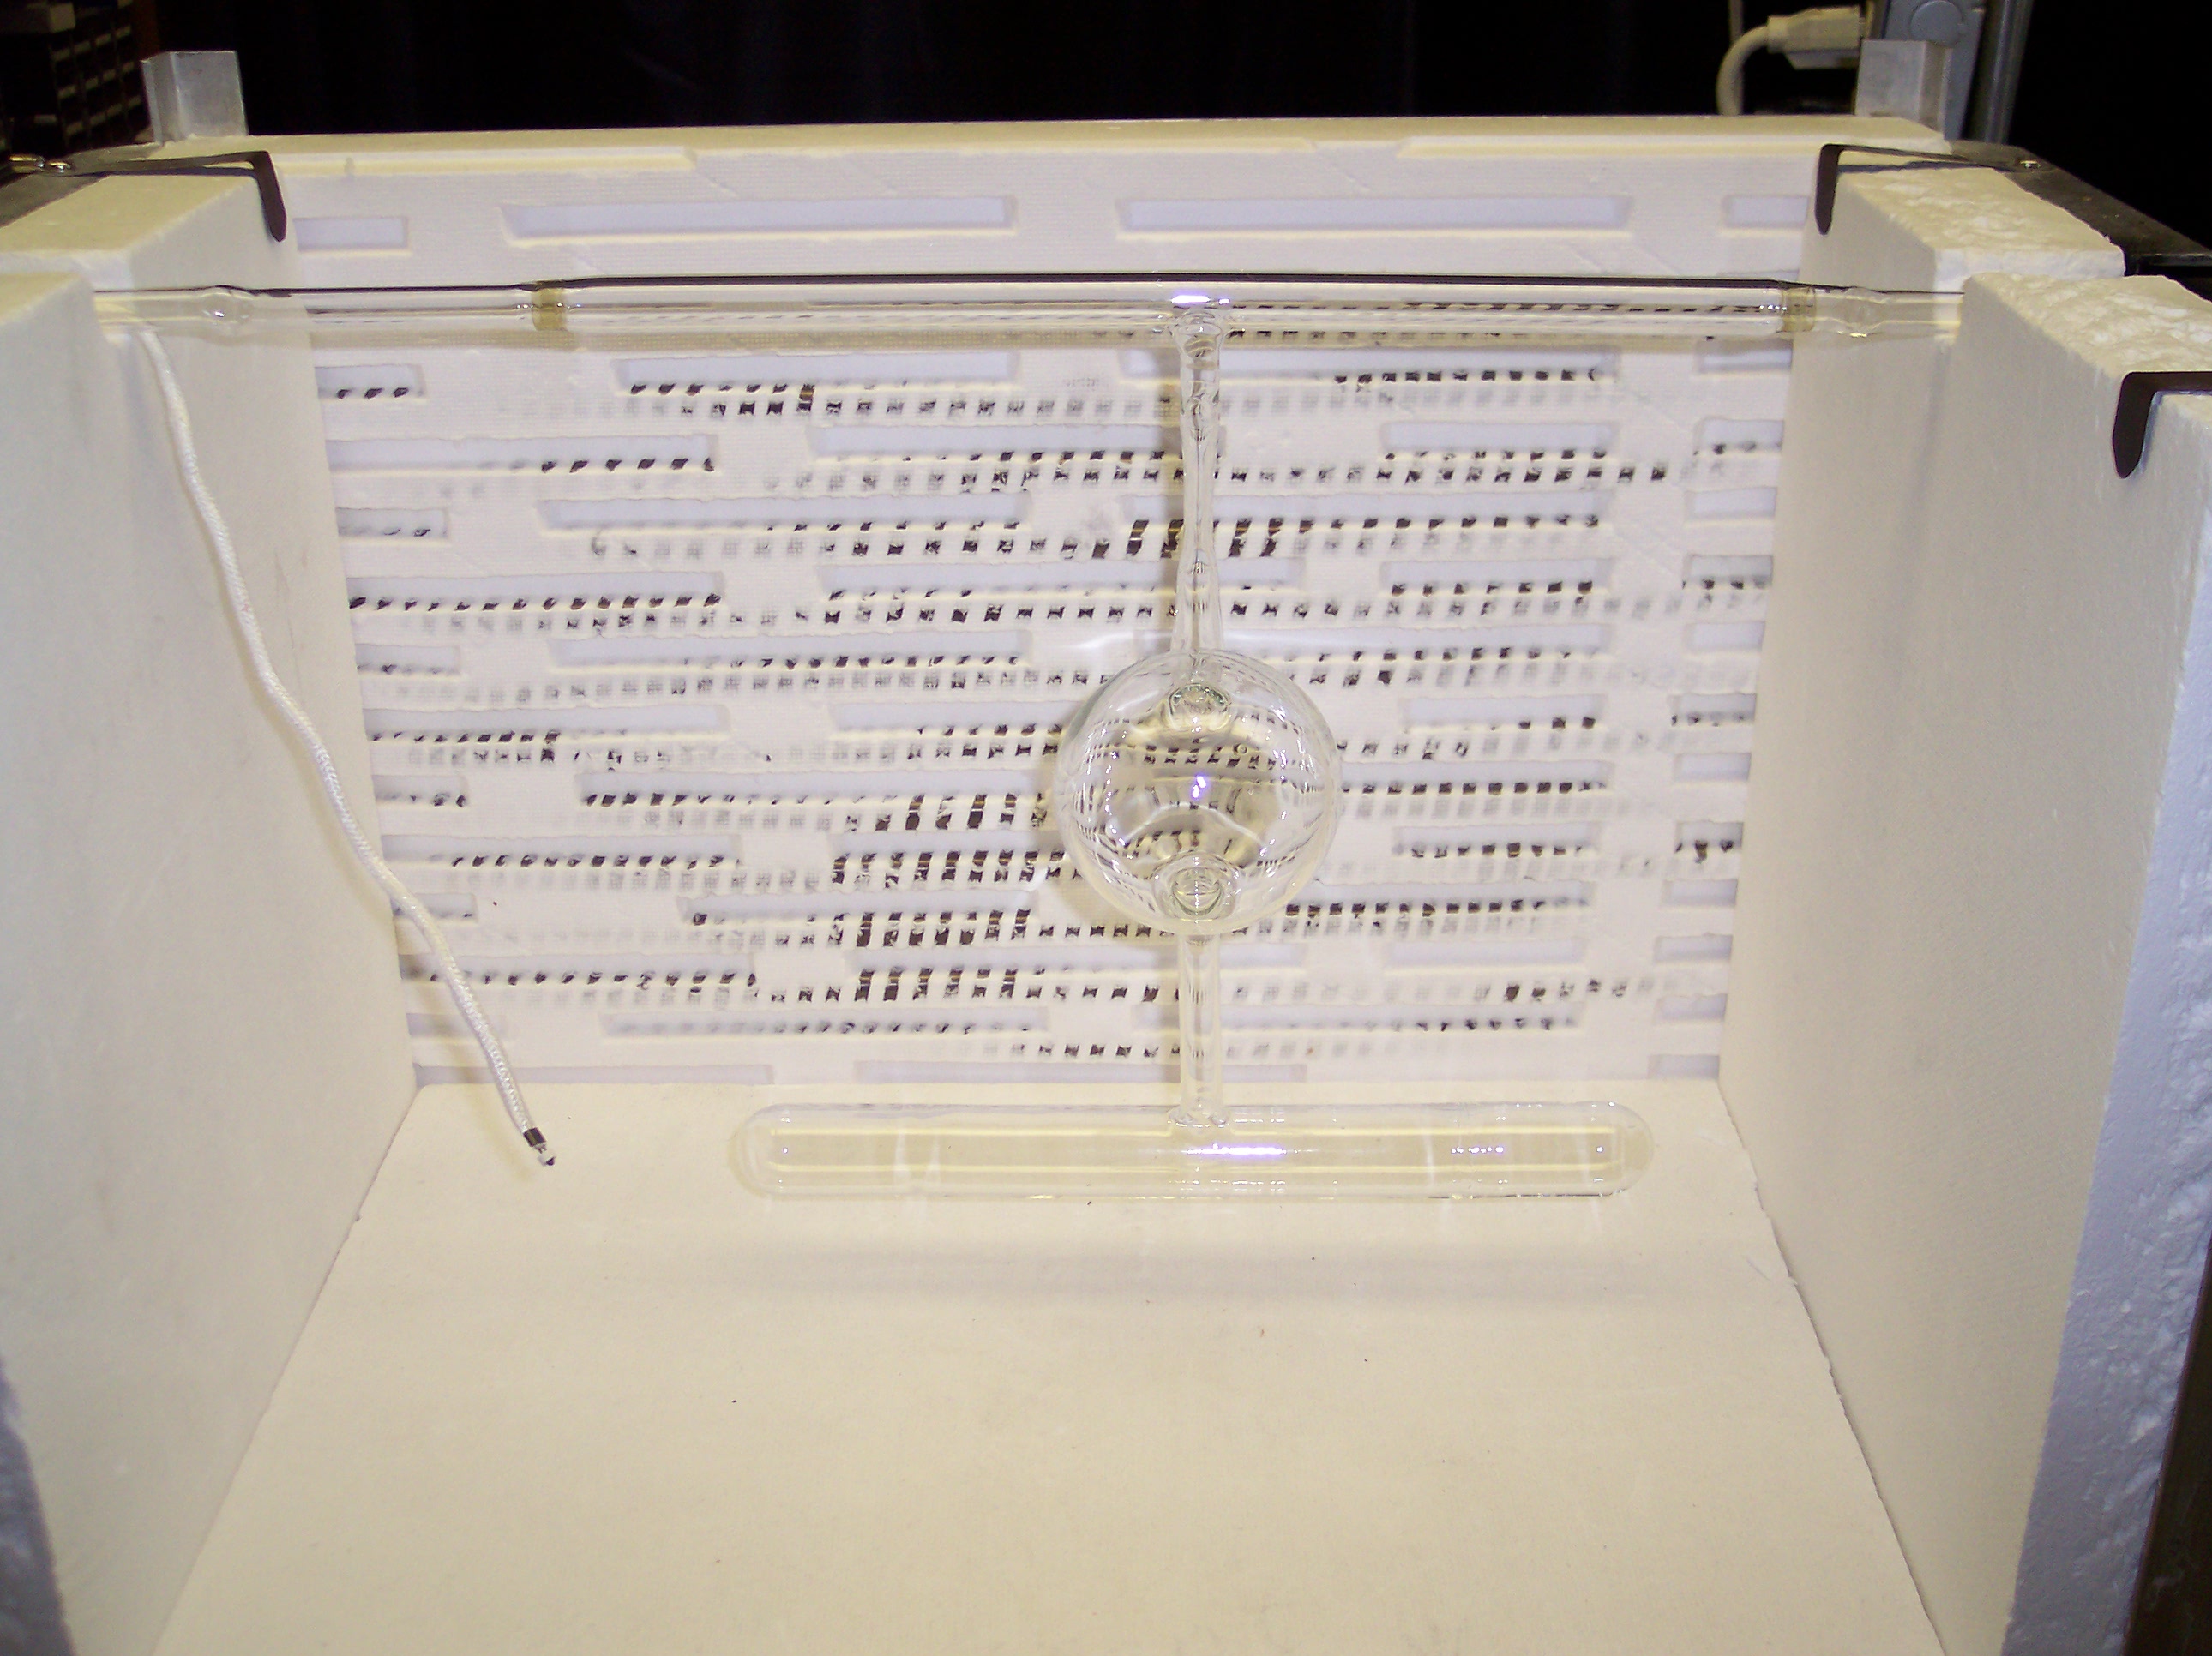
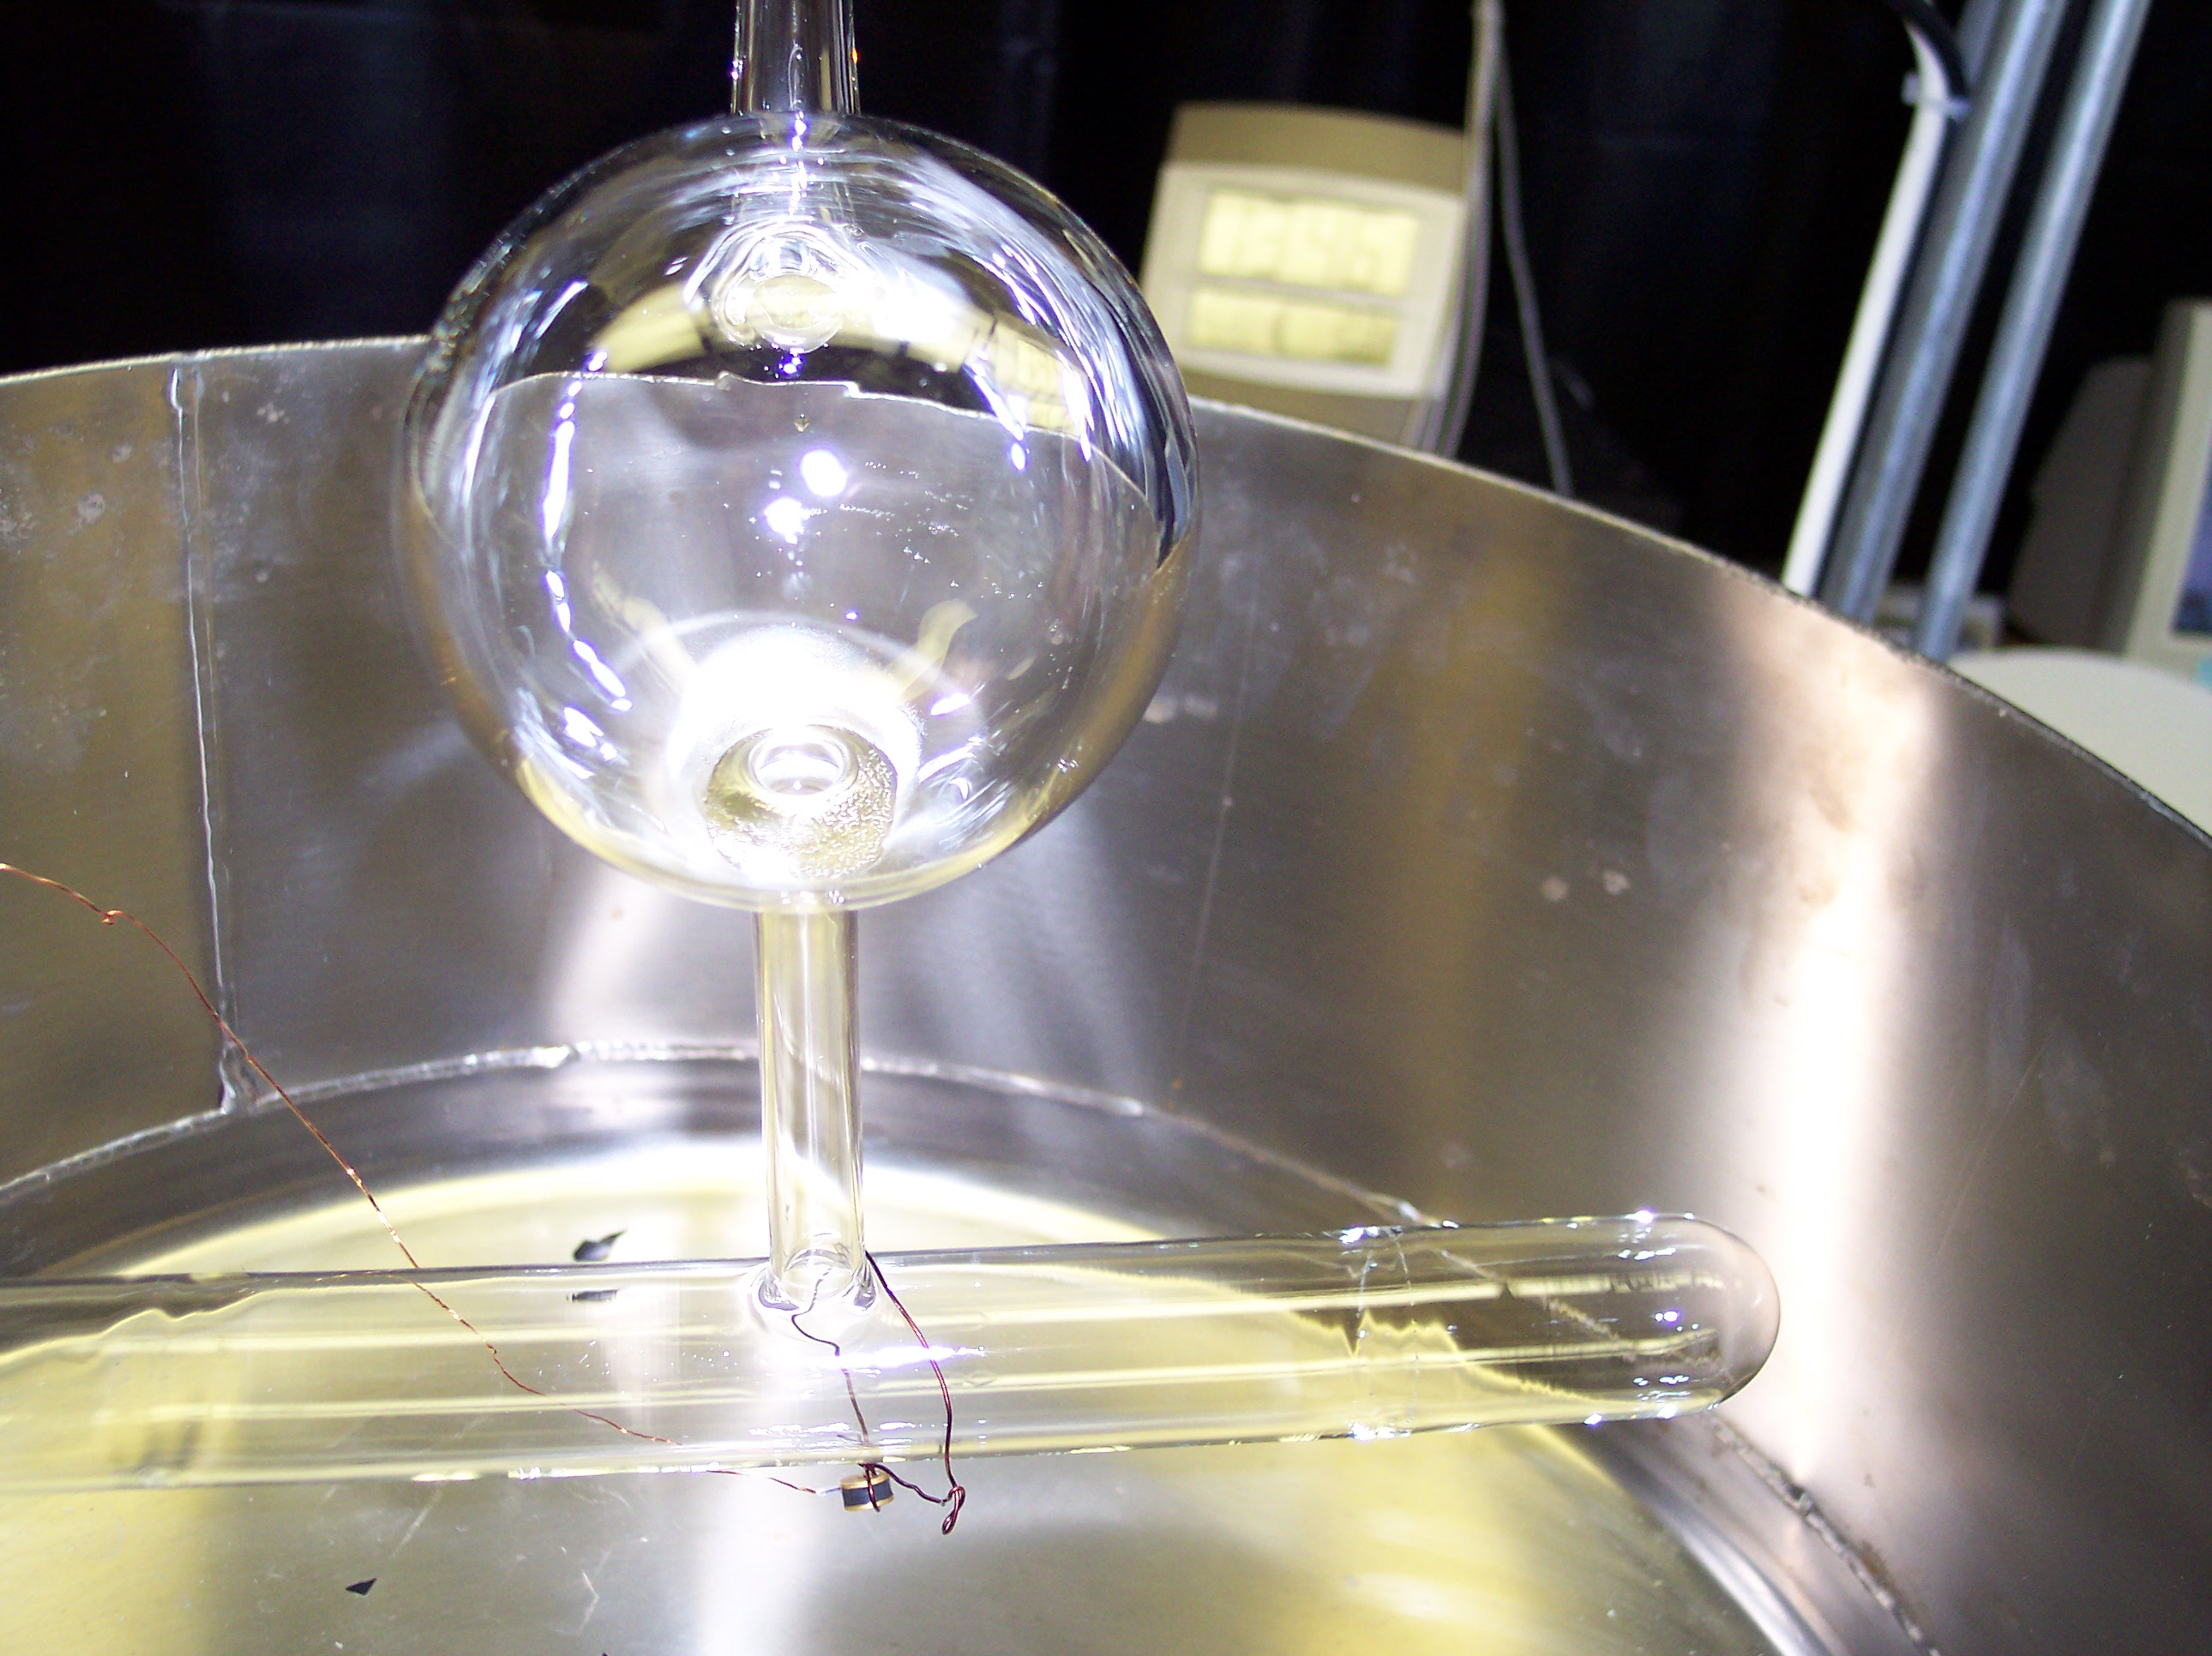
The cell hangs in the oven, waiting to be heated up to 420<sup>o</sup>C and baked out for five and a half days. The cell itself and the thicker part of the string, bordered by the stripes of yellowish glass, are made of Alumiosilicate, or GE-180, a special glass that is extremely hard to work with. The other parts of the manifold are made of Borosilicate, or Pyrex. As these two glasses can't be directly connected, the yellow glass, Uranium glass, is put in between them. Aluminosilicate glass is used because helium can hardly go through walls of this glass and it also minimizes depolarization.
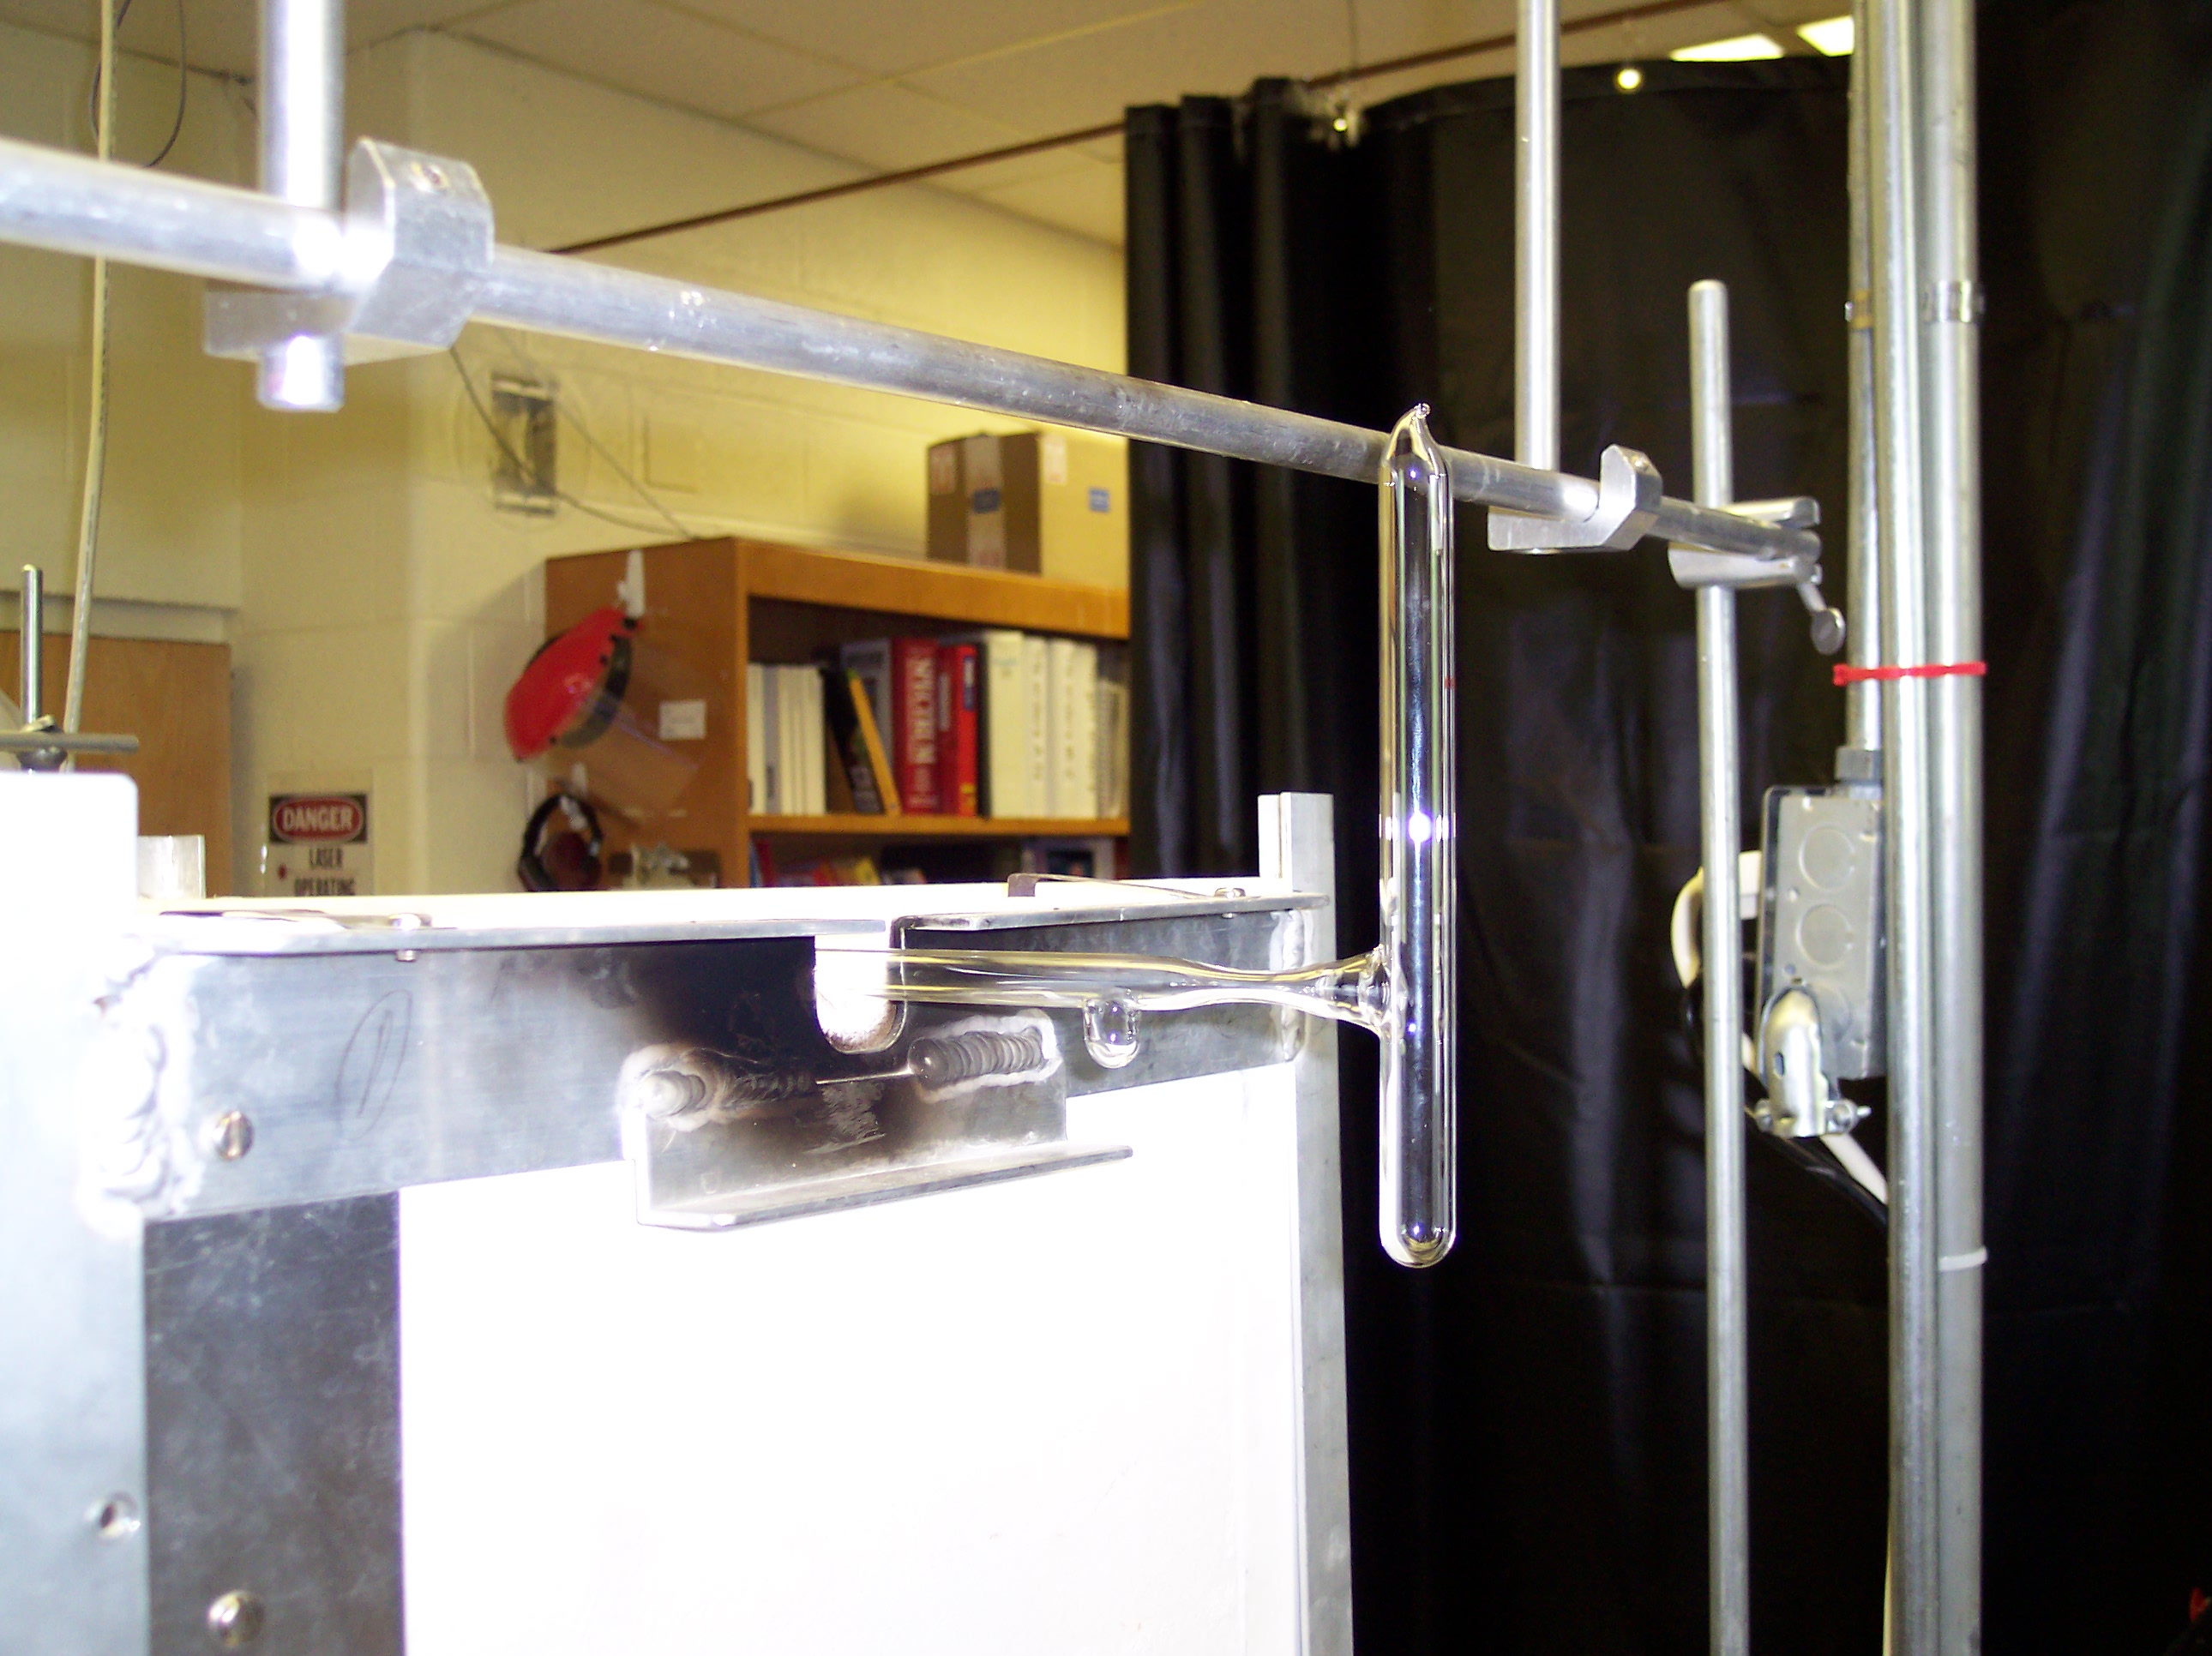
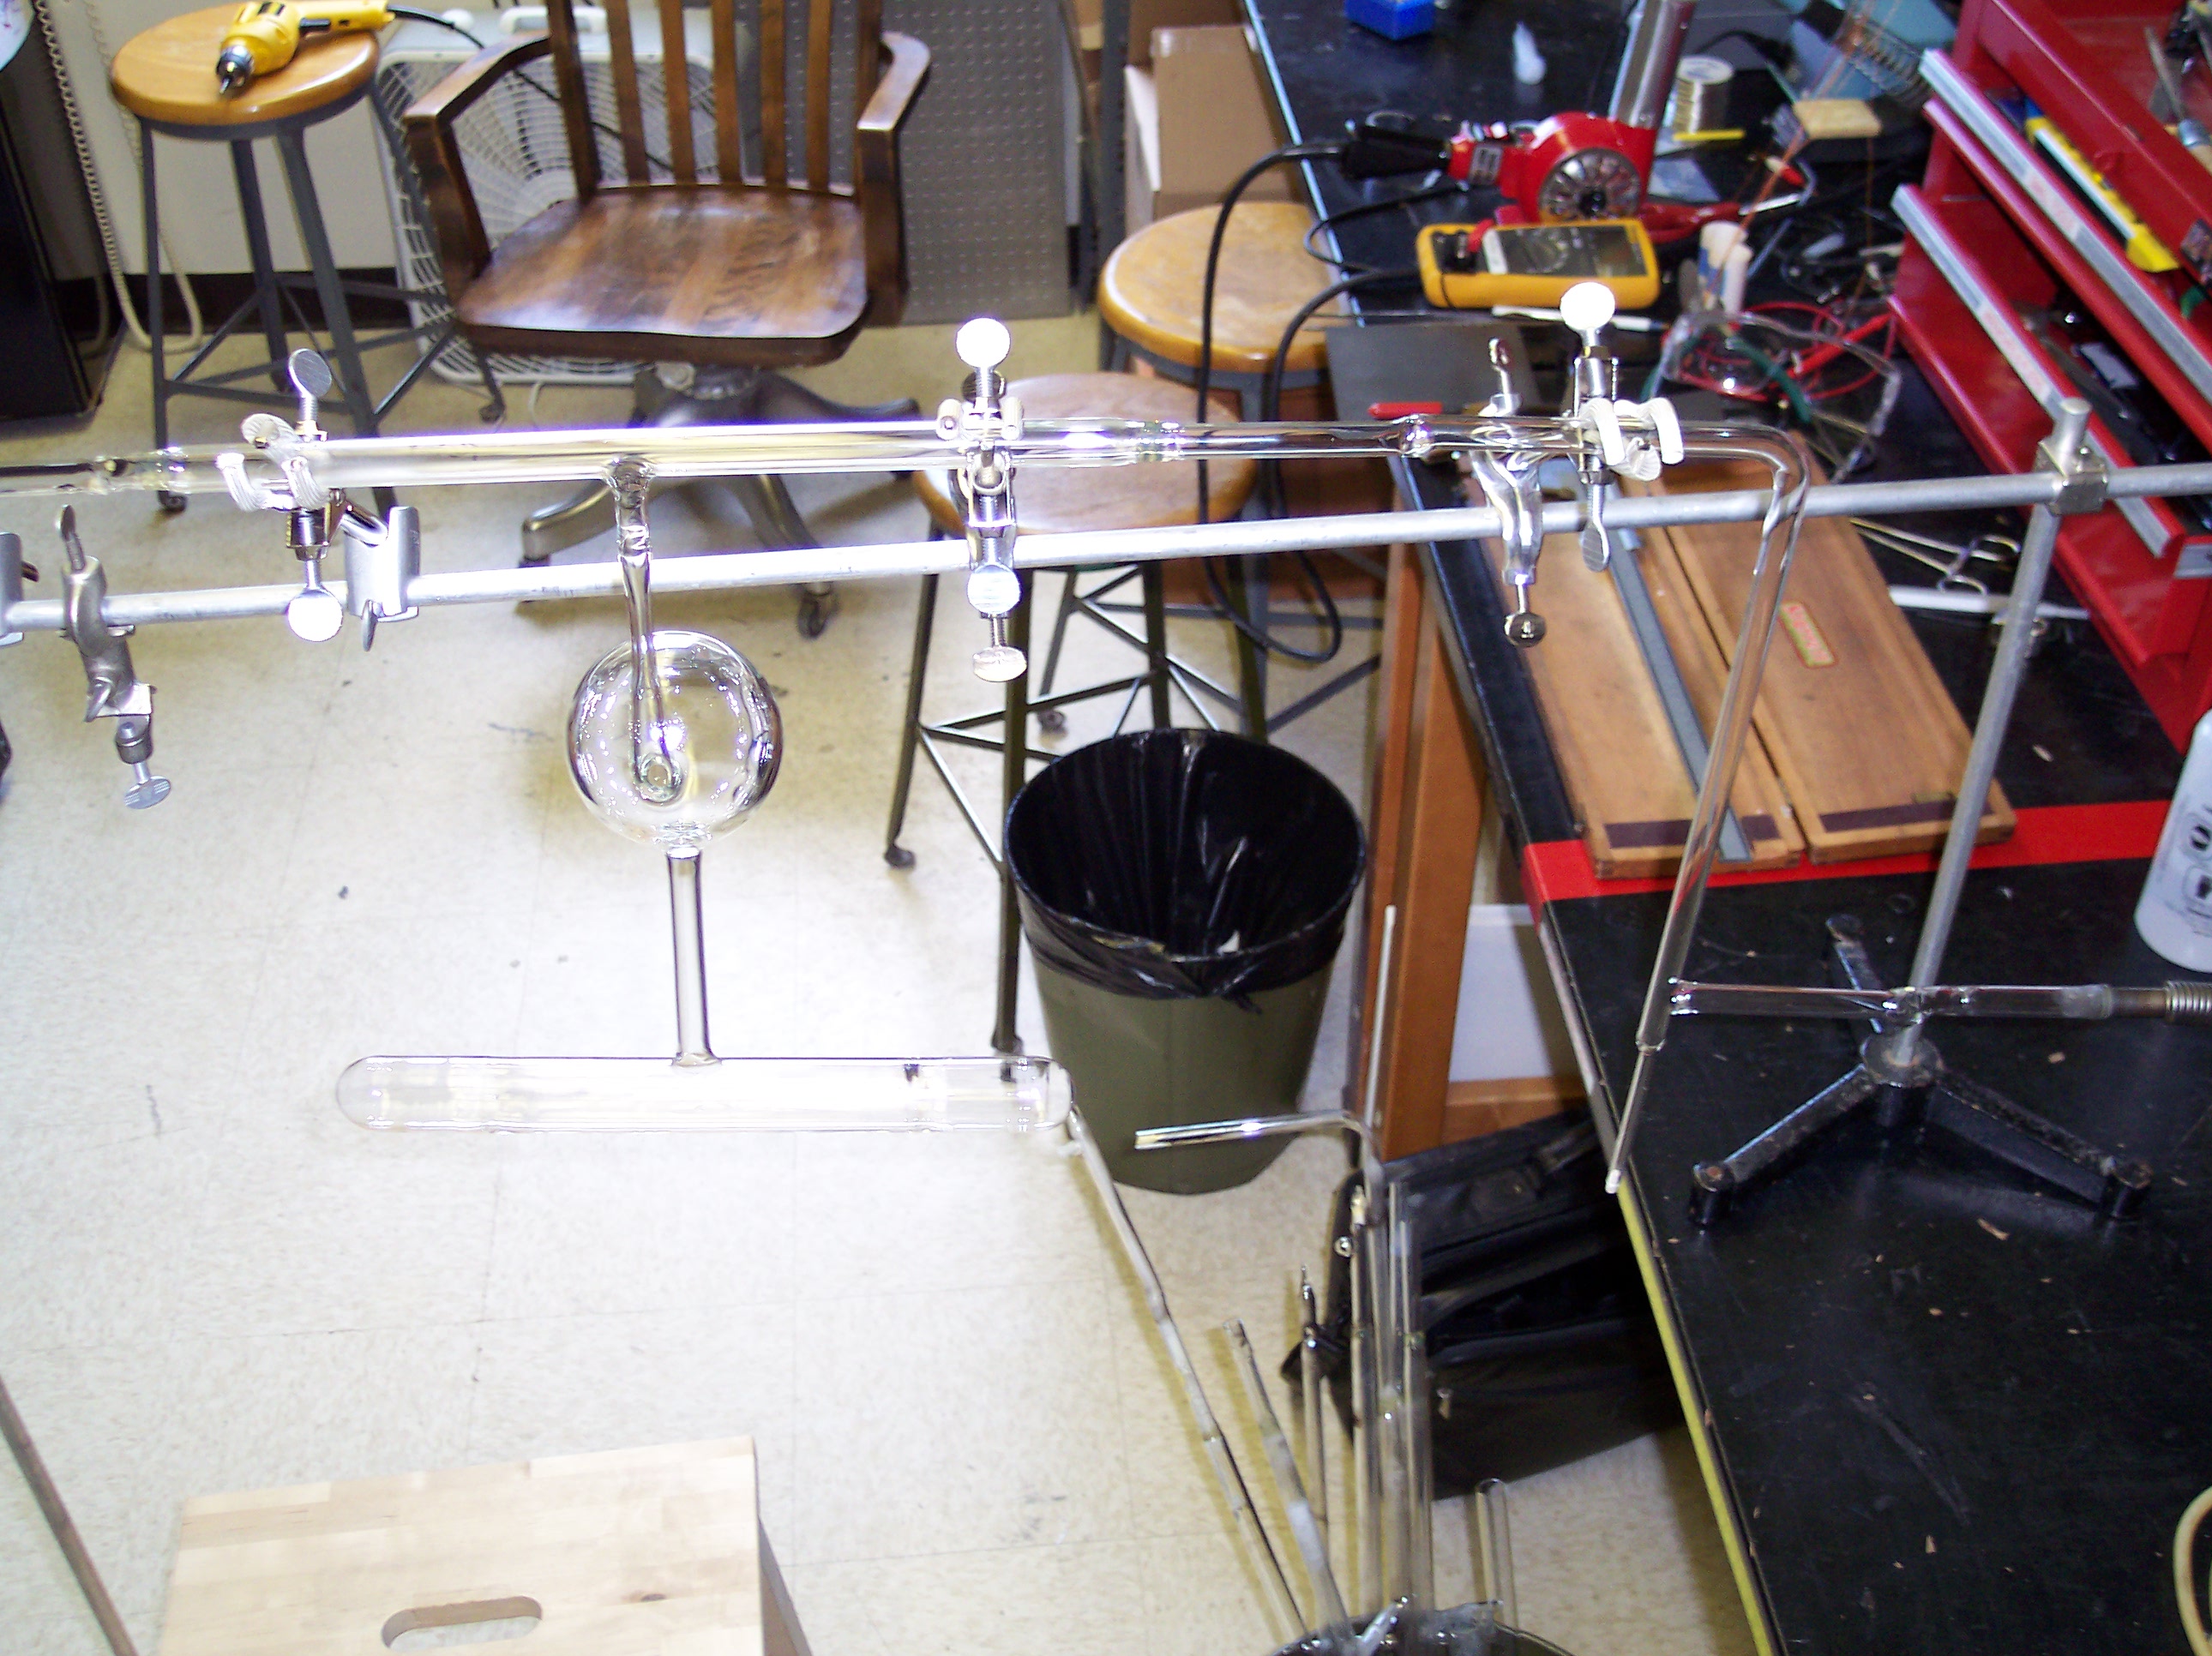
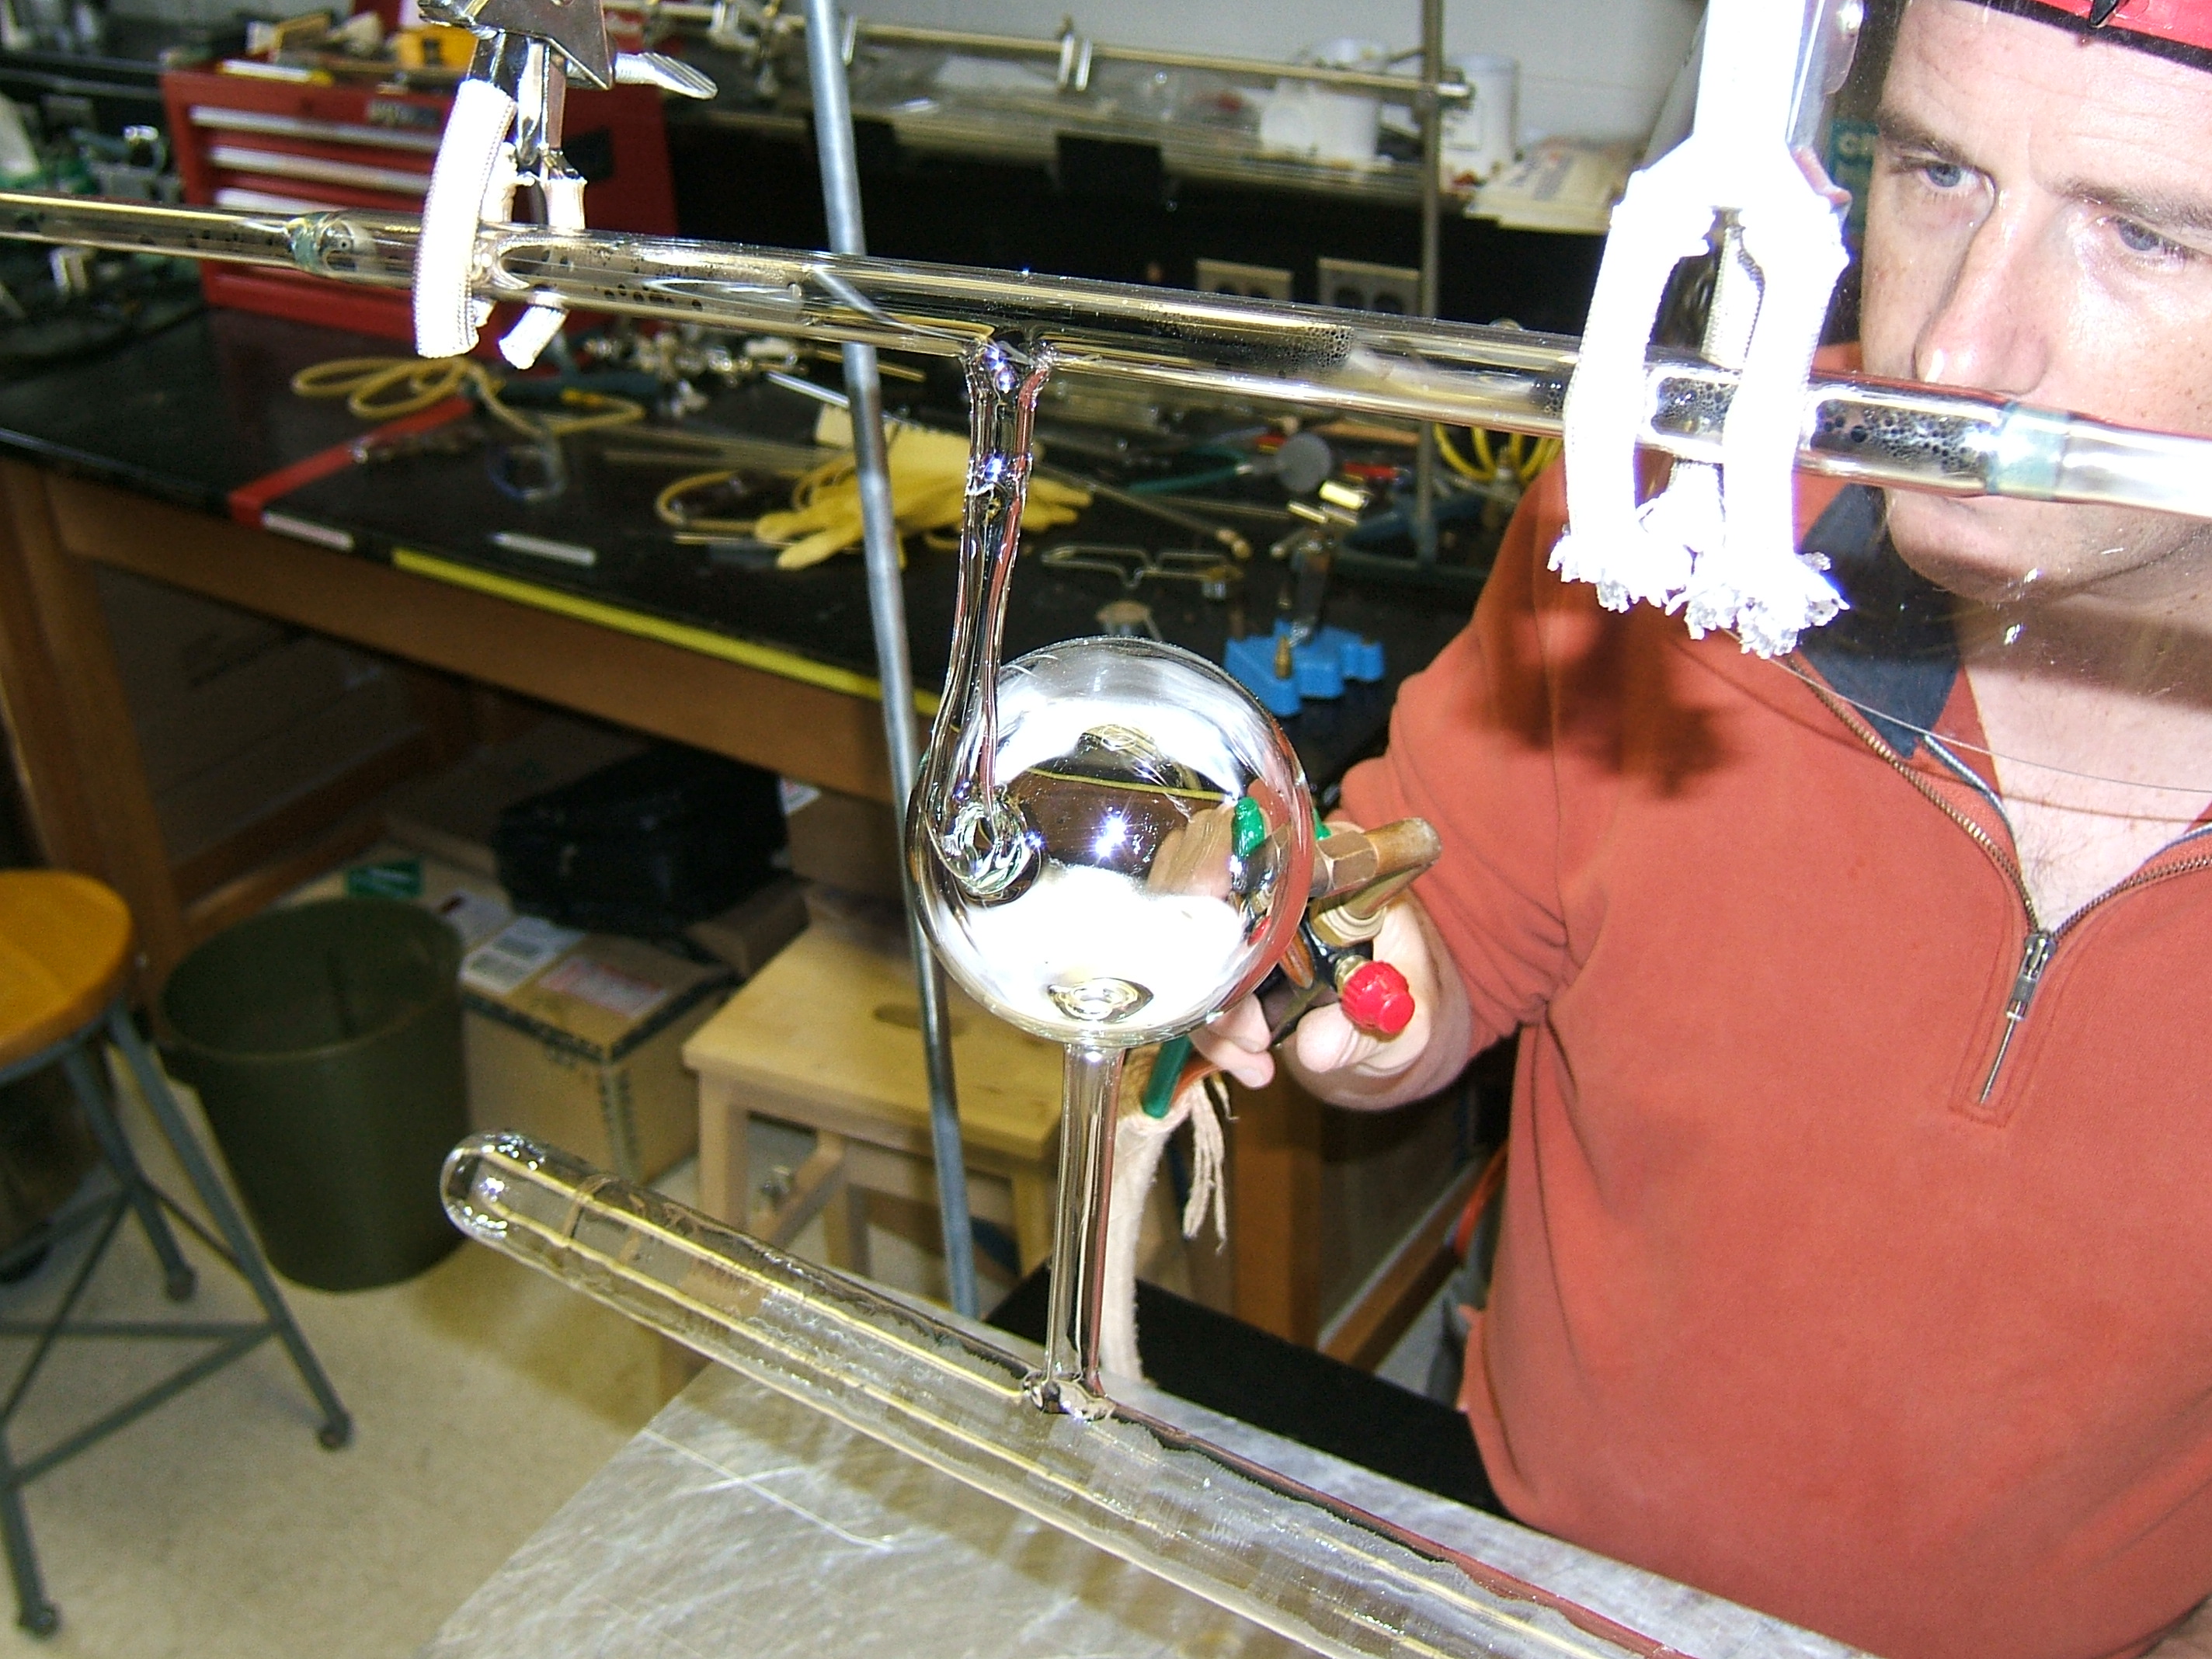
Nitrogen was flowed through the string and the cell to get rid of any humidity from glassblowing inside the glass volume. Then the retort has been closed, as seen on this picture.
The cell in the bake-out oven with the closed retort to the right.

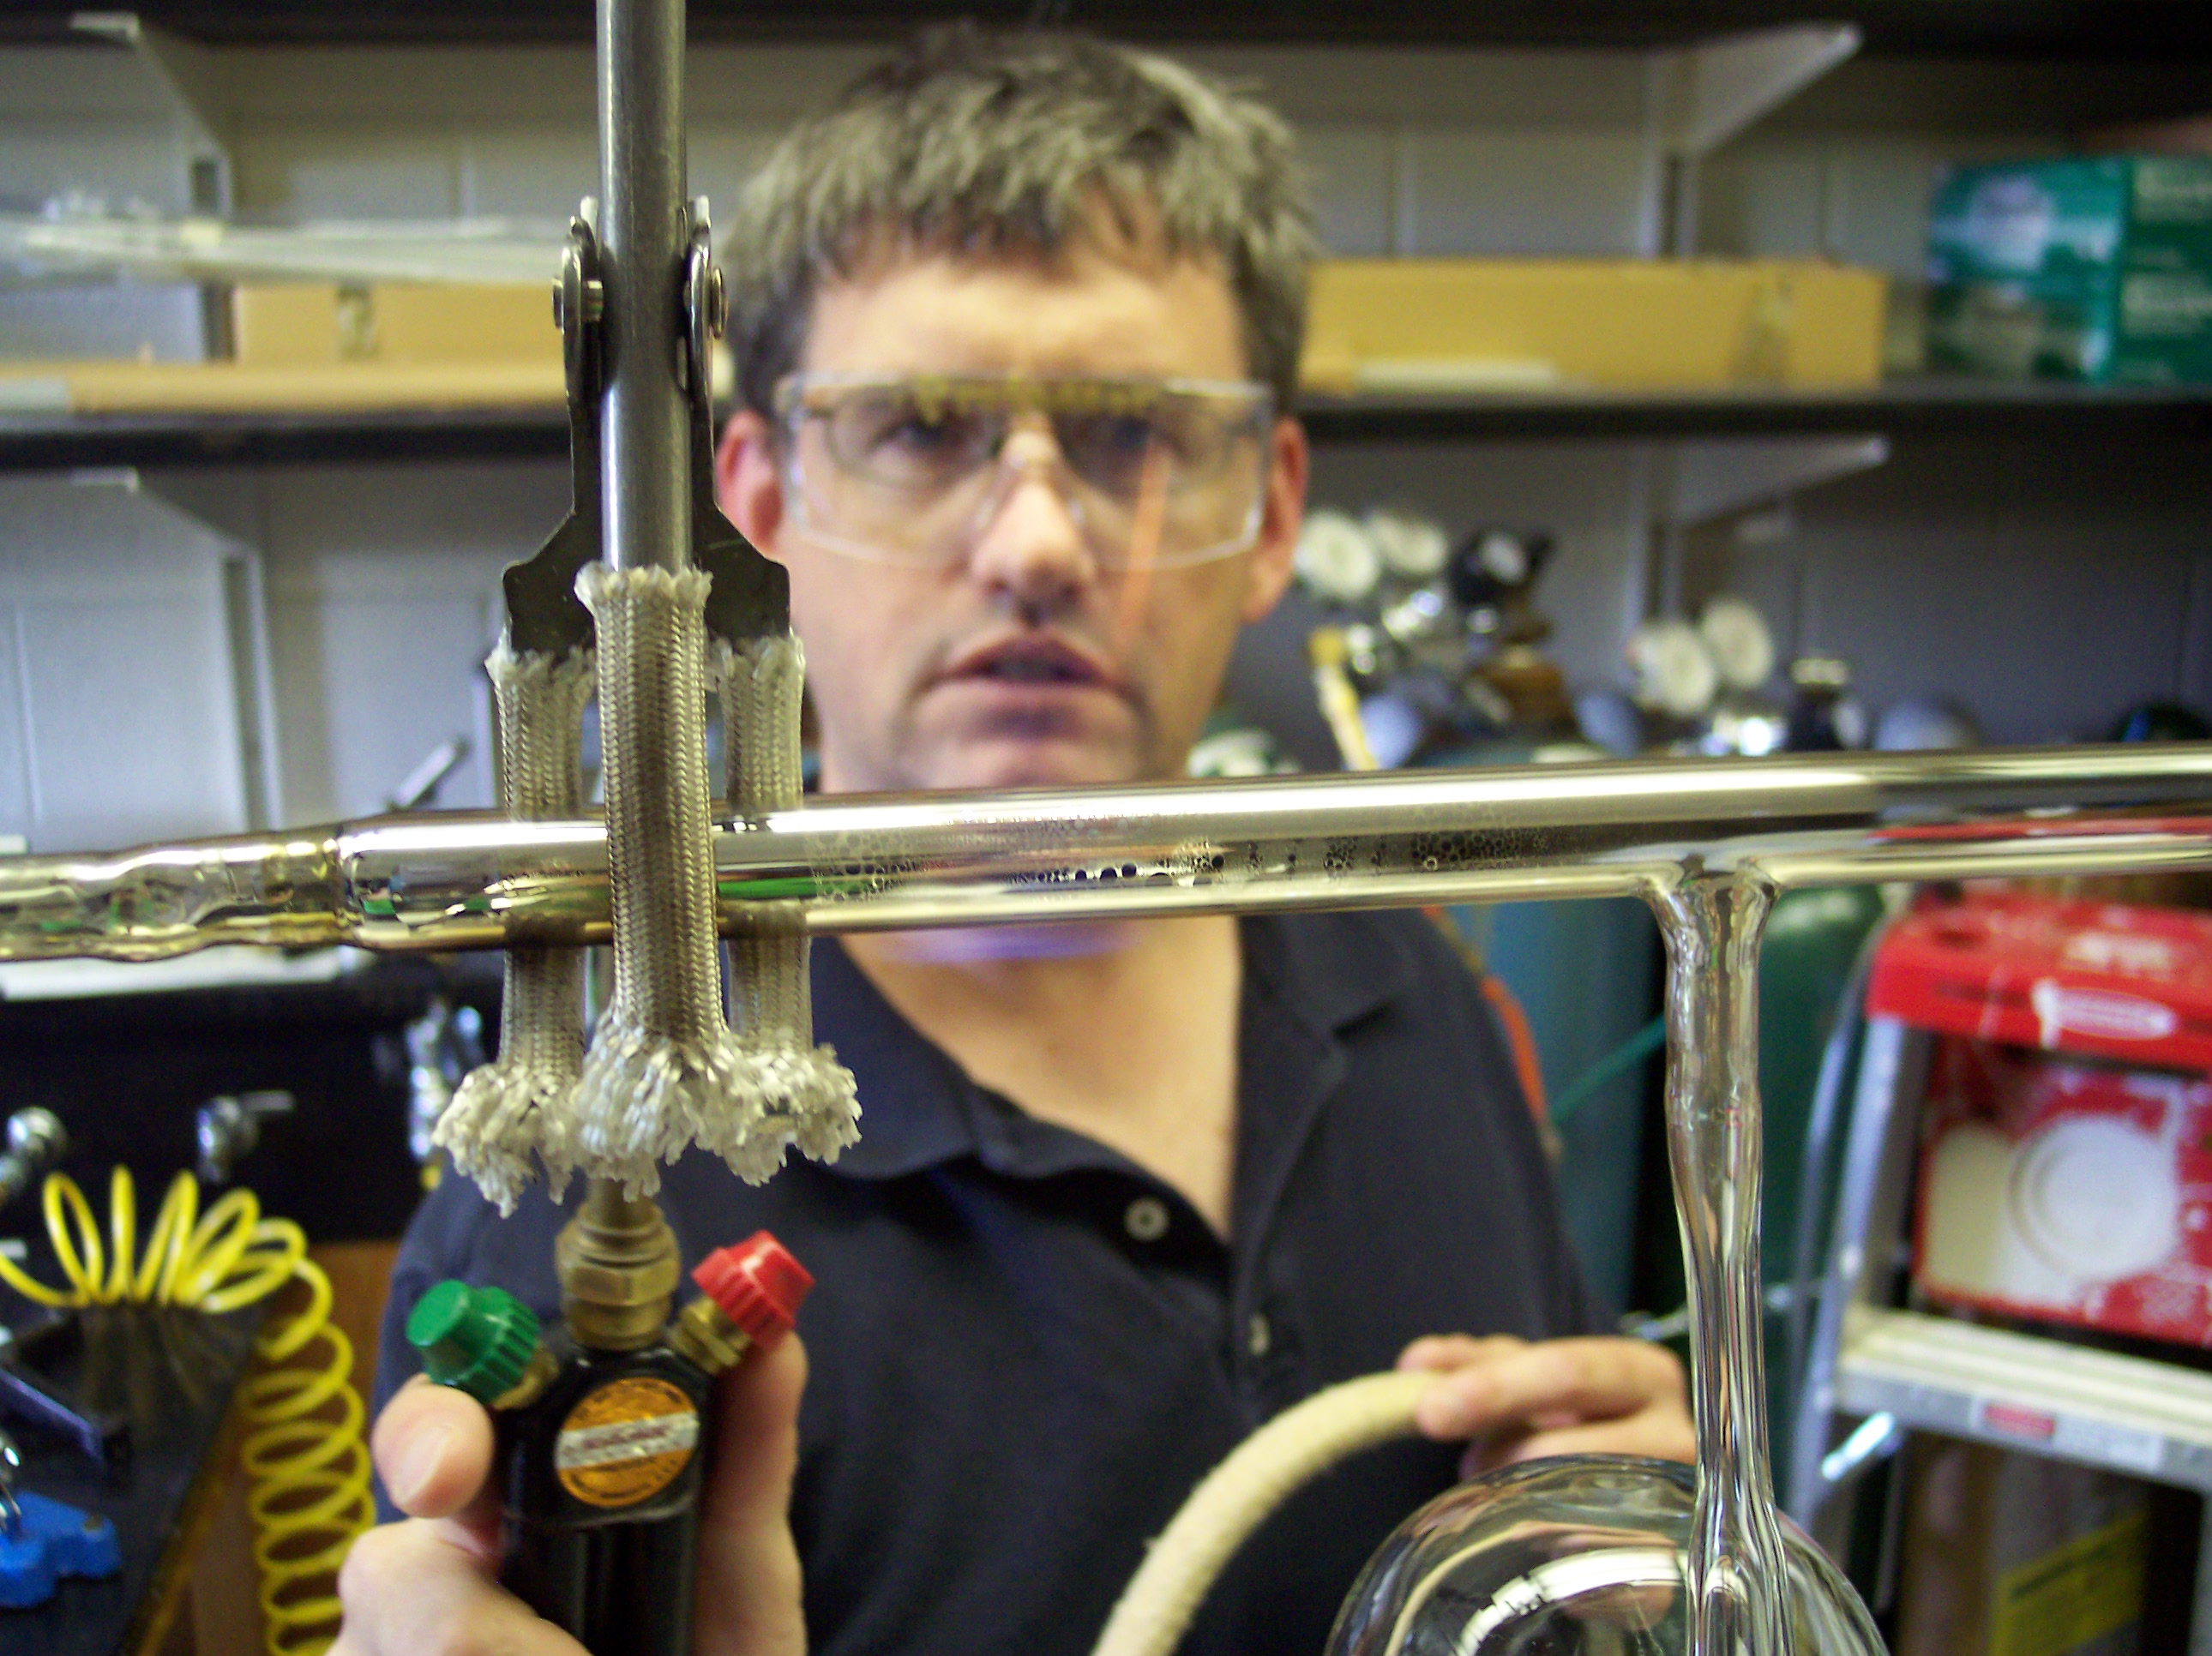
The manifold is connected to the vacuum system with a bellows connection – that is the part connecting borosilicate glass with metal.
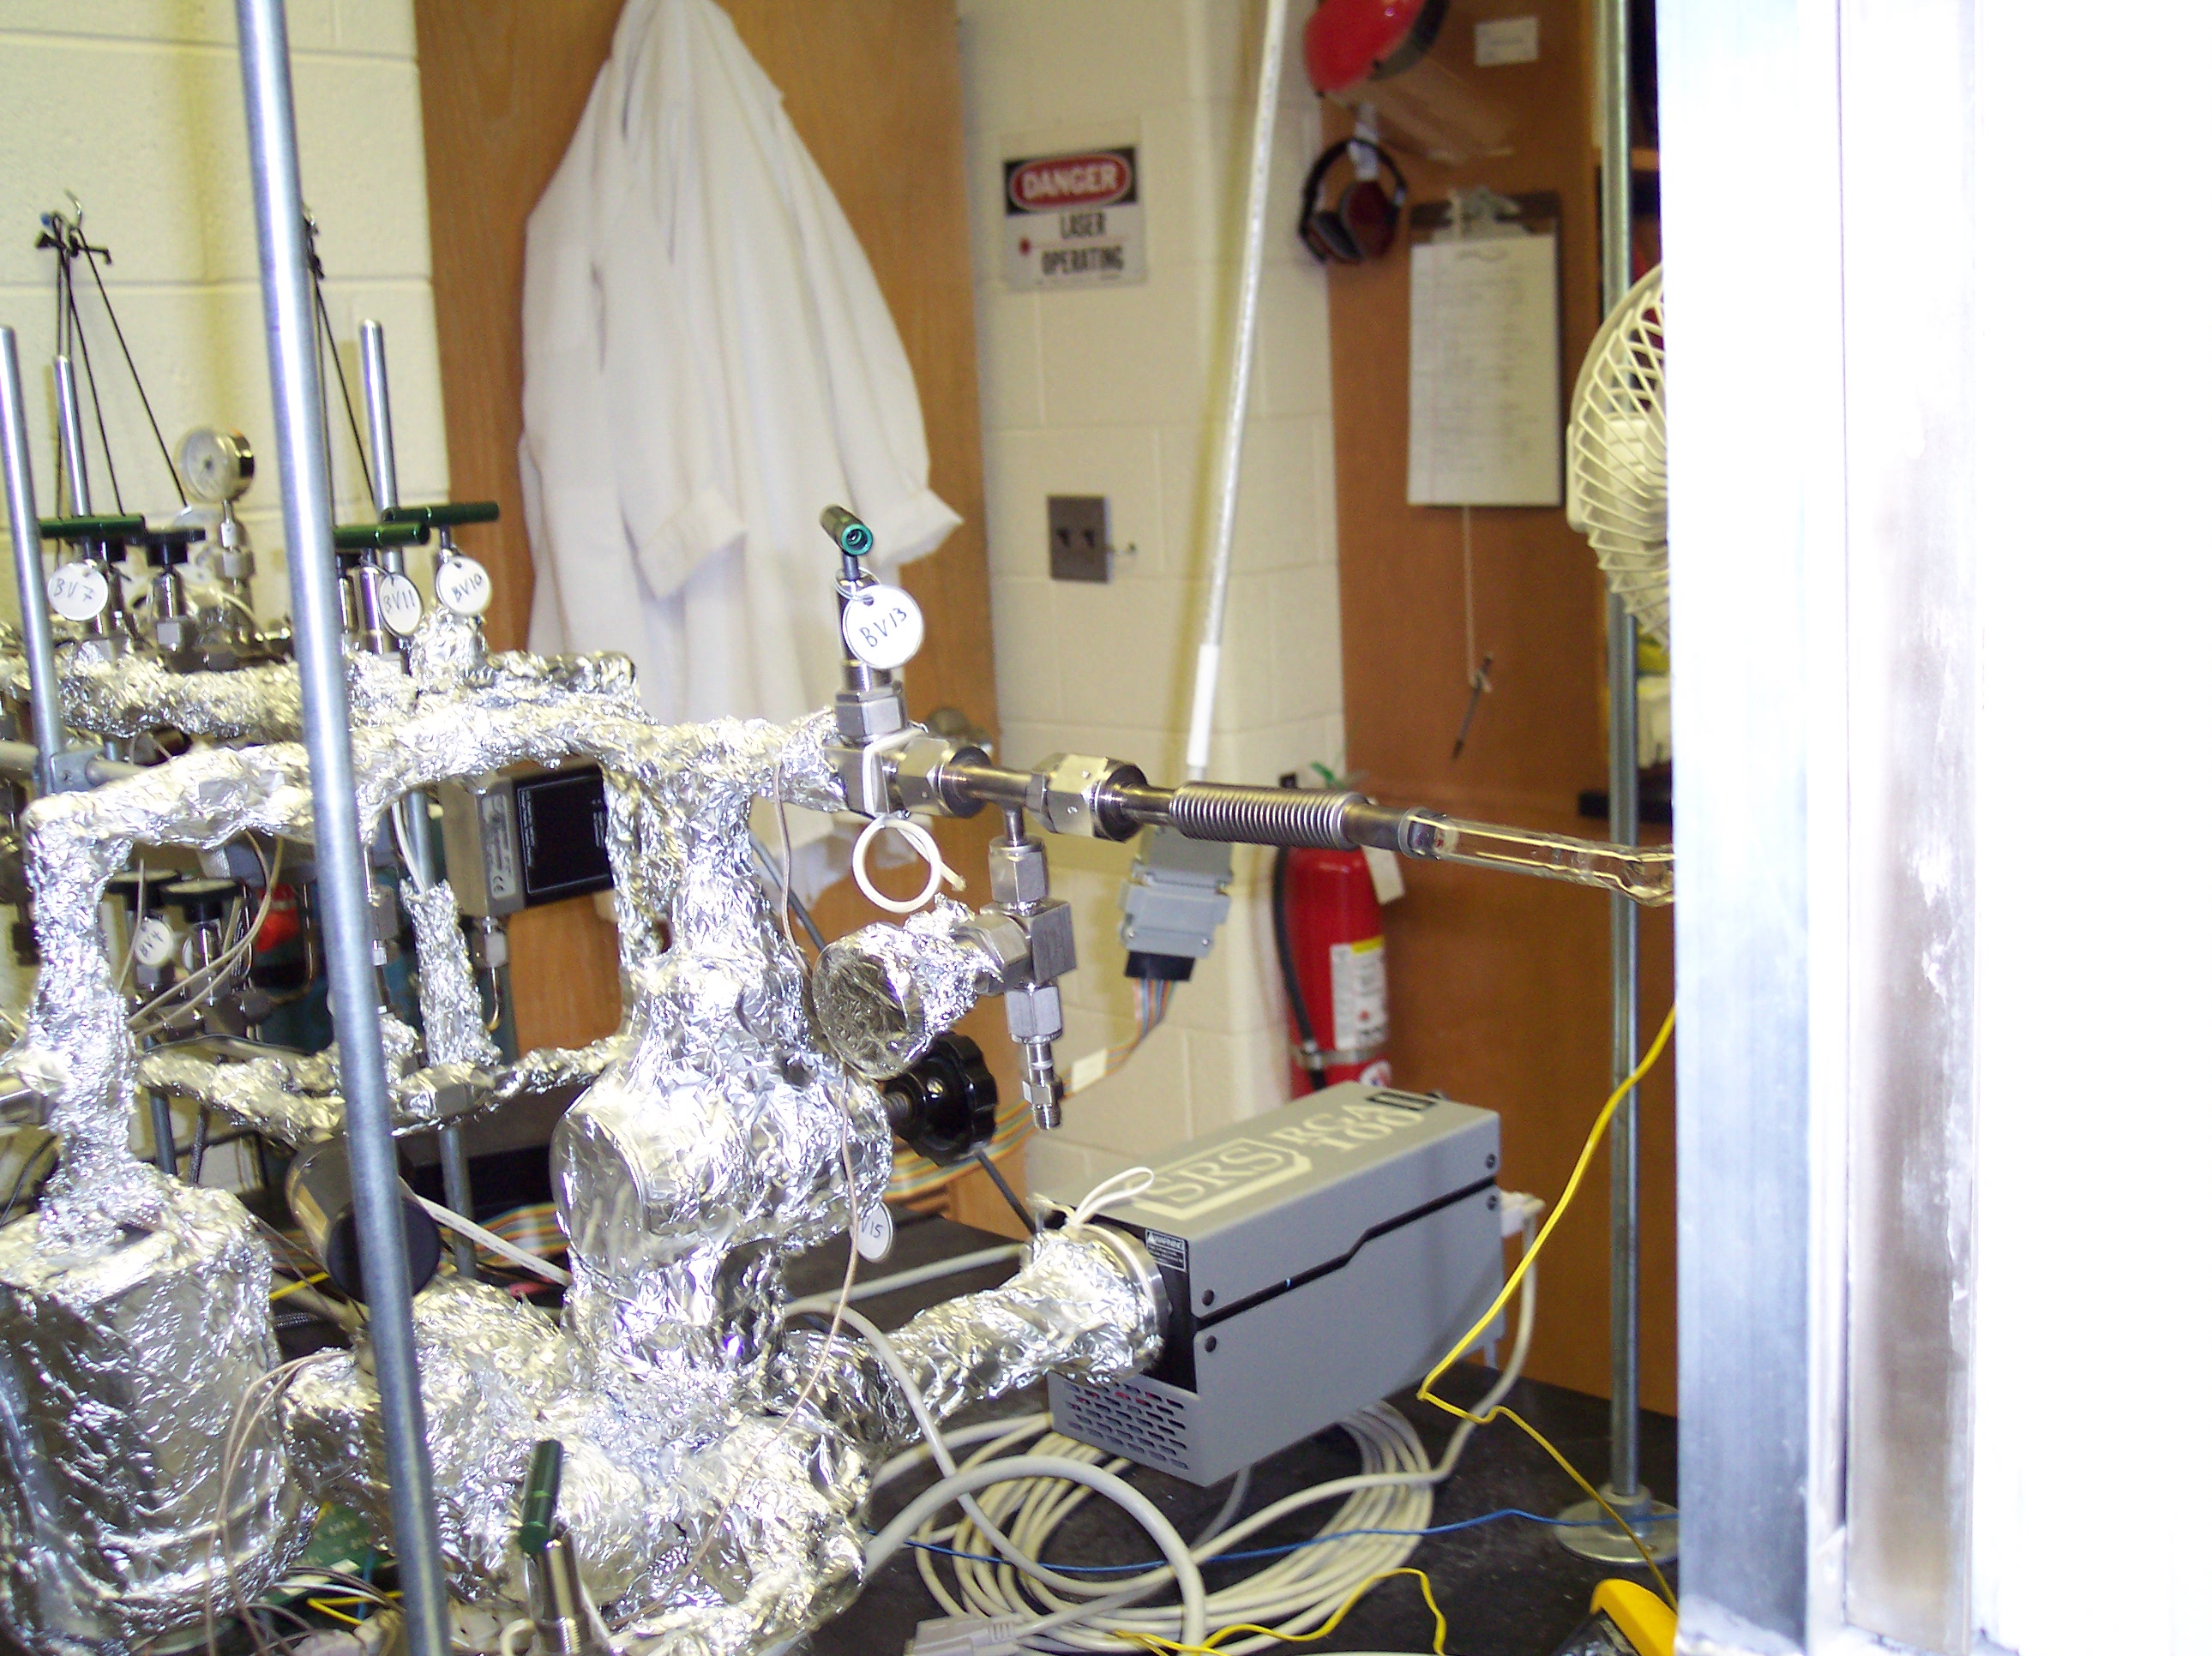
The vacuum system pumps on the cell side which allows us to perform a leak check with <sup>4</sup>He and Ethanol. Fortunately, we never found a leak from putting the manifold parts together by glassblowing in this lab.
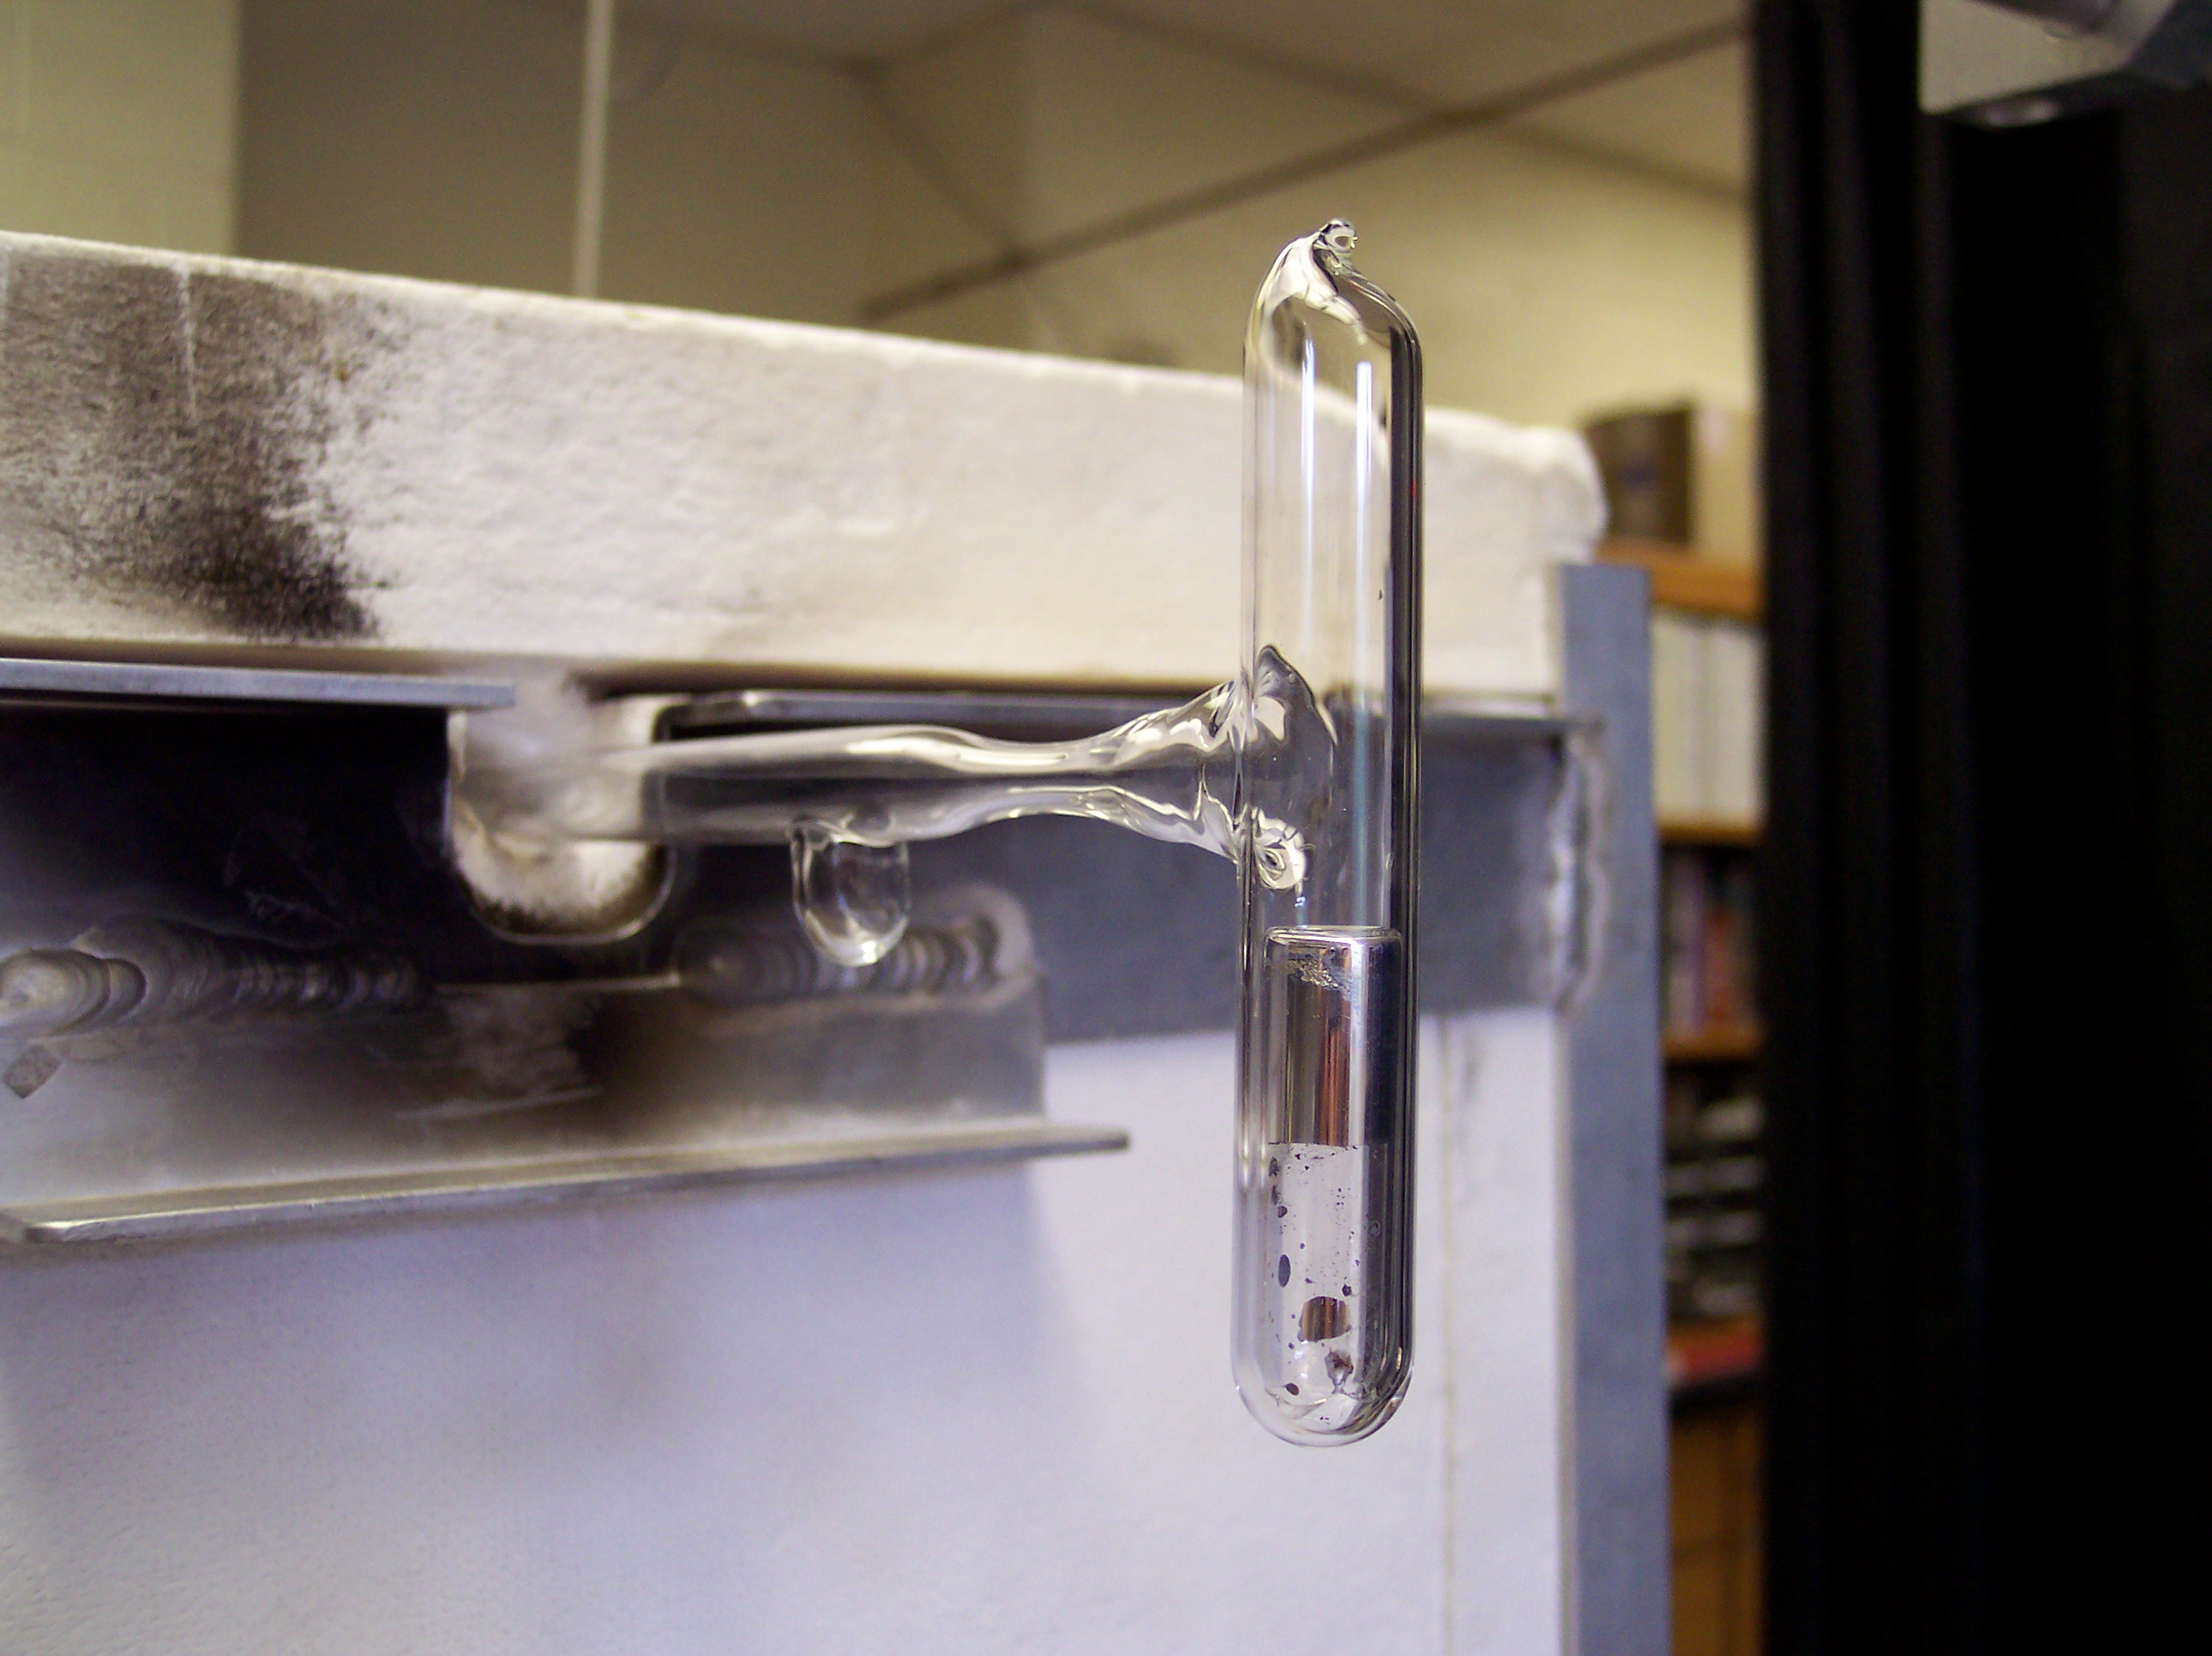
After the successful leak check, the retort is opened up and a slight nitrogen stream is flowed through the string to prevent any impurities to get into the manifold. A small ampoule containing potassium and rubidium is opened and put quickly into the retort. The nitrogen flow is very important because it also avoids any oxidation of the alkali metals. The nitrogen stream is turned off for sealing off the retort. After the annealing of the the seal you must wait a few seconds, then one can begin pumping on the cell side of the vacuum system.
In the afternoon of the first day the bake-out oven is closed and turned on to 420 Celsius. The vacuum should go into the low 10-7 Torr range. We bake out the target cell and the glass manifold for several days to pump out any impurities on the inner surface of the glass.
Day of the Cell Fill
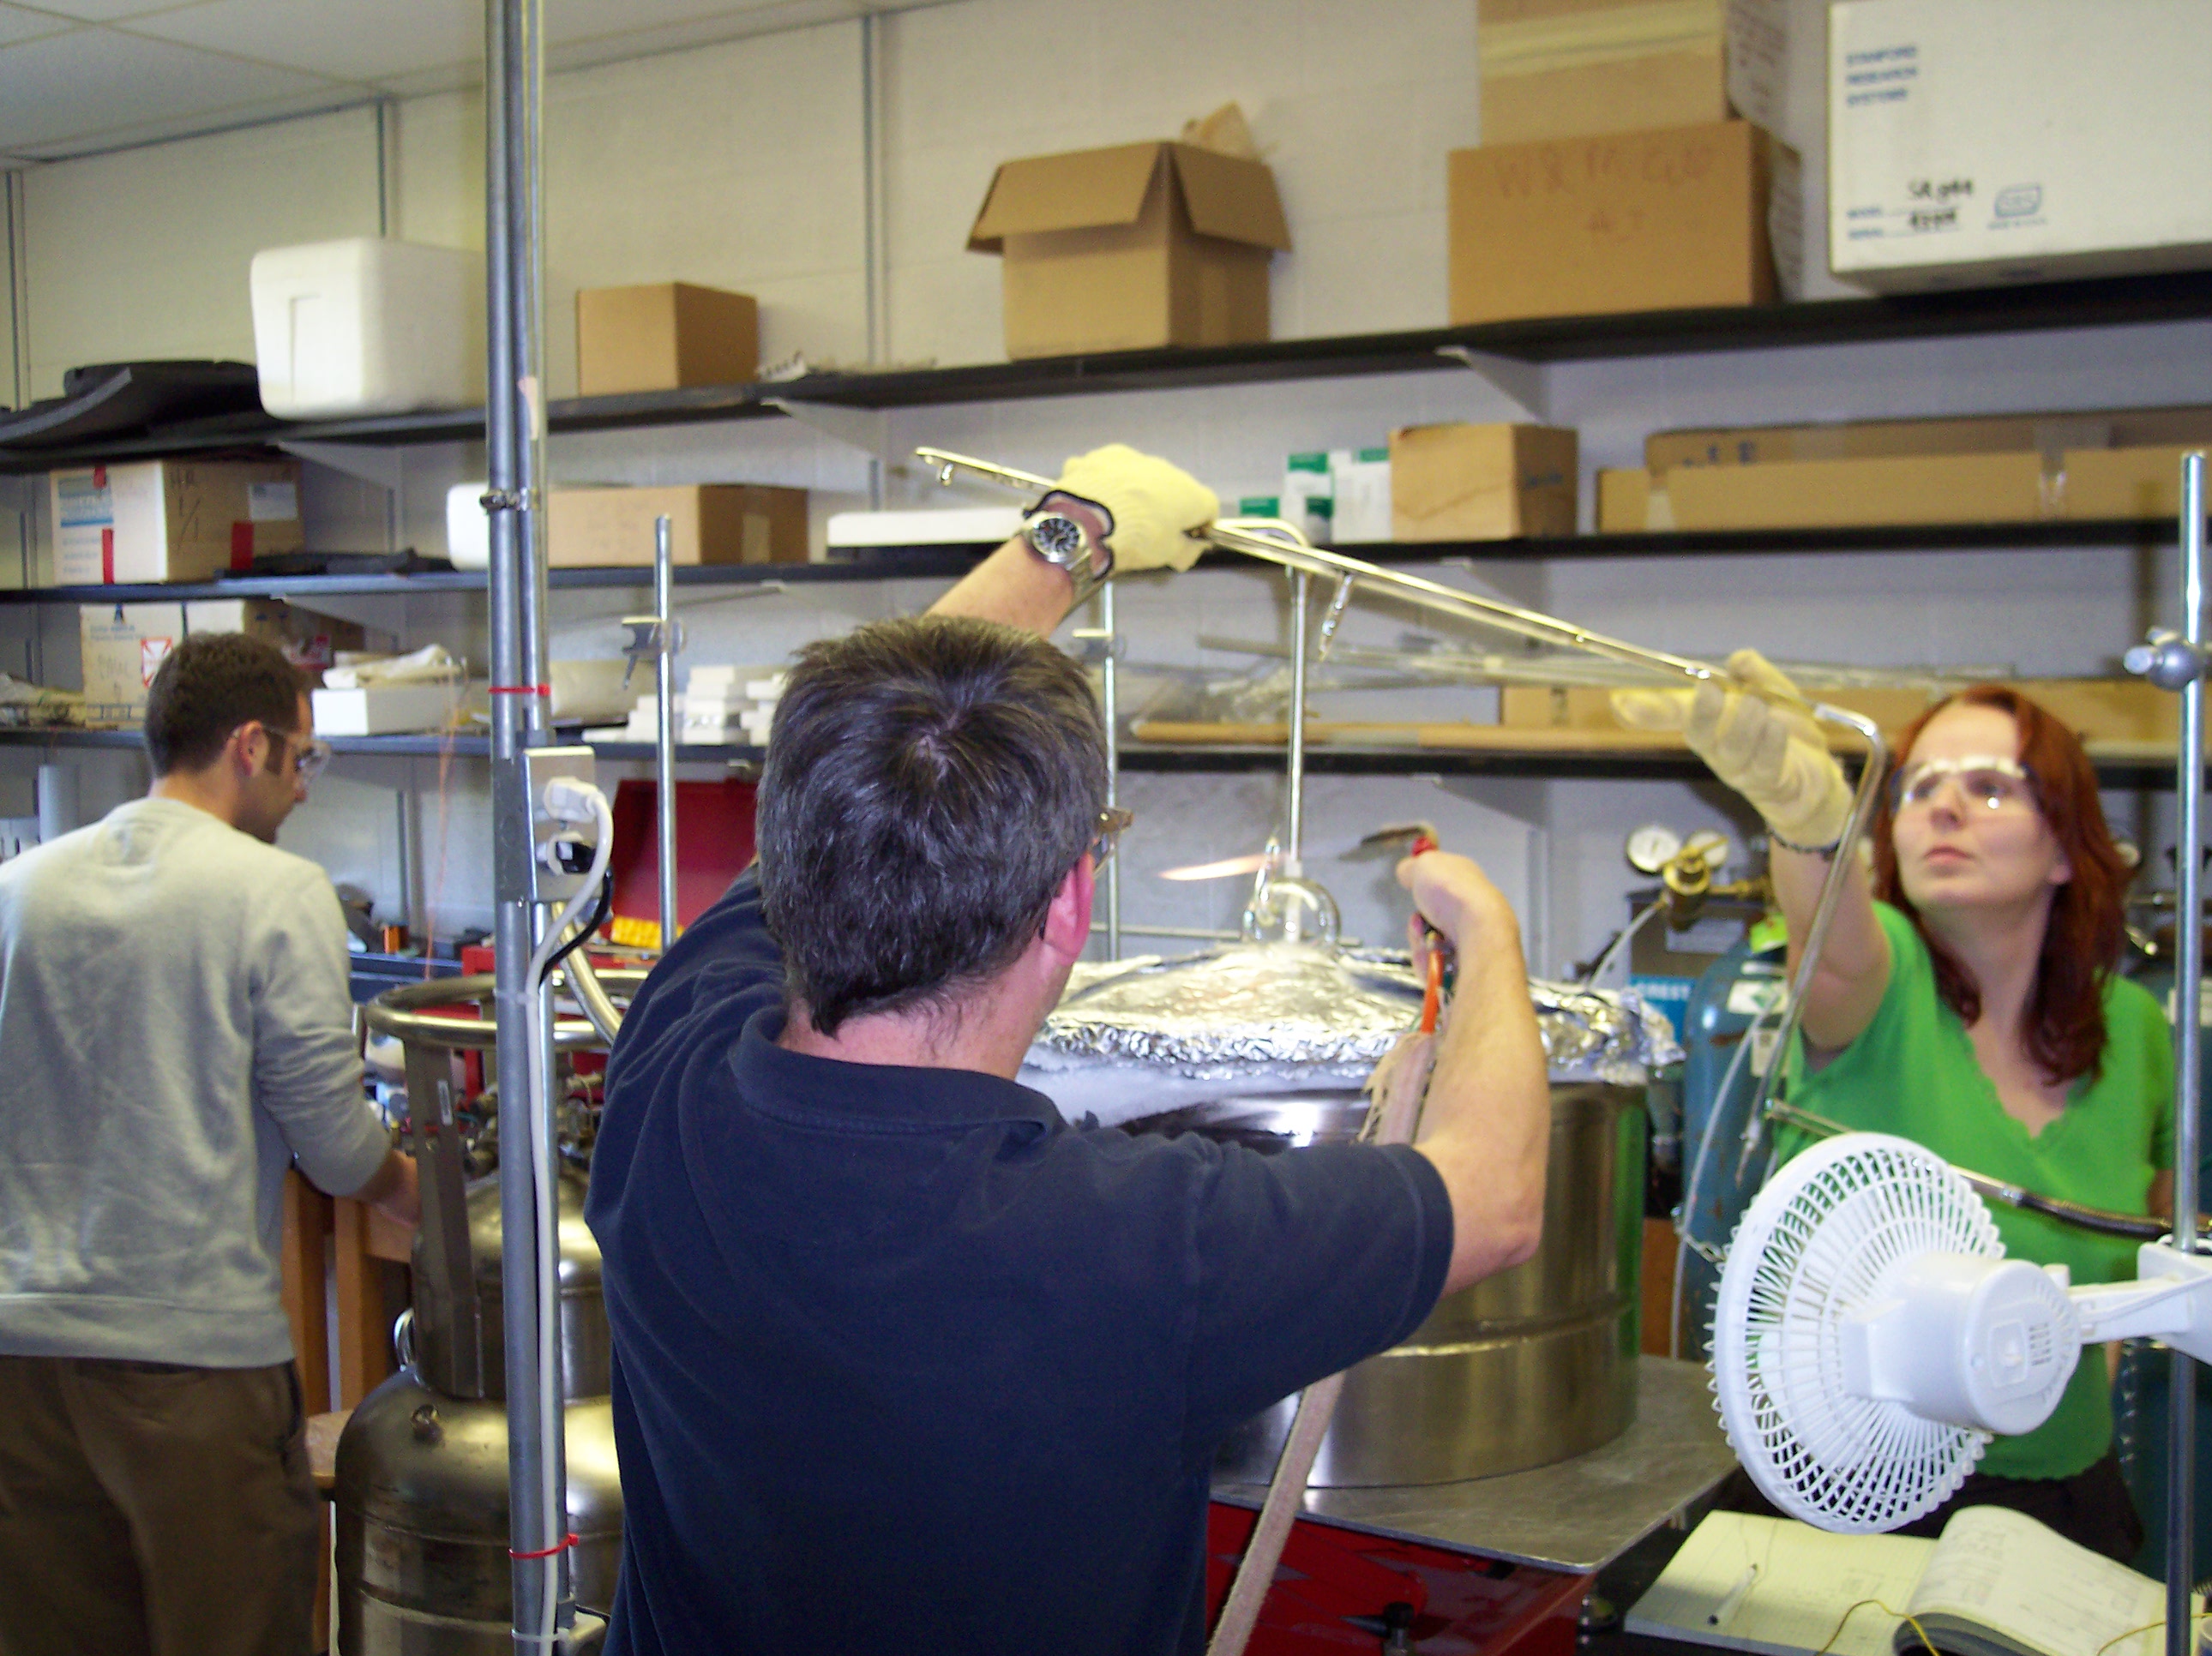
The parts outside of the oven also need to be heated up to be able to pump out any impurities. We do that by flamebaking the glass 3 times a day. This happens by carefully heating up the glass tubing with a torch. On the first few days the bellows connections will be also flamebaked. At the end of the 2nd day of the cell fill, the alkali metal is being melt out of the ampoule inside the retort and on the following days the alkali is also being melt during each flamebaking. This must happen so carefully that potassium and rubidium stay within the retort.
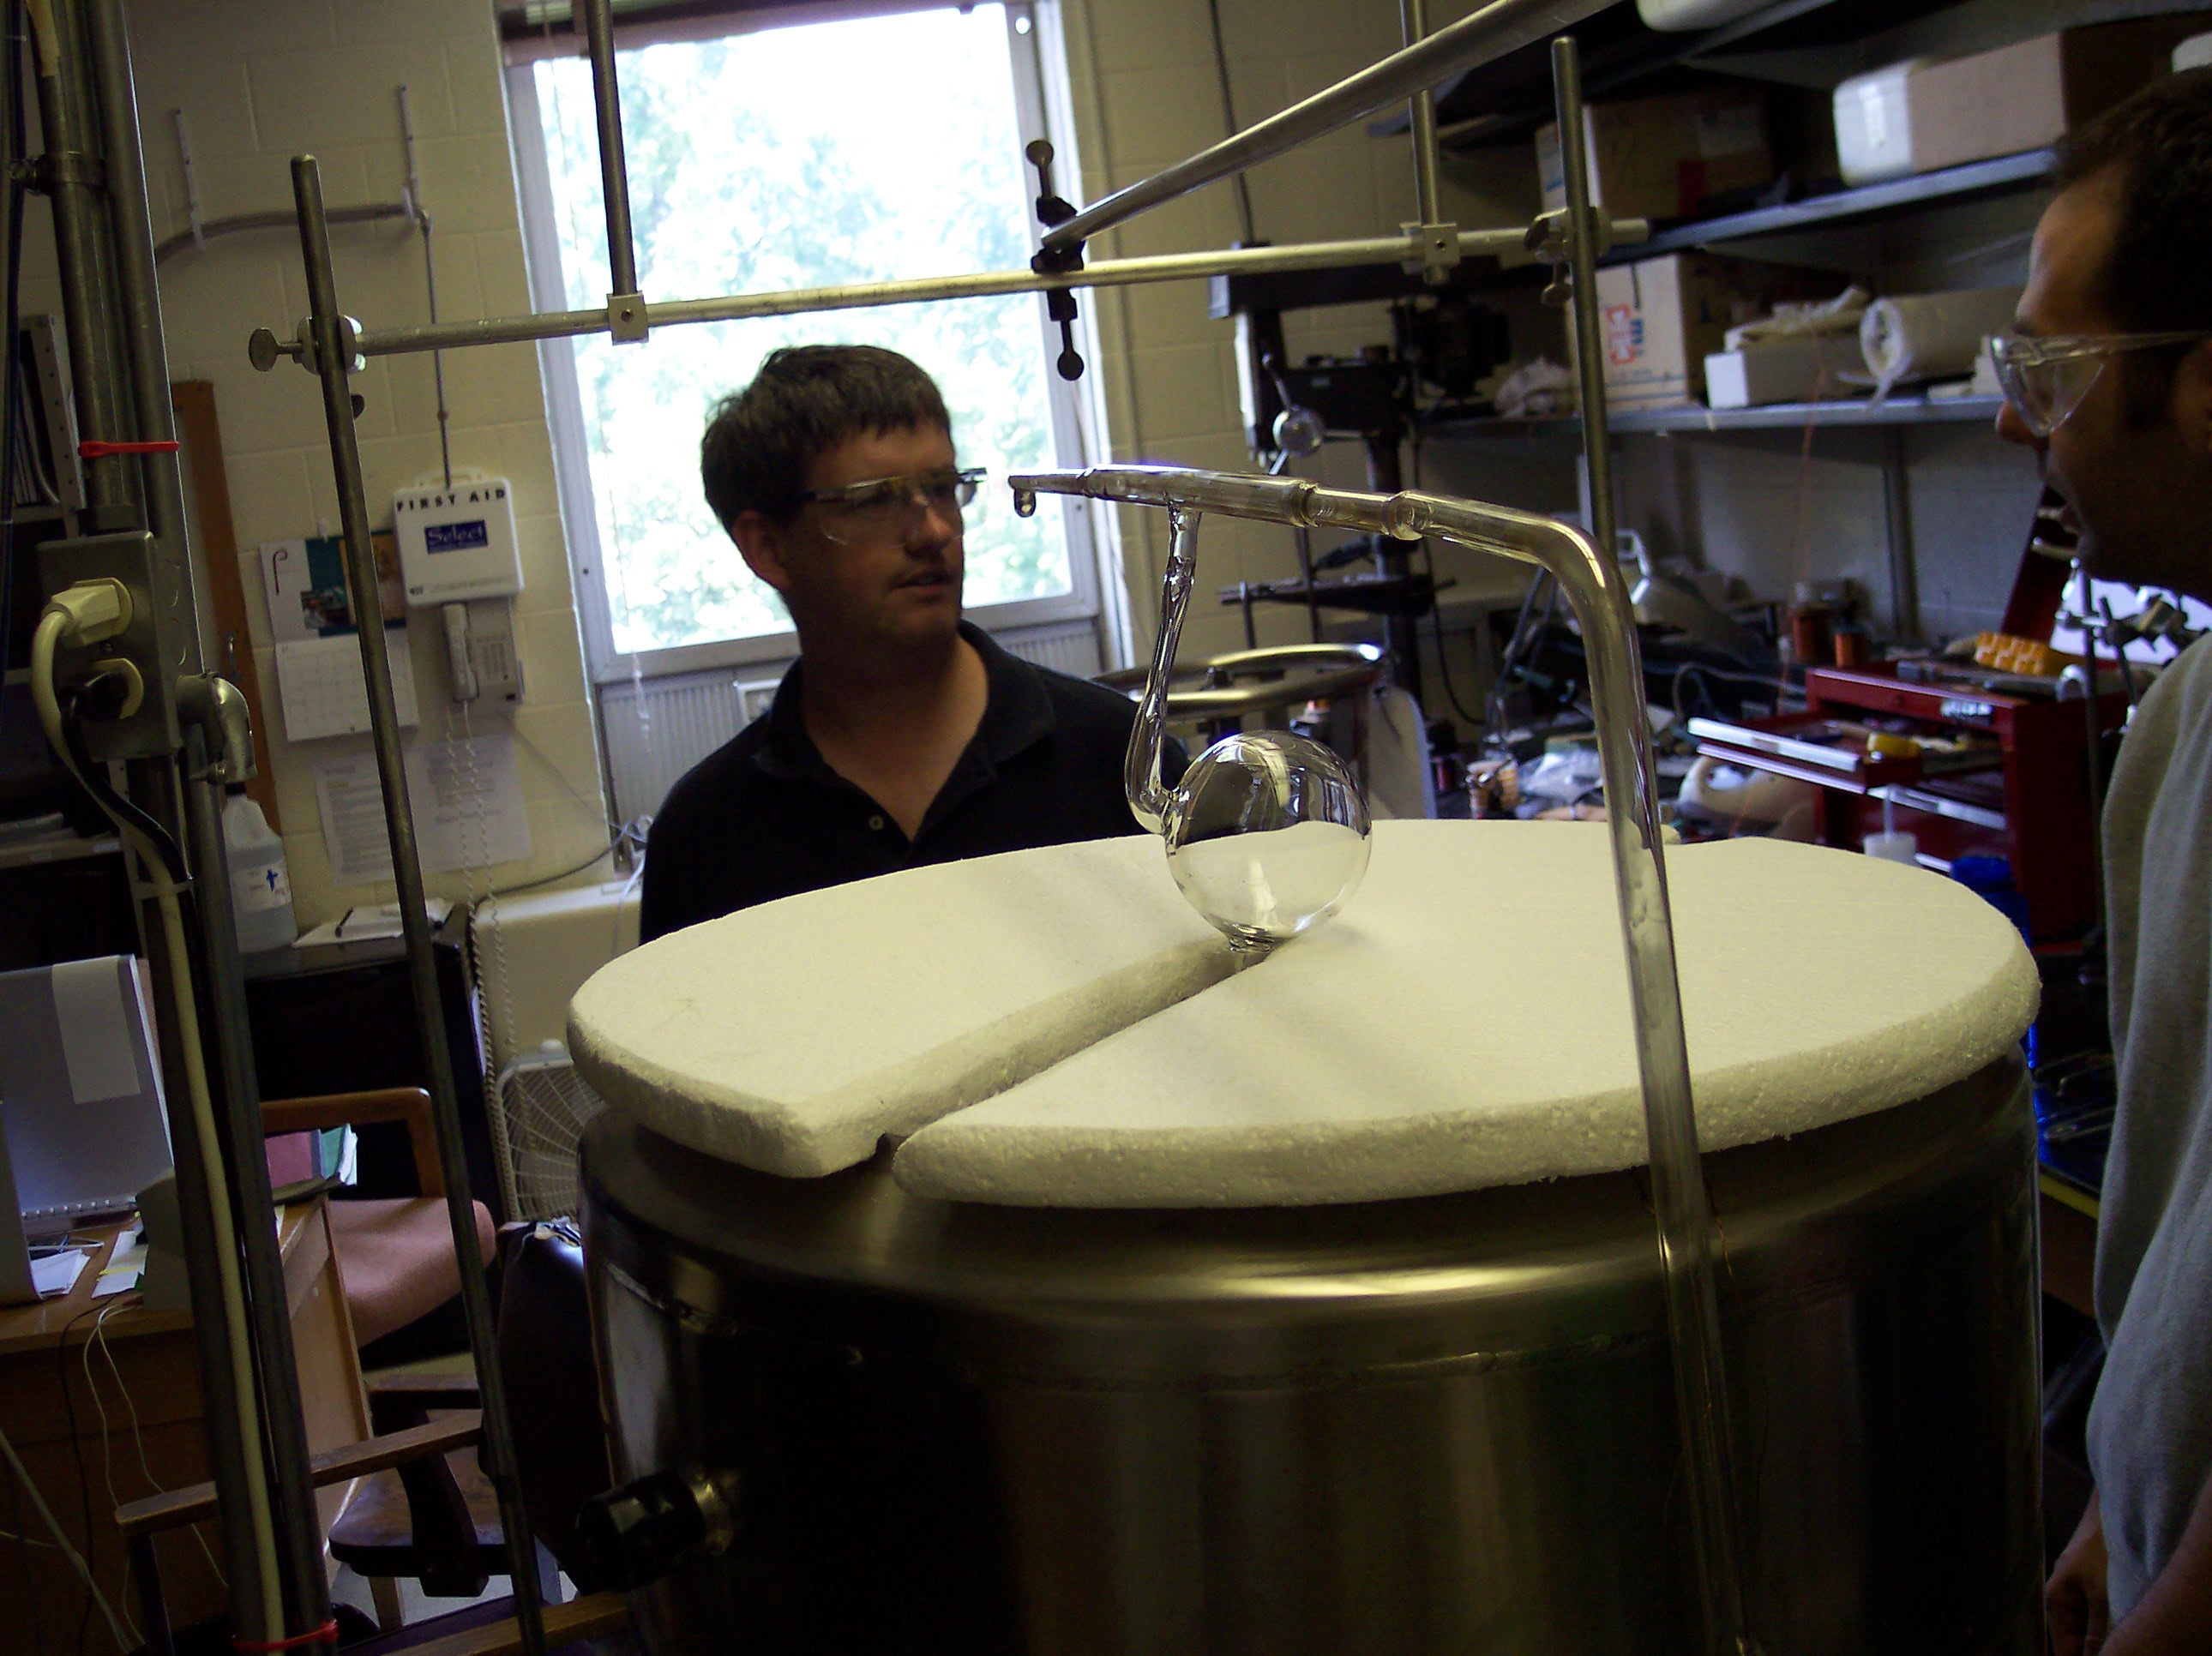
Then, on the 5th day of the cell fill, the alkali is chased from the retort into the dip and the retort is pulled off. At the following day, the string is also flamebaked three times and the alkali melt. This demands extreme care not to disperse any alkali out of the dip as the small amount heats up very quickly. The alkali does a quick phase change from liquid into gaseous and then moves anywhere where it is colder. Hence, it is important to keep any area hot where you don't want any layers of alkali metal. At the end of this day the oven is turned of and the cell cools down slowly overnight to room temperature.


Chasing alkali towards the cell.
Alkali in the dip.
Chasing alkali toward the cell.
Chasing alkali into the cell.


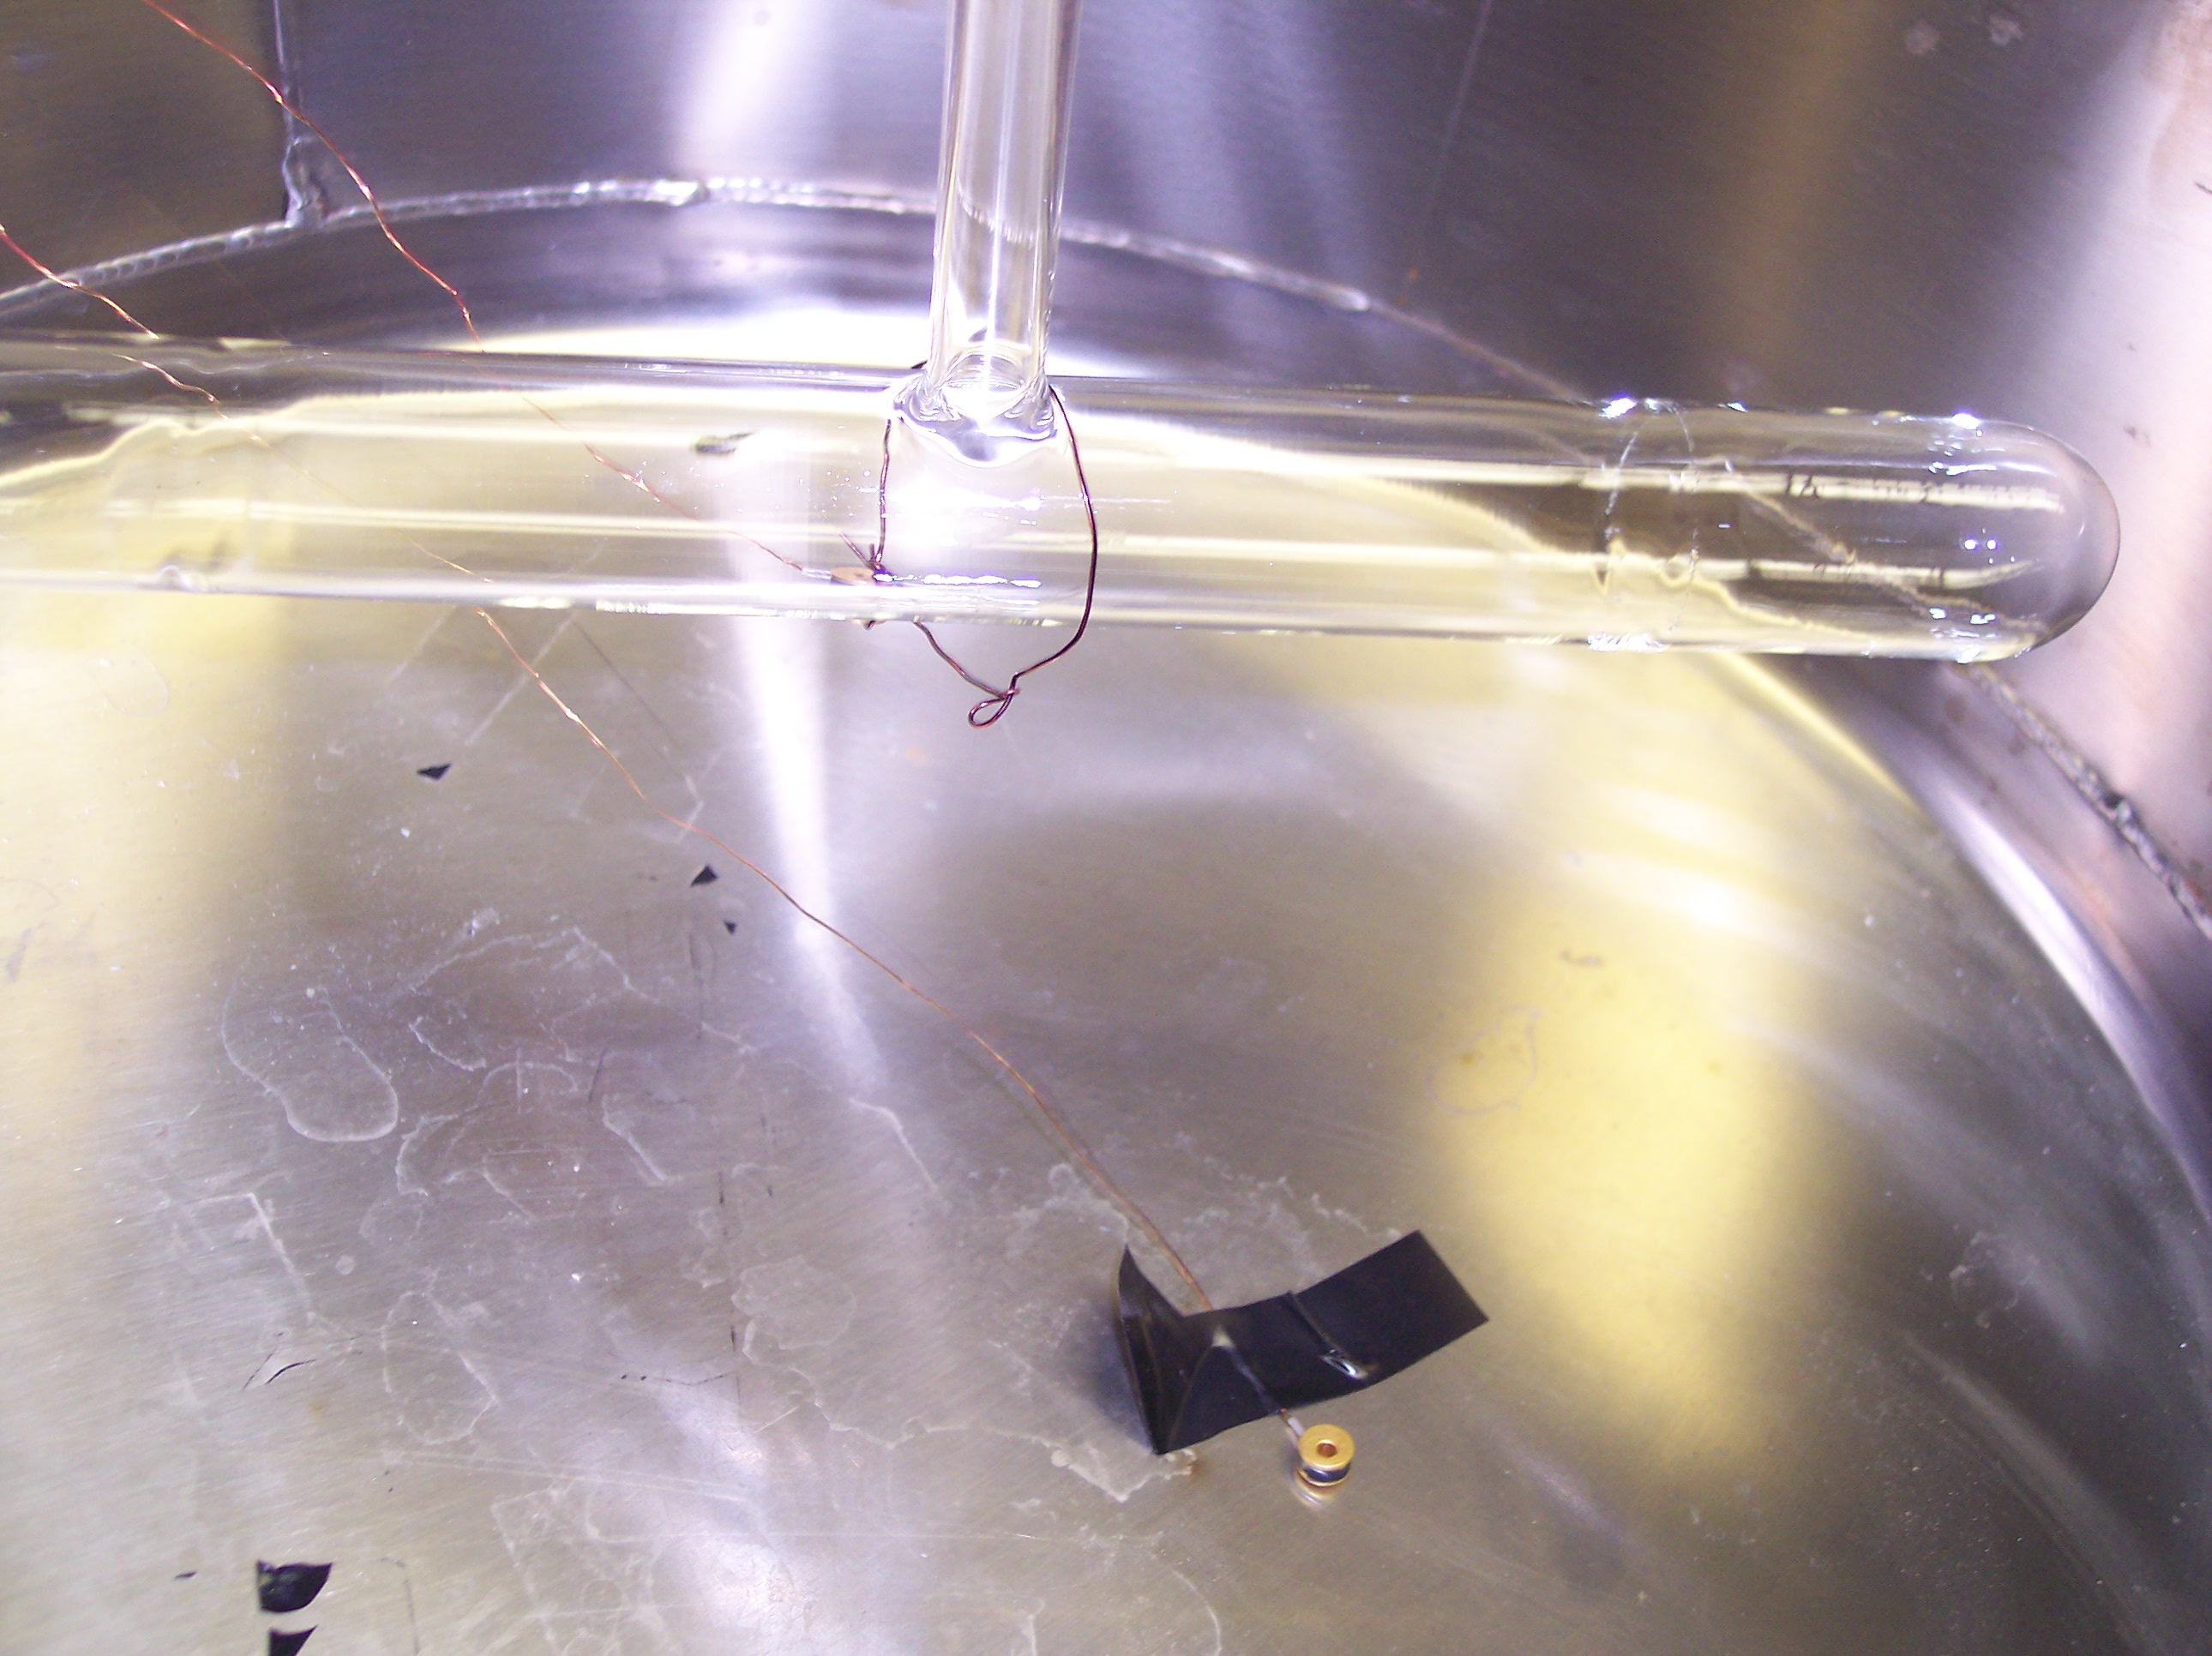
Alkali in the bottom of the pumping chamber. The Souder lip around the transfer tube keeps it from flowing into the lower chamber.

Lowering cell into LHe dewar.

Attaching temperature sensors.
Attaching temperature sensors.
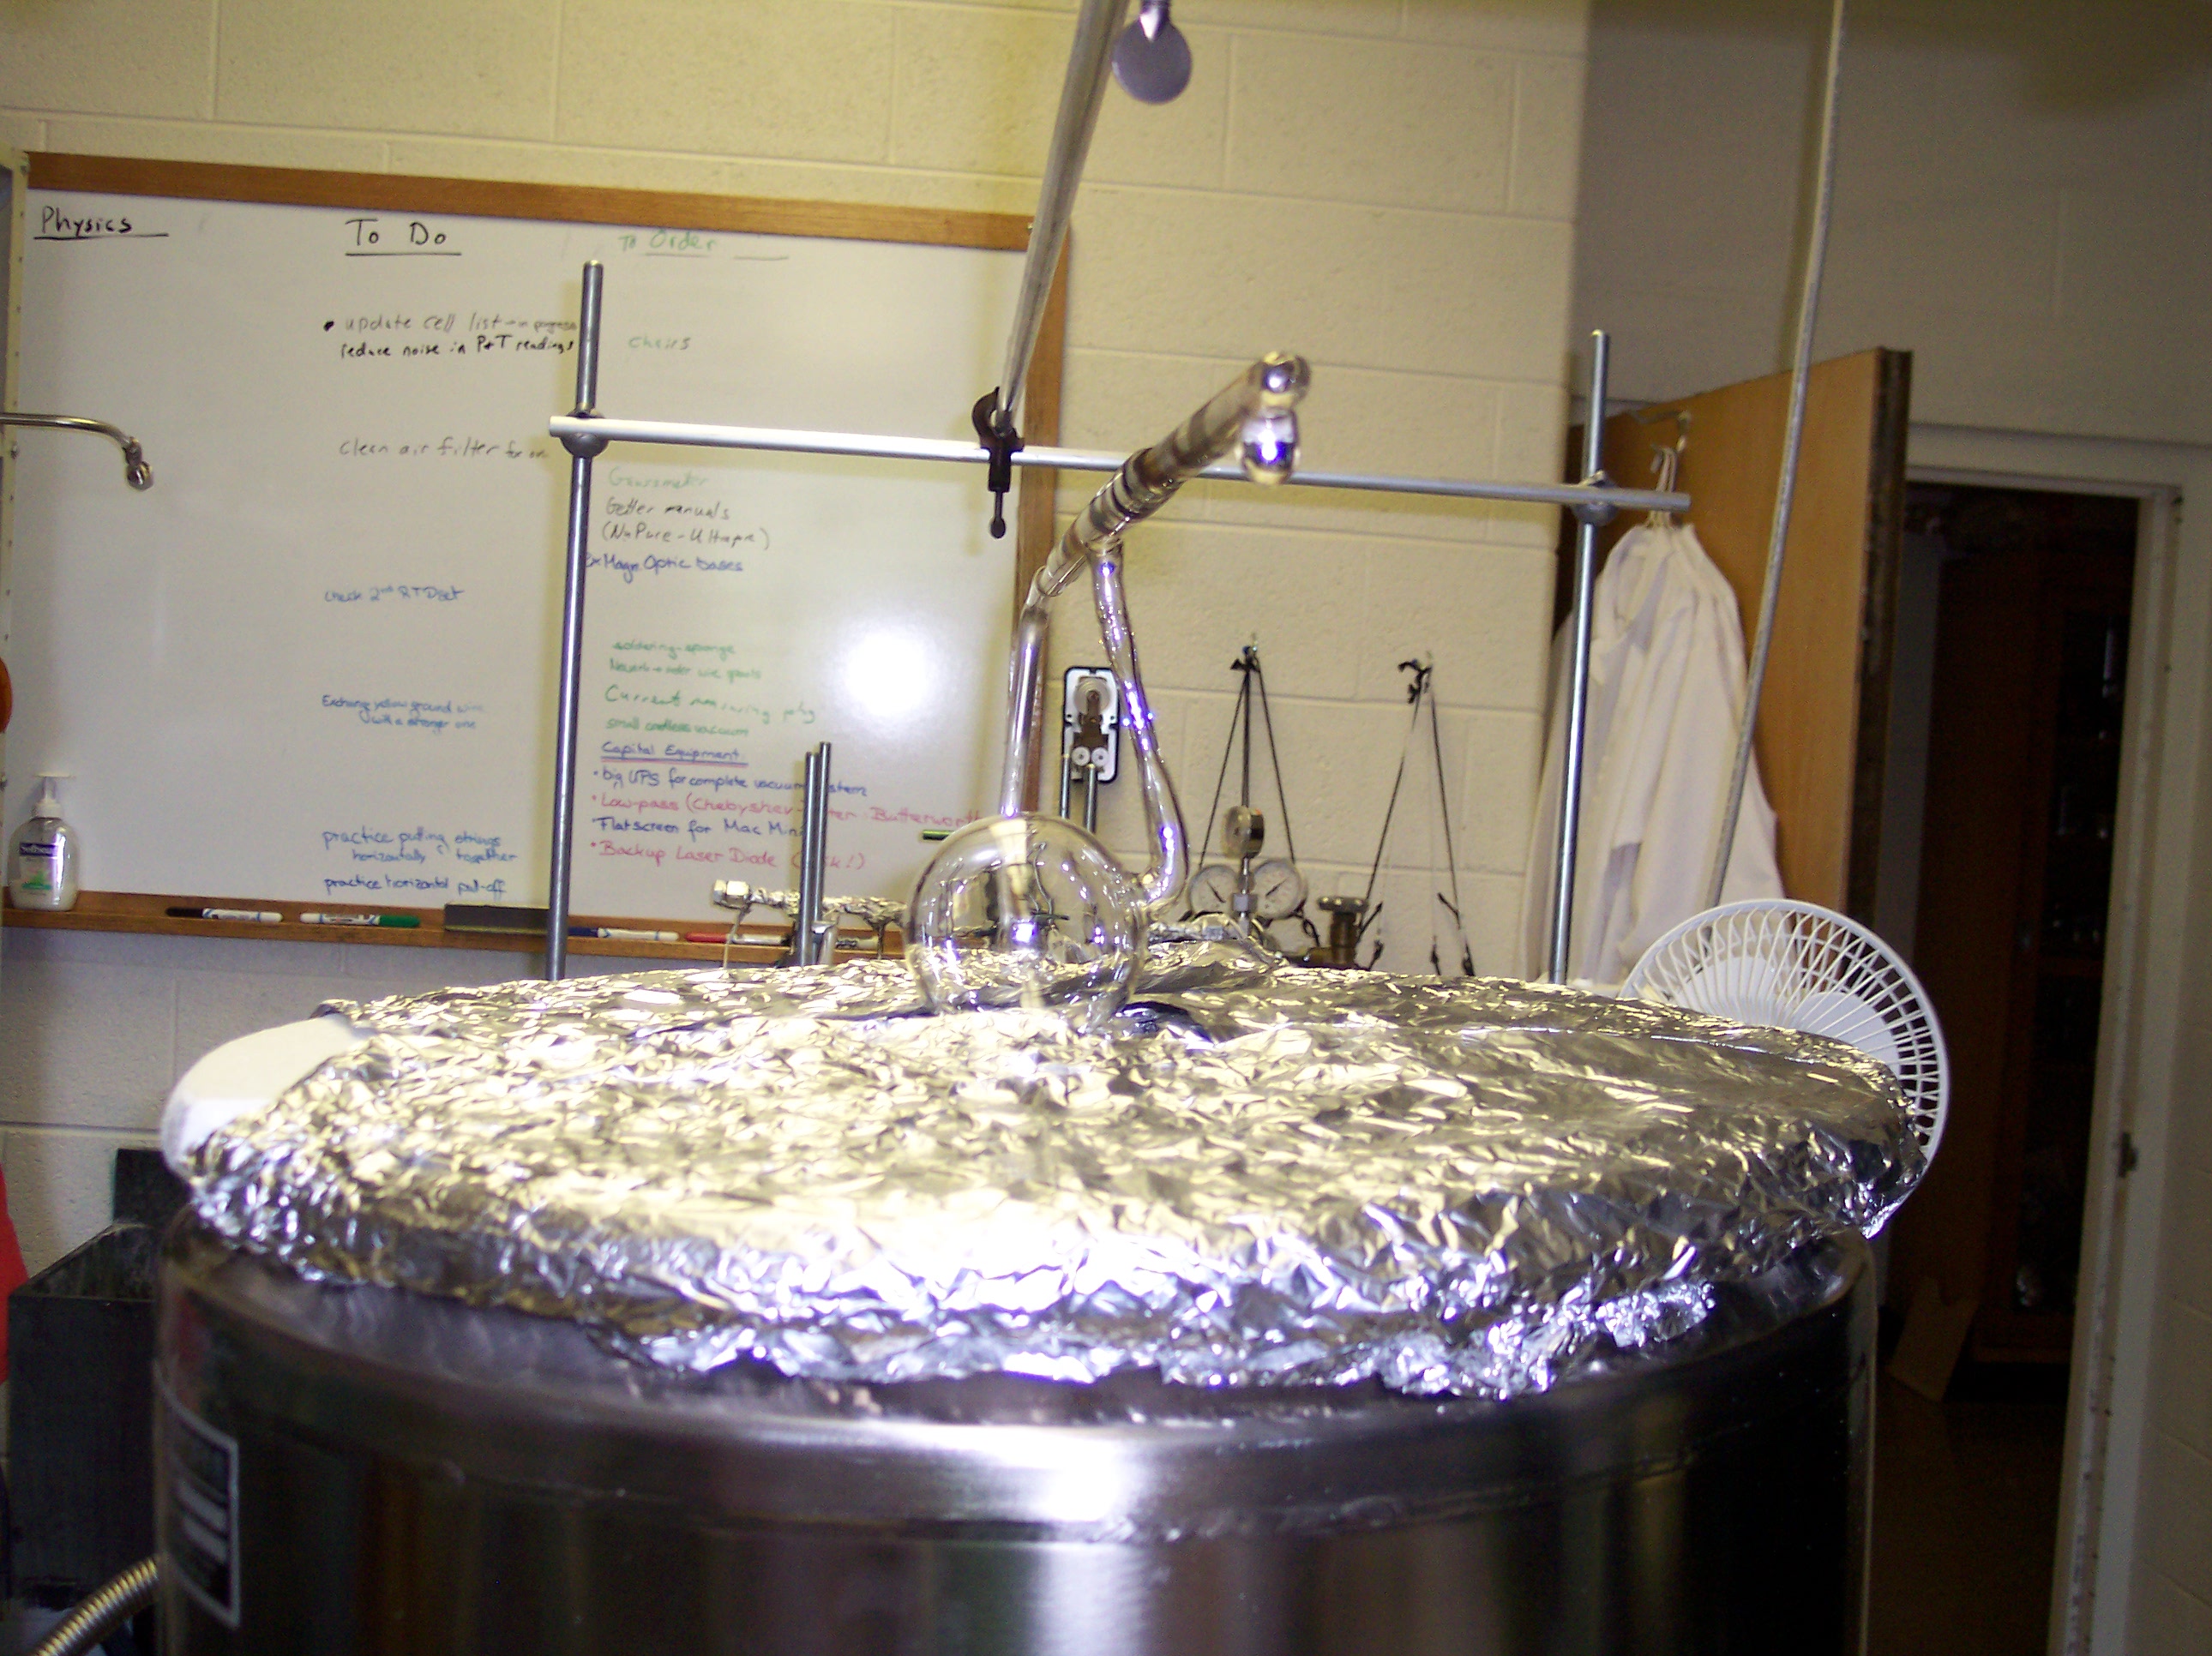
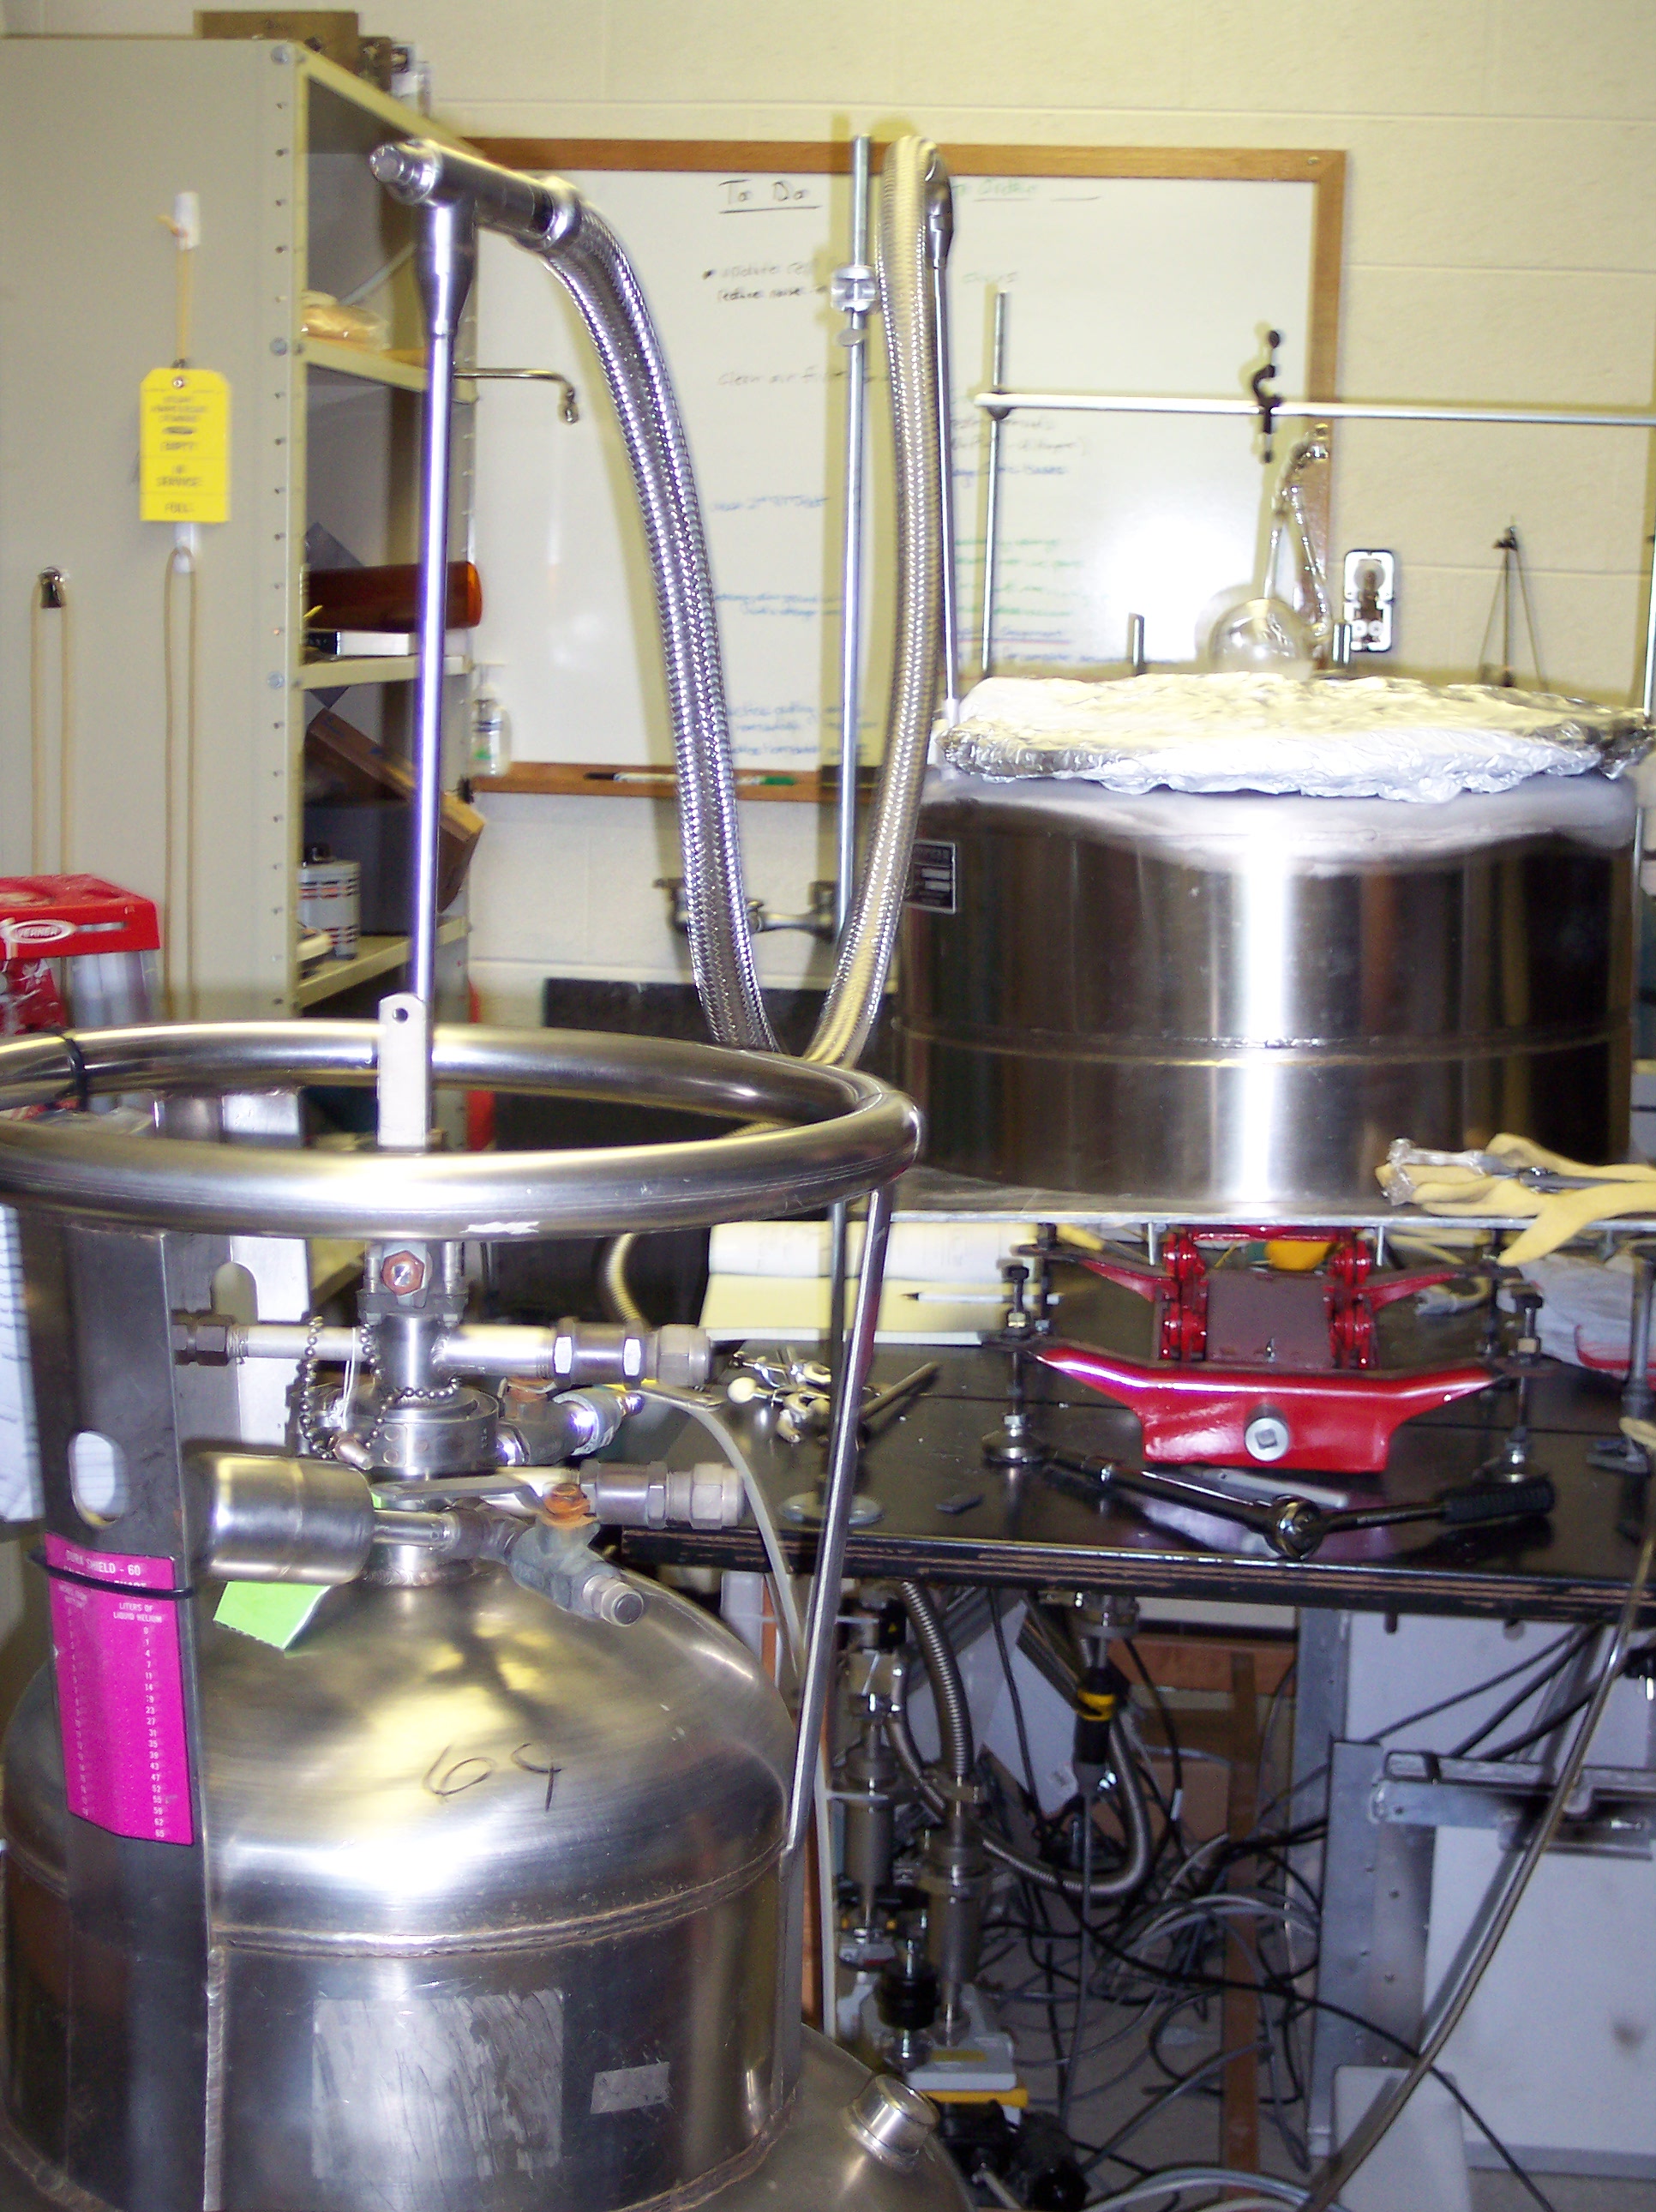
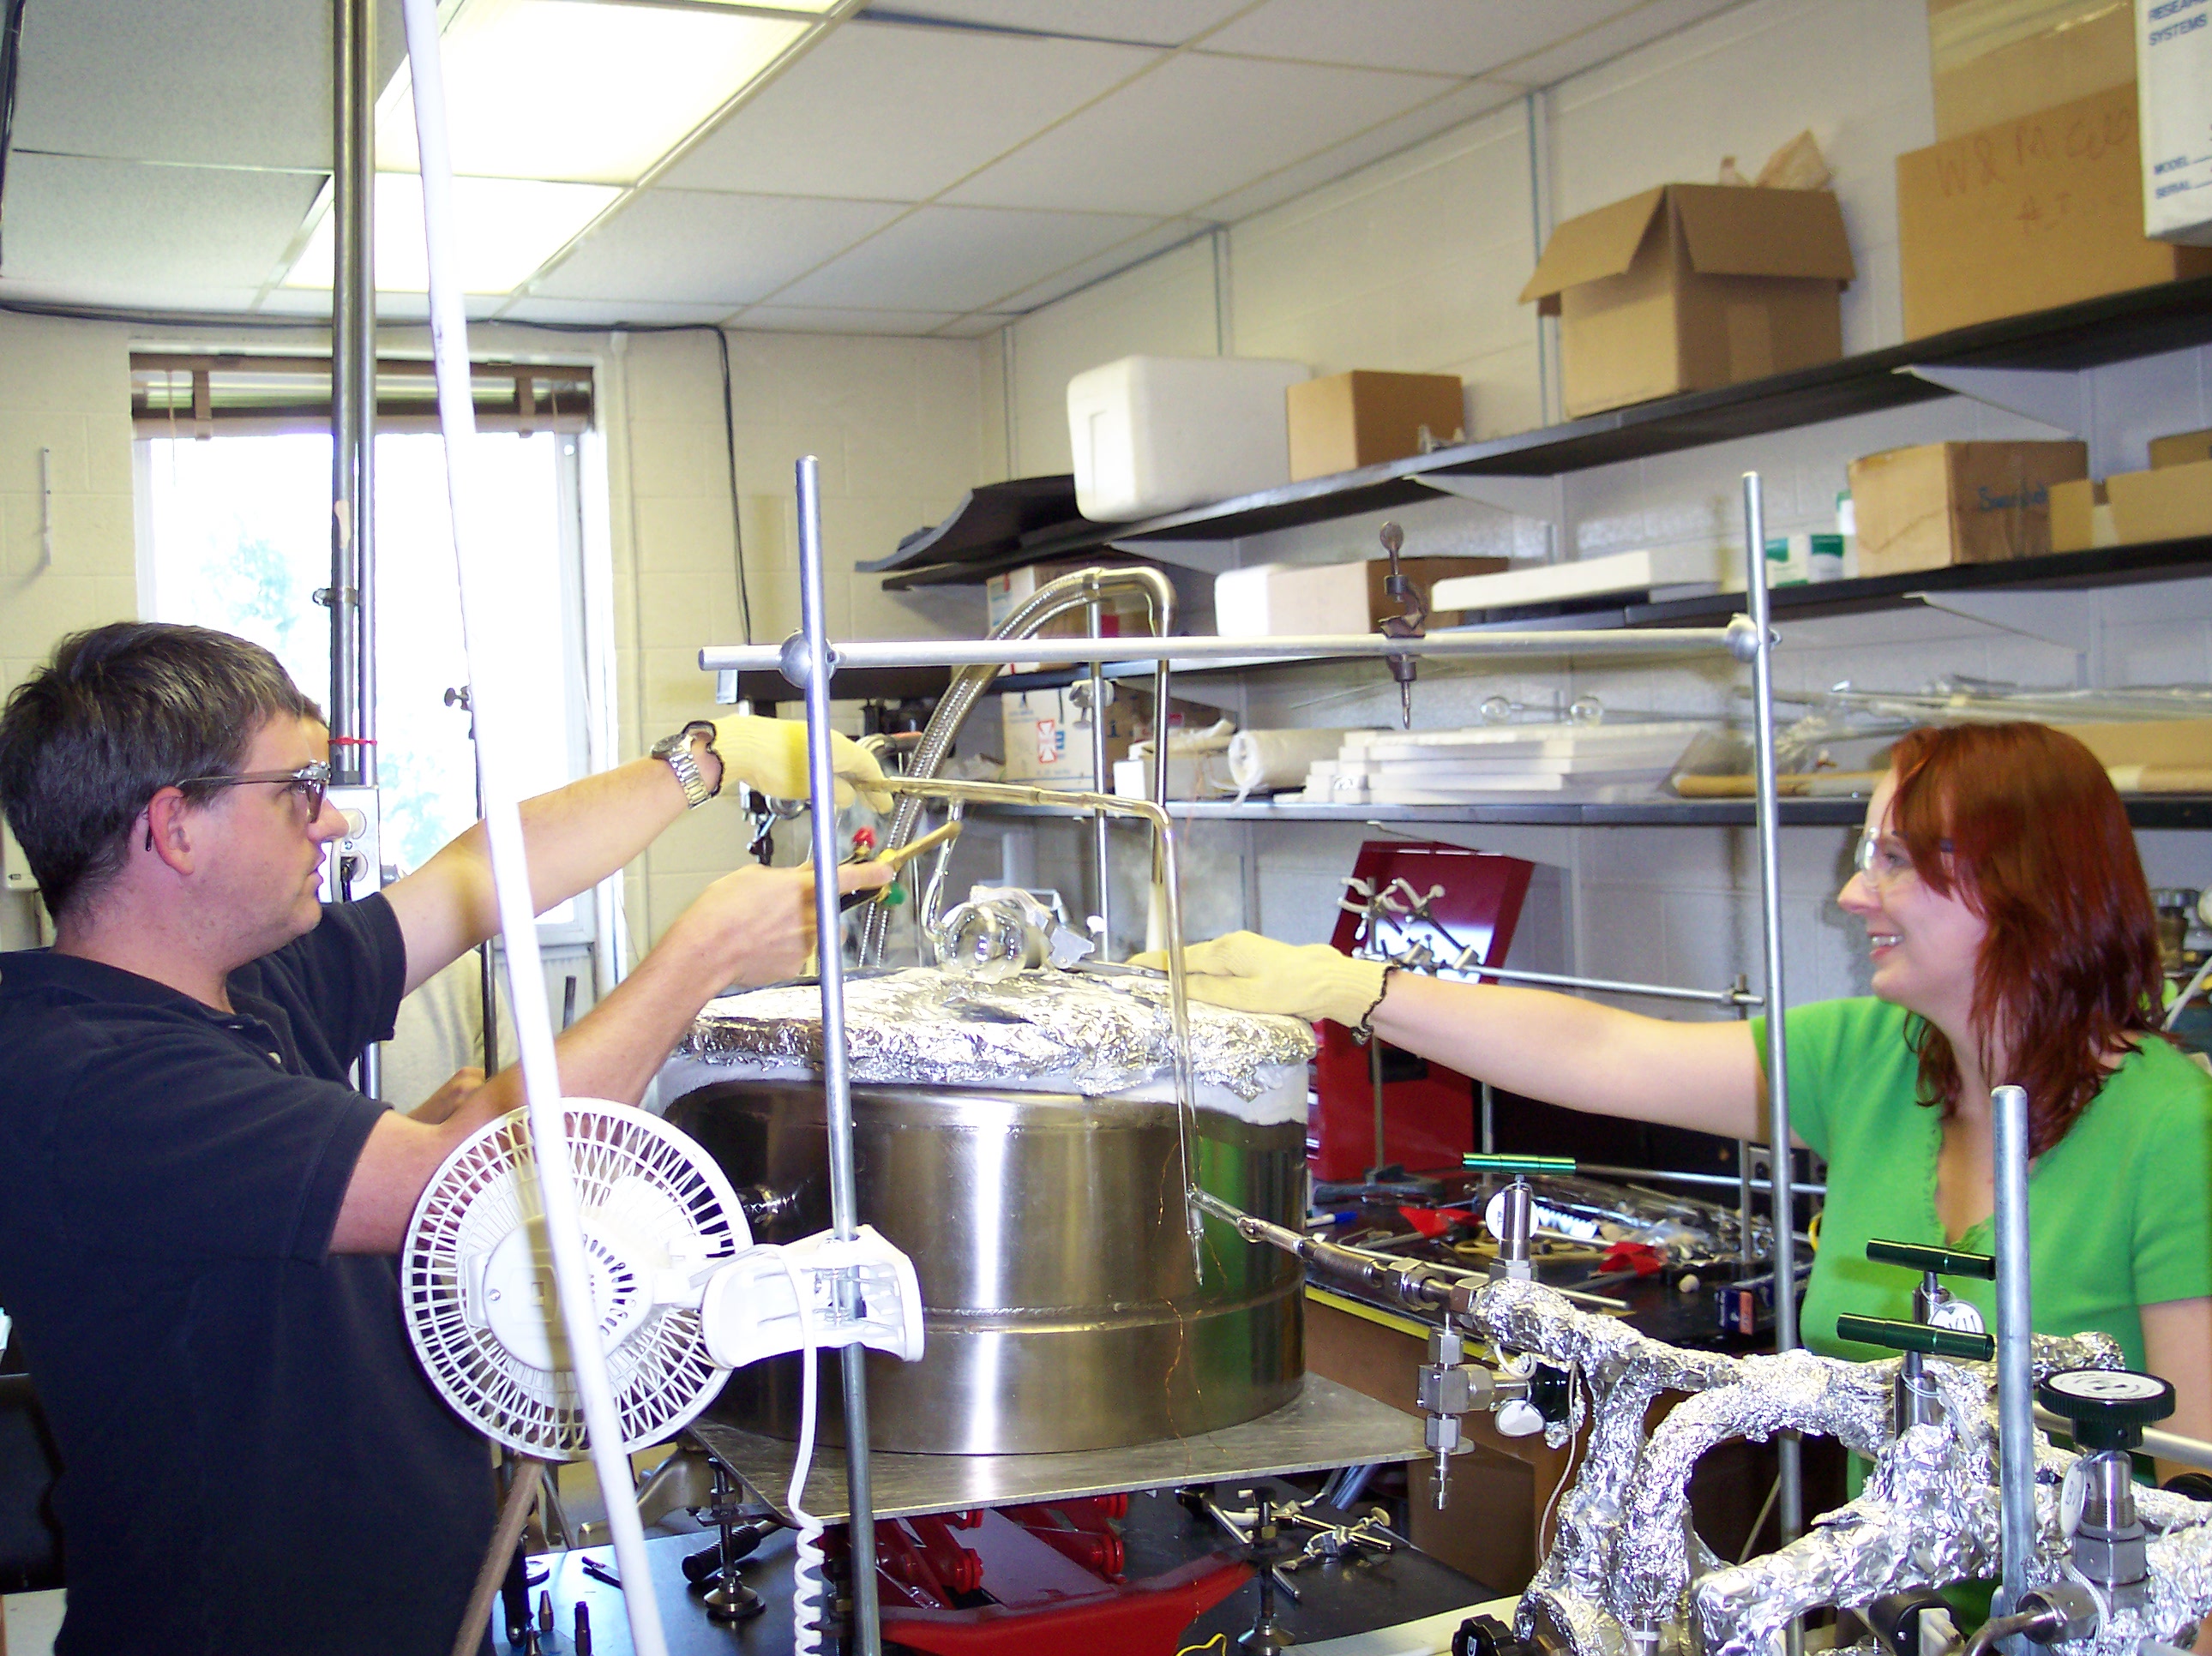
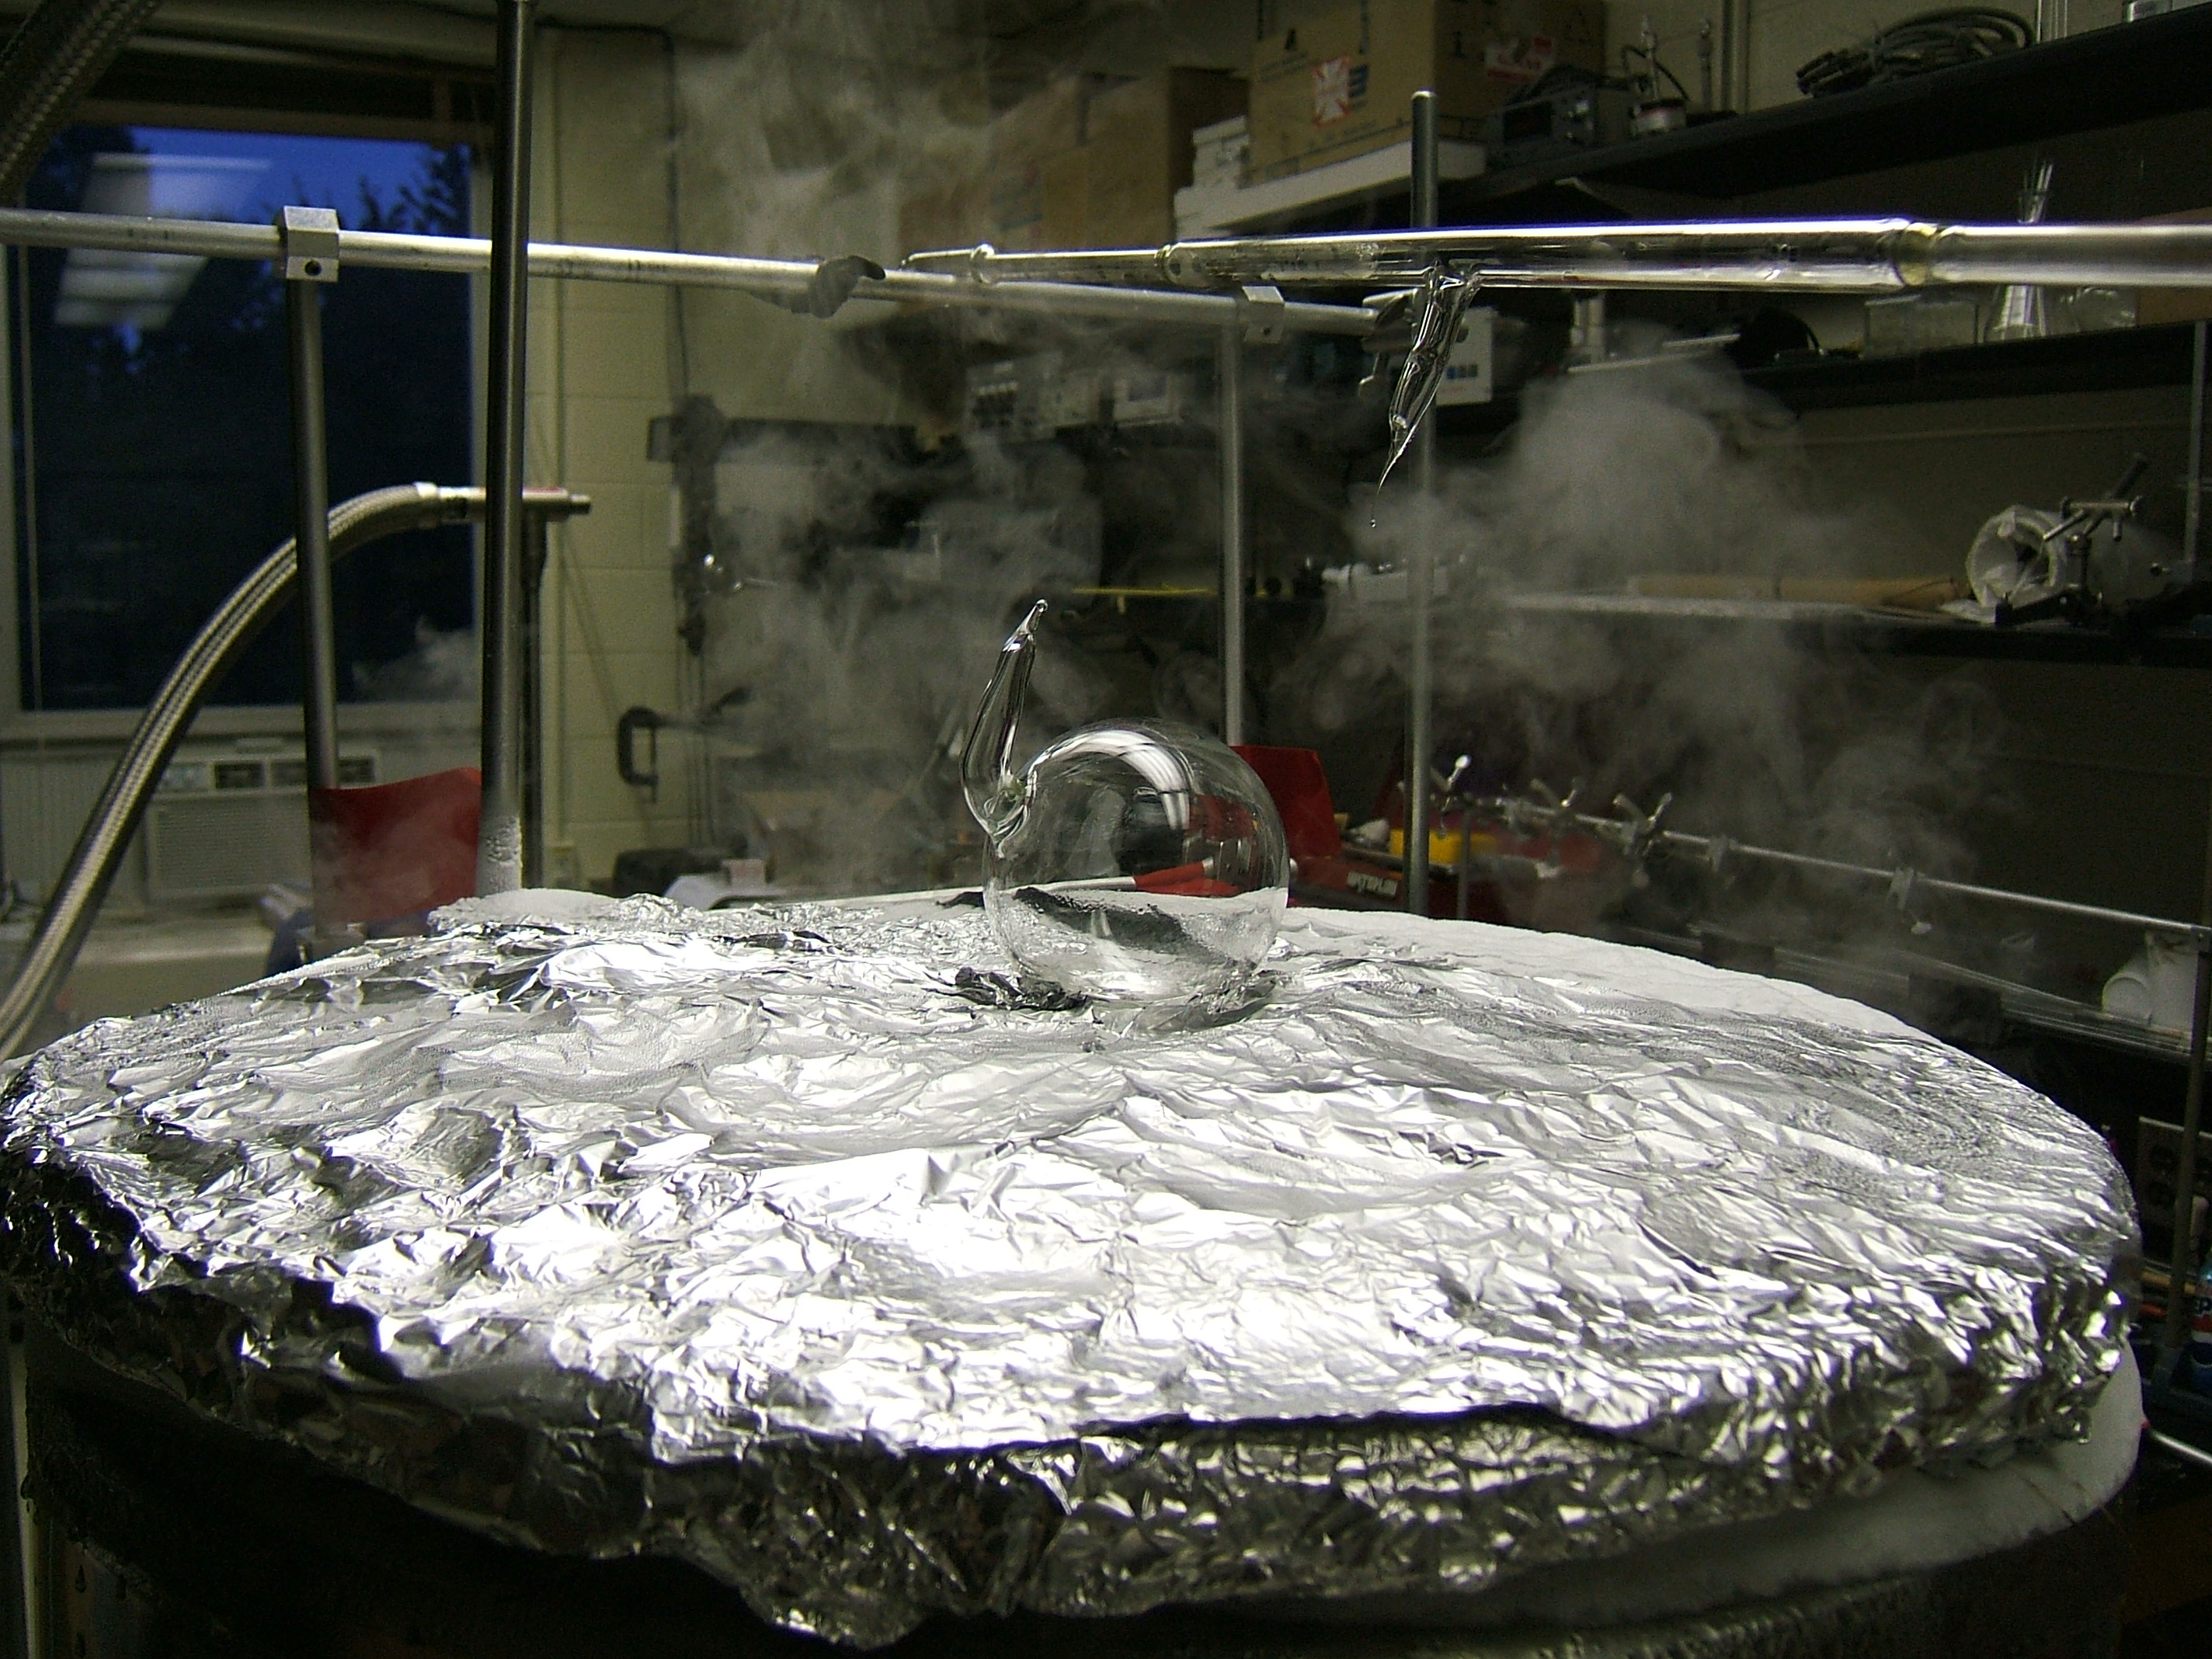
Styrofoam cover.
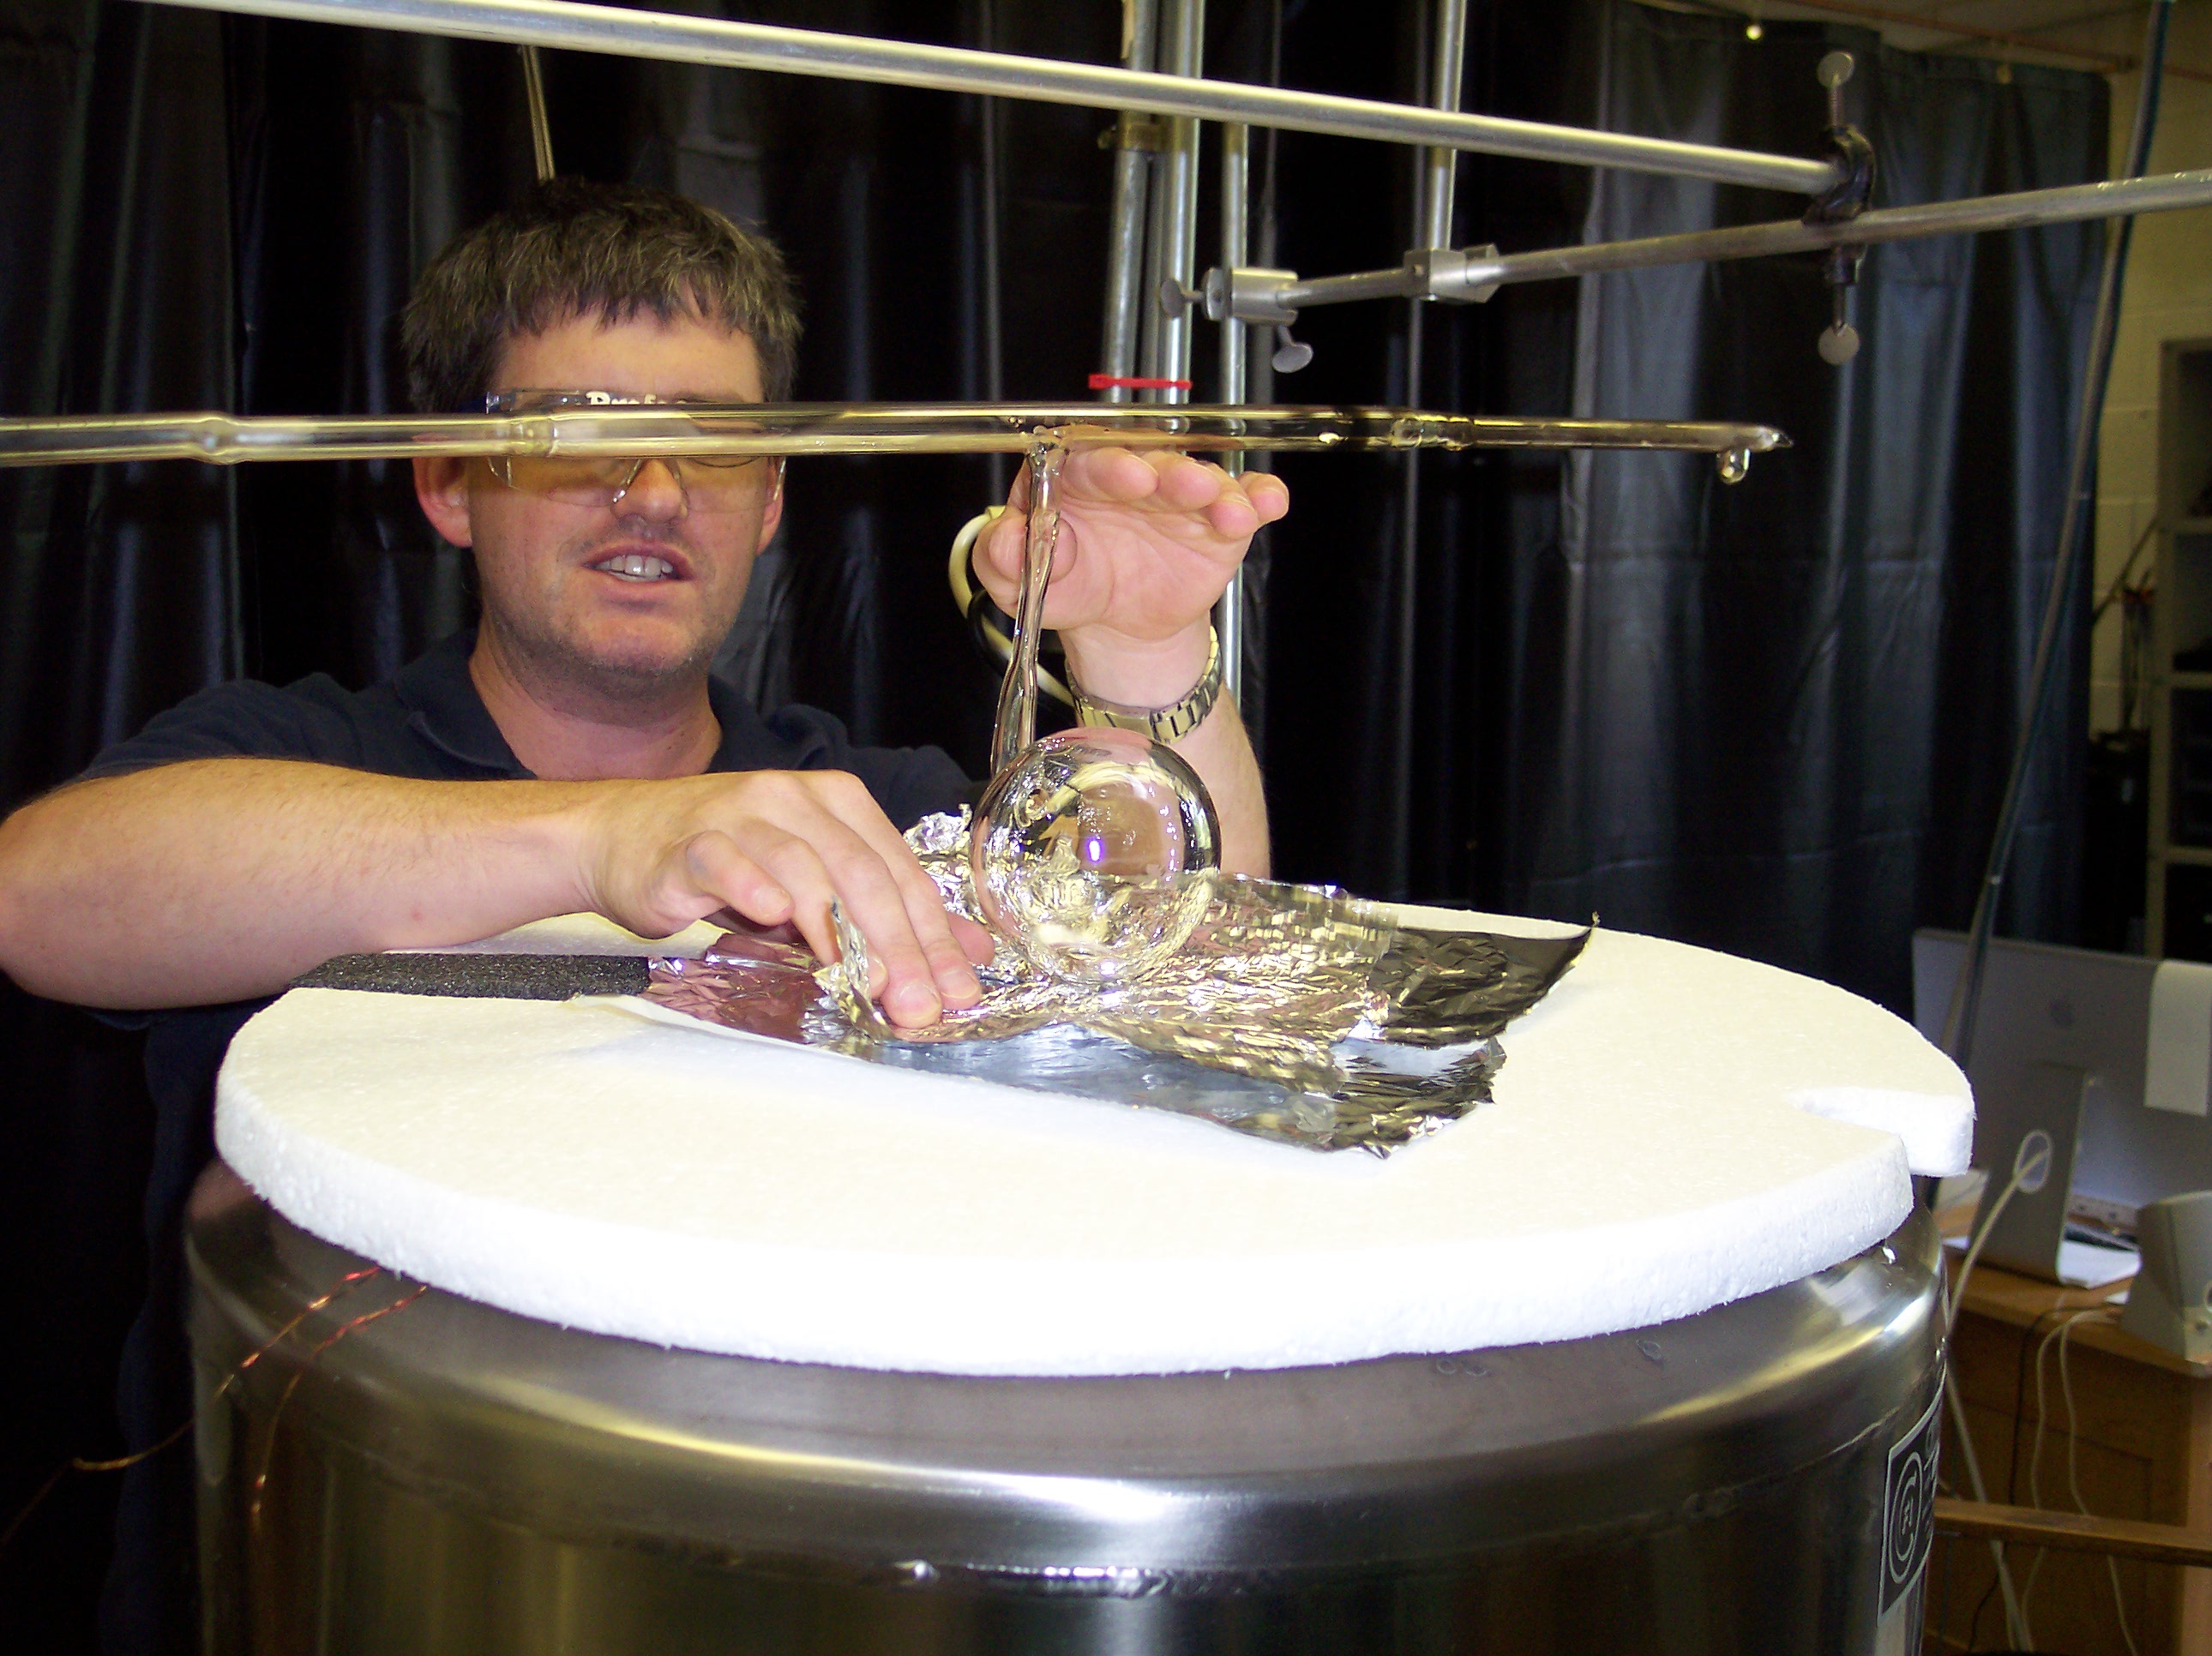
Use foil to seal around cell and to prevent torch from melting styrofoam.

The gas system.

Cooling the cell with LHe.
Pulloff: using a torch to melt the string away from the cell.
Cell pulled off.

Cover the top. Let LHe evaporate overnight.

A finished cell.
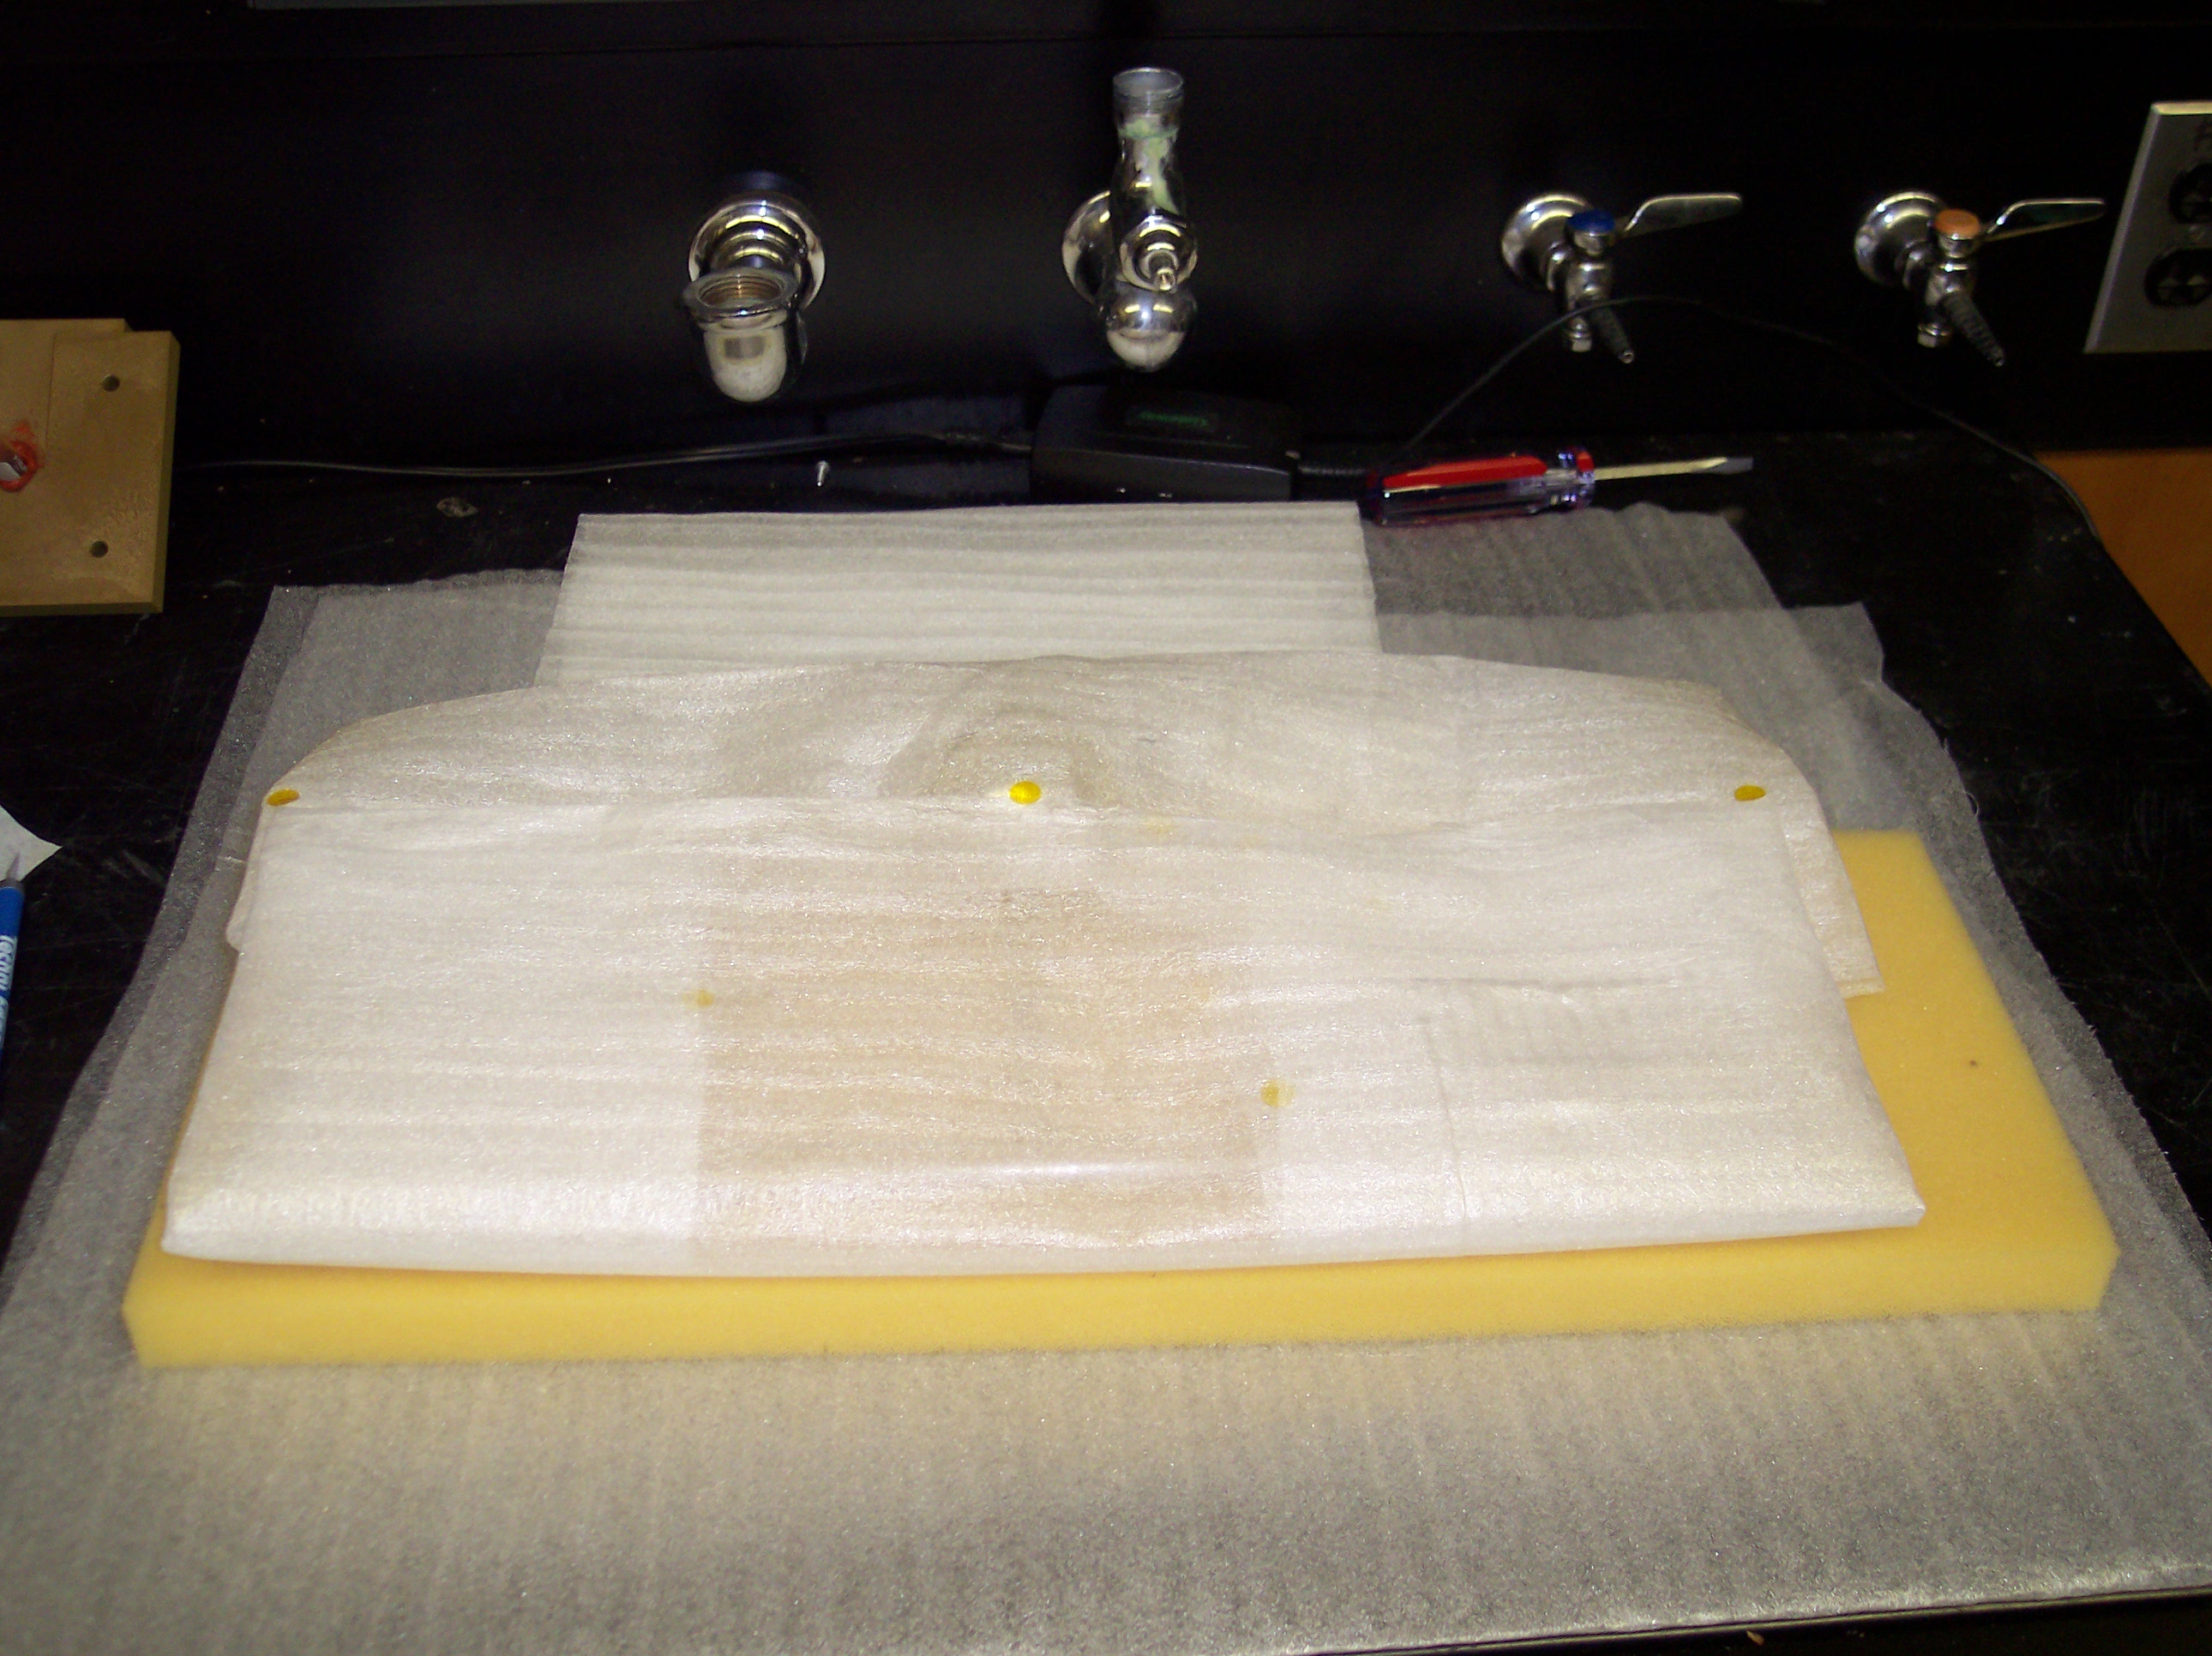
Wrapping in foam sheet.
All done!!
All photos by Sabine Fuchs